On this page10 sections
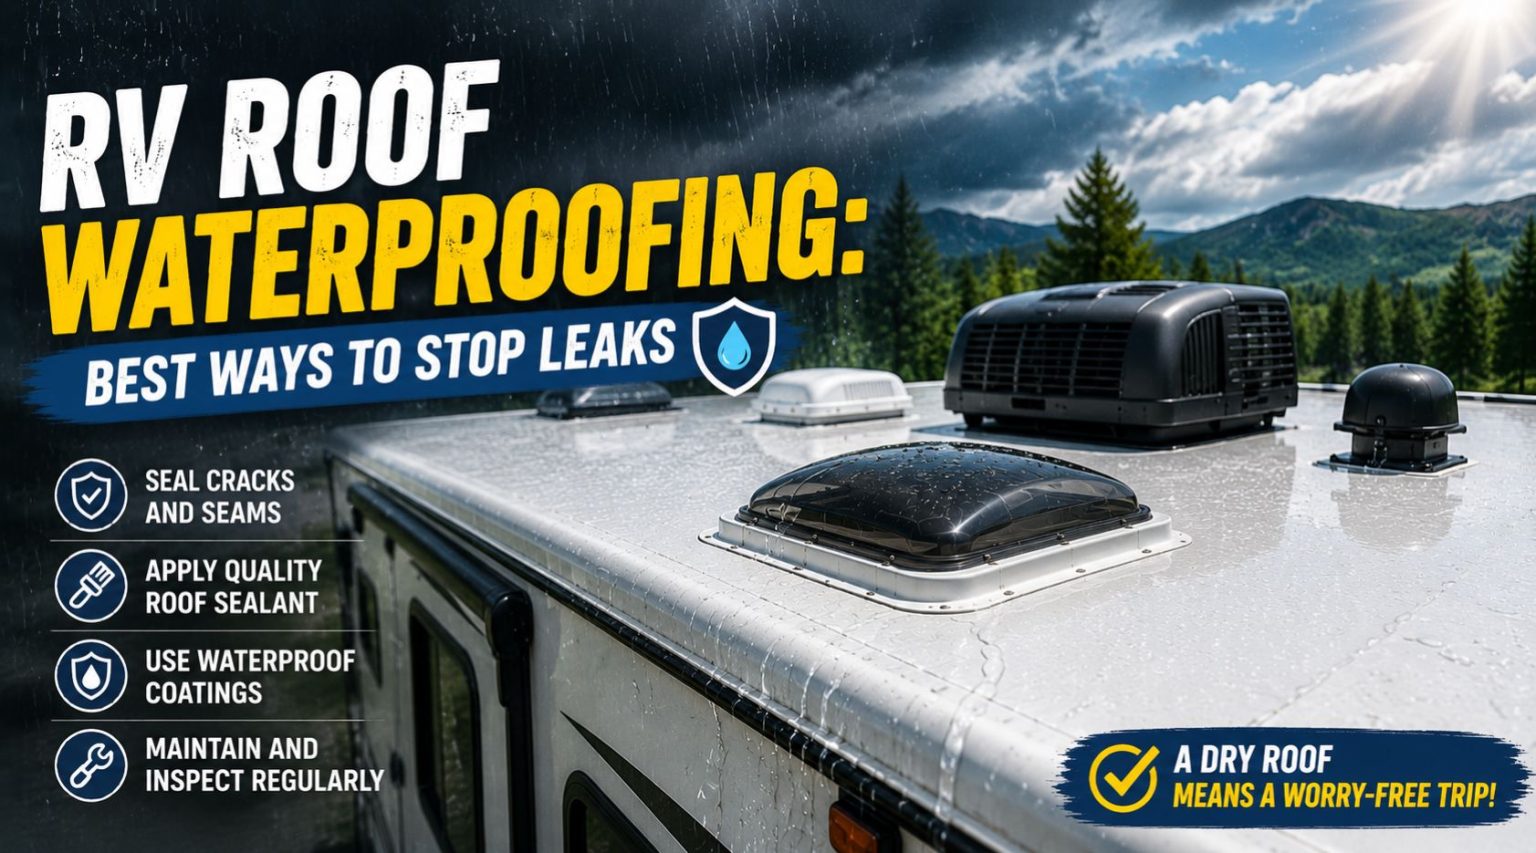
RV roof leaks aren’t usually caused by one big failure. They’re almost always the result of small, ongoing wear, a cracked seam here, a worn gasket there, that finally gives way during a storm or a long stretch of travel. The good news is that RV roof waterproofing isn’t complicated once you understand the different layers of protection involved and how they work together.
Here’s how we approached this guide: we looked at the sealing methods RV manufacturers and roof specialists recommend, reviewed common troubleshooting advice from RV technicians, and combined it with what long-time owners report actually holding up over years of real world use.
Why RV Roofs Need More Waterproofing Attention Than House Roofs
Unlike a house roof, which is steeply pitched to shed water quickly, an RV roof is nearly flat. That means water doesn’t run off nearly as fast, and it relies almost entirely on sealant, tape, and seams staying intact to keep the interior dry. Add in constant vibration from the road, temperature swings, direct UV exposure, and a roof covered in penetrations for vents, antennas, and air conditioning units, and you’ve got a surface that’s working much harder than it looks.
Roof leaks account for a significant share of RV water damage claims, and a large portion of those trace back to failed seals around fasteners, vents, and seams rather than a dramatic single event. That’s exactly why proactive waterproofing matters more than reactive repair.
The Three Layers of RV Roof Waterproofing
Think of RV roof waterproofing as three layers working together rather than a single product doing all the work.
Layer 1: Seam and Penetration Sealing
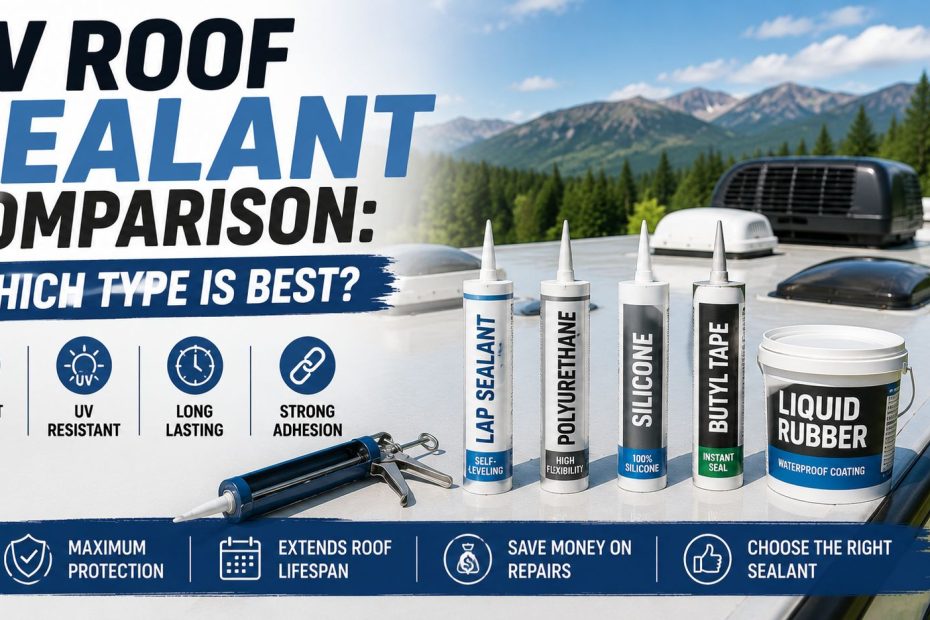
This is your first line of defense, sealing the seams, vents, skylights, and any screws or fasteners on the roof. The two most common products here are lap sealant and butyl tape.
Lap sealant comes in a tube and is applied with a caulk gun. Self leveling versions flow and settle evenly on flat, horizontal surfaces, while non self leveling versions stay in place on vertical or angled spots like the sides of a vent housing. Lap sealant is especially good at conforming to irregular shapes and filling gaps around fasteners.
Butyl tape is a flexible, adhesive rubber tape that’s pressed directly onto the surface to cover seams, vents, and exposed screw heads. It doesn’t need any cure time, which makes it appealing for quick jobs, and it adheres tightly enough to create a reliable seal around fasteners.
Some RV owners use both together: a layer of butyl tape as the initial seal, followed by a layer of lap sealant over the top for added protection. This combination approach is common around especially vulnerable spots, like vents and roof mounted hardware.
Layer 2: Tape or Patch Repairs
For tears, punctures, or damaged seams, a dedicated repair tape is often the most reliable fix. Eternabond and similar rubberized tapes create a strong, waterproof bridge over damaged sections of roof membrane, and they’re widely reported to hold up for many years once properly applied to a clean, dry surface. This layer isn’t something you apply across the whole roof, it’s targeted at specific problem areas as they come up.
If you’re comparing tape based repair options against sealant based ones for a specific fix, our guide on Dicor vs Eternabond breaks down which one fits which type of repair.
Layer 3: Roof Coating
A roof coating is the broadest layer of protection, a liquid applied across the entire roof surface that cures into a seamless, waterproof membrane. Coatings flow into small cracks and gaps that tape or sealant alone might miss, and they add a protective barrier against UV damage, which slows down the aging process for the roof material underneath. Coatings are especially worth considering for older roofs showing widespread wear, since they extend the roof’s usable life without requiring a full replacement.
Unlike seam sealing or tape repairs, a coating isn’t usually something you do every year. Most coatings are designed to last multiple years once applied, though this depends heavily on the specific product and your climate. If you’re trying to decide between a coating and a standard sealant for your situation, our guide on RV roof coating vs sealant breaks down exactly when each one makes more sense, and our RV roof sealant comparison covers the different sealant types in more detail.
Step by Step: How to Waterproof Your RV Roof
- Inspect the entire roof first. Walk every seam, vent, skylight, and fastener, looking for cracked sealant, gaps, soft spots, or visible tears.
- Clean the roof thoroughly. Dirt and grime hide small cracks, so a clean surface is essential before applying any sealant, tape, or coating. Our RV roof cleaner picks and our guide on how to clean an RV rubber roof cover safe products and technique in detail.
- Address seams and penetrations first. Reapply lap sealant or butyl tape to any seams, vents, or fasteners showing wear.
- Patch any tears or punctures. Use a tape product like Eternabond for physical damage to the membrane, following proper cleaning and firm roller application to avoid trapped air or lifting.
- Apply a roof coating if needed. If the roof is older or showing widespread UV wear, apply a coating suited to your specific roof material once the surface is clean, dry, and free of loose debris.
- Let everything cure fully before exposure to rain. Check each product’s specific cure time rather than assuming they’re all the same.
- Test your work. Once everything has cured, run a hose over the treated areas and check inside for any remaining drips.
For the full breakdown of tools, materials, and repair technique, see our guide on RV roof repair, and if you want a detailed point-by-point walkthrough before you start, our RV roof inspection checklist covers exactly what to check in step one.
Tape, sealant or full coating: which fits your problem?
Answer four quick questions about what you found up top and get the waterproofing layer to start with.
Our recommendation
Start with lap sealant or butyl tape
Seams, vents and fasteners are the first layer of waterproofing. Use self-leveling lap sealant on flat spots and non-self-leveling on vertical or angled ones like vent housings, and consider butyl tape underneath with lap sealant on top at the most vulnerable points. Clean the area first and check the product's cure time before rain.
Our recommendation
Patch it with repair tape
Tears, punctures and damaged straight seams are what Eternabond-style tape is for: it bridges the damage and seals on contact, with no cure time. Apply it to a clean, dry surface and press it down firmly with a roller so no air gets trapped. Done right, it often lasts a decade or more.
Our recommendation
Plan a full roof coating
Widespread UV wear is a whole-roof problem, and a liquid coating cures into a seamless membrane that reaches small cracks tape and sealant miss. Fix seams and tears first, then coat a clean, dry roof with a product suited to your roof material. Most coatings last multiple years, depending on the product and your climate.
Our recommendation
Get a professional to look first
Soft, spongy spots usually mean water has already reached the decking, and leaks that keep returning or sealant failing across large sections go beyond a surface fix. Have a professional assess the roof before adding more sealant or coating. Catching it now is far cheaper than waiting for interior damage.
How your answers stacked up
- Start with lap sealant or butyl tape
- Patch it with repair tape
- Plan a full roof coating
- Get a professional to look first
Comparing the Main Waterproofing Methods
| Method | Best For | Cure Time | Longevity |
|---|---|---|---|
| Lap sealant | Seams, vents, irregular surfaces | Hours to fully cure | 1-3 years before touch up |
| Butyl tape | Seams and exposed fasteners | None, seals on contact | Several years |
| Eternabond or similar tape | Tears, punctures, straight seams | None, seals on contact | Often a decade or more |
| Roof coating | Whole roof UV and moisture protection | Varies by product | Multiple years |
How to Find Where Water Is Getting In
Before you can waterproof a specific problem area, you need to know exactly where water is entering, since it doesn’t always drip straight down from the source. A few reliable methods:
- Visual inspection, checking vents, skylights, seams, and any hardware mounted on the roof for cracked sealant or gaps
- Hose test, having someone inside while you run water slowly over one section of roof at a time to narrow down the source
- Blower door test, a method some technicians use where the RV is slightly pressurized and a soapy solution is applied to suspected areas, watching for bubbles that reveal the exact leak point
Water often travels along a rafter or wall cavity before showing up somewhere else entirely, so don’t assume the interior stain is directly below the actual entry point. If you’re dealing with an active leak right now rather than doing preventive maintenance, our guide on what to do when your RV roof leaks after heavy rain walks through the exact steps to take.
How Often Should You Reapply Waterproofing
There’s no single fixed number, since it depends heavily on your roof material, climate, and how the RV is used and stored, but a reasonable general schedule looks like this:
- Inspect every six months, and again after any major storm
- Touch up seam sealant as needed, typically every one to three years
- Reapply tape repairs only when damaged, since a properly applied section can last many years without attention
- Recoat the full roof every few years, depending on the specific coating product and your climate
For a more detailed breakdown based on your specific roof material, our guide on how often you should reseal an RV roof covers this in depth, and our RV roof maintenance checklist walks through a full seasonal routine.
RV roof leak map
Tap a hotspot to see what fails there, how to check it and how it gets fixed. Mark each spot as you inspect it.
Front cap seam
Common leak point- What fails
- The joint where the front cap meets the roof takes the most wind load and chassis flex, so its lap sealant cracks and lifts first.
- How to check
- Run a finger along the whole bead. Look for hairline cracks, shrink-back from the edge, gaps or lifted corners.
- Typical fix
- Clean off loose sealant, then run a fresh bead of lap sealant made for your roof material. Use non-sag where the seam turns vertical.
Rear cap seam
Common leak point- What fails
- Same failure as the front: movement and sun break down the sealant where the rear cap meets the membrane.
- How to check
- Inspect the full width, including the corners where the seam turns down the sidewalls.
- Typical fix
- Remove what is loose and reseal. Self-leveling sealant on the flat roof, non-sag on vertical faces.
Roof vent flange
Common leak point- What fails
- Vent flanges are screwed through the roof. Sealant over the flange and screw heads cracks, and plastic vent lids go brittle in the sun.
- How to check
- Look for cracked sealant over every screw head, gaps at the flange corners and crazing or cracks in the lid.
- Typical fix
- Reseal over the flange and all screw heads. Replace a cracked lid or frame rather than patching it.
Air conditioner
Common leak point- What fails
- The AC sits on a foam gasket that compresses and takes a set over time, letting water past the roof opening.
- How to check
- Look for water stains on the ceiling around the AC, a gap under the shroud or loose mounting bolts inside.
- Typical fix
- Replace the gasket and snug the bolts to the maker's spec. Do not seal the AC base with caulk; it relies on the gasket.
Skylight
Common leak point- What fails
- Skylight domes craze and crack with UV, and the sealant around the frame fails like any other penetration.
- How to check
- Look for crazing, cracks or cloudiness in the dome and cracked sealant around the frame.
- Typical fix
- Reseal the frame. A cracked dome needs replacing; tape over a crack is only a temporary stop.
Second vent or fan
Common leak point- What fails
- Powered fans and bath vents fail the same way as any vent, and the extra hardware adds screw penetrations.
- How to check
- Check sealant over every screw, around the flange and at the corners.
- Typical fix
- Reseal over the flange and fasteners, and replace a cracked lid.
Refrigerator roof vent
Common leak point- What fails
- The fridge vent cap is a large opening with a long sealant perimeter that is easy to forget.
- How to check
- Inspect the sealant around the whole base and look for cracks in the cap.
- Typical fix
- Reseal the base; replace the cap if it is cracked.
Antenna, satellite and solar mounts
Check each season- What fails
- Every mount foot is a screw penetration, and cable entry plates add more.
- How to check
- Look for cracked sealant over each foot and at the cable entry plate.
- Typical fix
- Dab fresh sealant over each fastener and around cable entries.
Sidewall edge terminations
Common leak point- What fails
- Where the roof membrane wraps over the sidewall, a termination bar is screwed down and covered with sealant that cracks along its length.
- How to check
- Walk both edges and look for cracked sealant over the termination bar and exposed screw heads.
- Typical fix
- Reseal the full run. Straight seams like this are also where repair tape works well.
Open roof membrane
Most urgent when it fails- What fails
- The open field of the roof shows chalking, bubbles, tears and punctures, and soft spots where water has reached the decking.
- How to check
- Walk carefully and feel for flex or sponginess. Look for tears, bubbles and chalky residue.
- Typical fix
- Patch tears and punctures with a repair tape made for your membrane. Soft spots mean decking damage: repair them before they spread.
Ladder brackets
Check each season- What fails
- Upper ladder brackets are bolted through the rear cap or roof edge and loosen with use.
- How to check
- Look for cracked sealant or a loose bracket at the top of the ladder.
- Typical fix
- Tighten the bracket and reseal over the fasteners.
Plumbing vent pipes
Check each season- What fails
- Small plumbing stack vents have their own sealant collar and cap, which crack and blow off.
- How to check
- Make sure each cap is present and the sealant around the pipe is intact.
- Typical fix
- Replace a missing cap and reseal around the base.
Common Waterproofing Mistakes
- Treating it as a one time job. Waterproofing is ongoing maintenance, not something you do once and forget.
- Skipping the cleaning step. Sealant and tape don’t bond well to a dirty or damp surface, and skipping this step is one of the most common reasons repairs fail early.
- Using the wrong product for your roof material. EPDM, TPO, fiberglass, and aluminum roofs don’t all react the same way to every sealant or coating, so always check compatibility first.
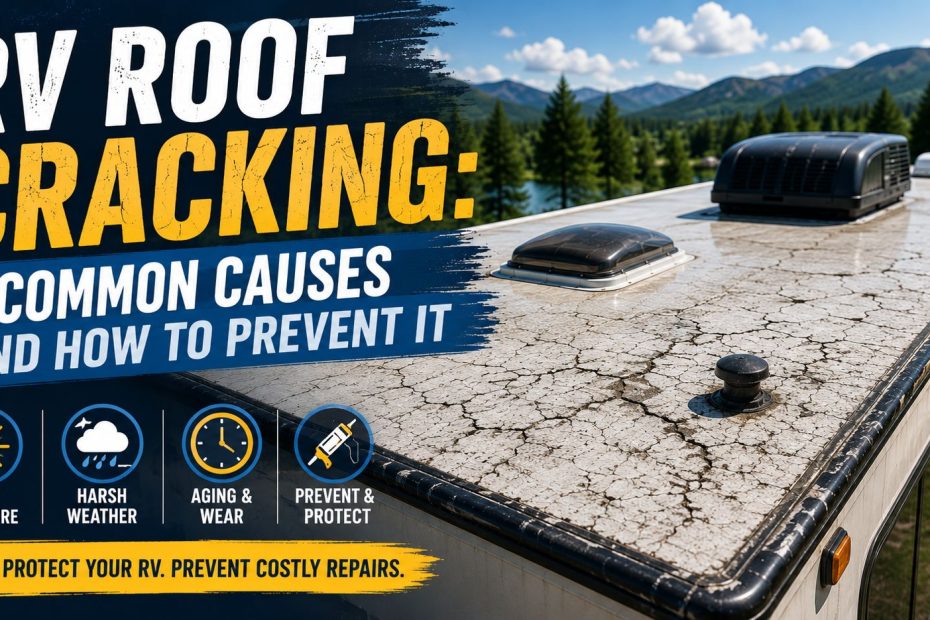
- Ignoring small cracks because they seem minor. A hairline crack in sealant is exactly how heavy rain finds its way in later. Our guide on RV roof cracking covers what causes it and how to catch it early.
- Applying products in the wrong weather. Extreme heat, direct sun, or rain in the forecast can all interfere with proper curing.
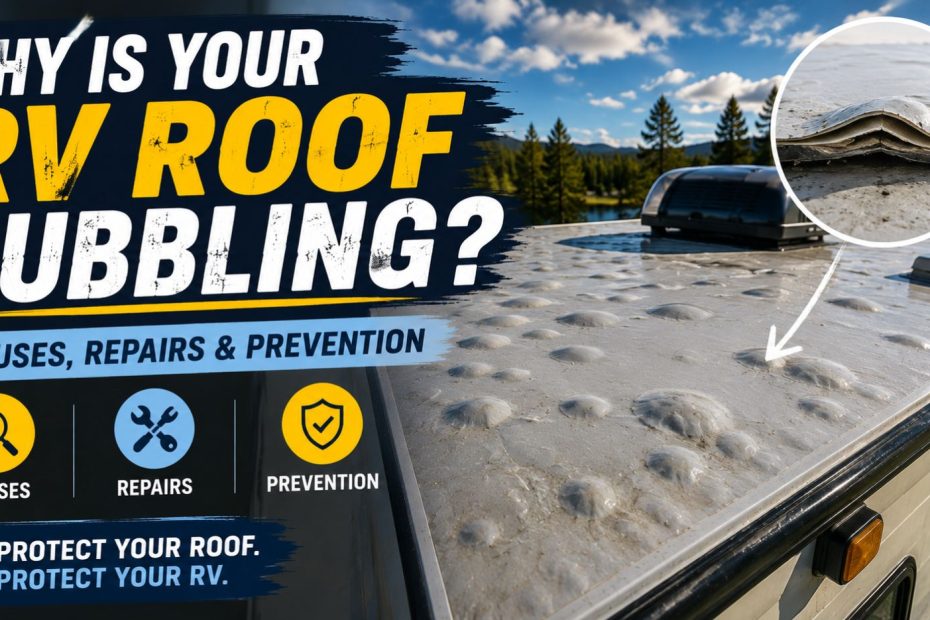
If you’re seeing an issue that doesn’t quite match what’s covered here, our roundup of common RV roof problems covers a wider range of symptoms, including what to do if your RV roof is bubbling.
When to Call a Professional
Most seam sealing, tape patches, and even coating application are manageable DIY tasks. Bring in a professional if you notice soft, spongy spots on the roof, since this usually means water has already reached the decking underneath. The same applies if leaks keep returning in the same spot despite repeated repairs, or if sealant is failing across large sections rather than a few isolated areas. Catching these signs early is far cheaper than waiting until interior damage forces a larger repair.
Frequently asked questions
What’s the best way to waterproof an RV roof?
A combination approach works best: seal seams and penetrations with lap sealant or butyl tape, patch any tears with a dedicated repair tape, and apply a roof coating for broader, long term protection across the entire surface.
How often should I waterproof my RV roof?
Inspect every six months and after major storms, touch up seam sealant every one to three years, and consider a full roof coating every few years depending on the product and your climate.
Can I waterproof my RV roof myself?
Yes, most of this process is DIY friendly with basic tools. Full roof coatings and any repairs involving soft or damaged decking are the areas where a professional is often worth bringing in.
What’s the difference between sealant, tape, and coating?
Sealant fills gaps and seams in liquid form, tape creates an instant physical seal over seams or damage, and coating is a broader liquid layer applied across the whole roof for overall UV and moisture protection.
Does RV roof waterproofing prevent all leaks?
It significantly reduces the risk, but no roof is completely leak proof forever. Regular inspection alongside waterproofing is what actually keeps small issues from becoming major ones.
Is roof coating necessary, or is sealant enough?
Sealant and tape handle specific seams and penetrations, but a coating adds broader protection across the entire roof surface and is especially useful for older roofs showing widespread wear.
Final Thoughts
Don’t wait for a stain on the ceiling to think about RV roof waterproofing. A layered approach, sealing seams, patching damage, and coating when needed, paired with regular inspections, is what actually keeps water out year after year. Treat it as an ongoing habit rather than a one time fix, and you’ll spend far less on repairs down the road.
Did this guide help with your rig?

Written by