On this page9 sections
If there’s one part of an RV that gets ignored until it’s a problem, it’s the roof. It’s out of sight, it’s a hassle to climb up and inspect, and most owners only think about it when they spot a stain on the ceiling. But a proper RV roof maintenance checklist followed a few times a year is the single easiest way to avoid the most expensive repair bill an RV owner can face.
This guide walks through exactly what to check, how often to check it, and the mistakes that quietly wreck roofs long before their time.
Why RV Roof Maintenance Matters
An RV roof isn’t built like a house roof. There’s no steep pitch to shed water quickly, and the materials – rubber (EPDM or TPO), fiberglass, or aluminum – are thinner and more exposed to constant flexing as the RV rolls down the highway. Add in direct UV exposure, temperature swings, and the dozens of penetrations for vents, antennas, and AC units, and you’ve got a surface that’s working hard to keep water out at all times.
When a seal fails, water doesn’t just sit on the surface – it works its way into the roof decking underneath. Once that plywood substrate gets wet, it can rot, delaminate, or grow mold, and by the time it shows up as a stain on your ceiling, the damage is usually already extensive. A roof replacement at that point can run into the thousands of dollars, while catching the same issue early might cost you a tube of sealant and twenty minutes.
That’s the entire case for a maintenance checklist: it turns an expensive emergency into a cheap, routine task.
Know Your Roof Type Before You Start
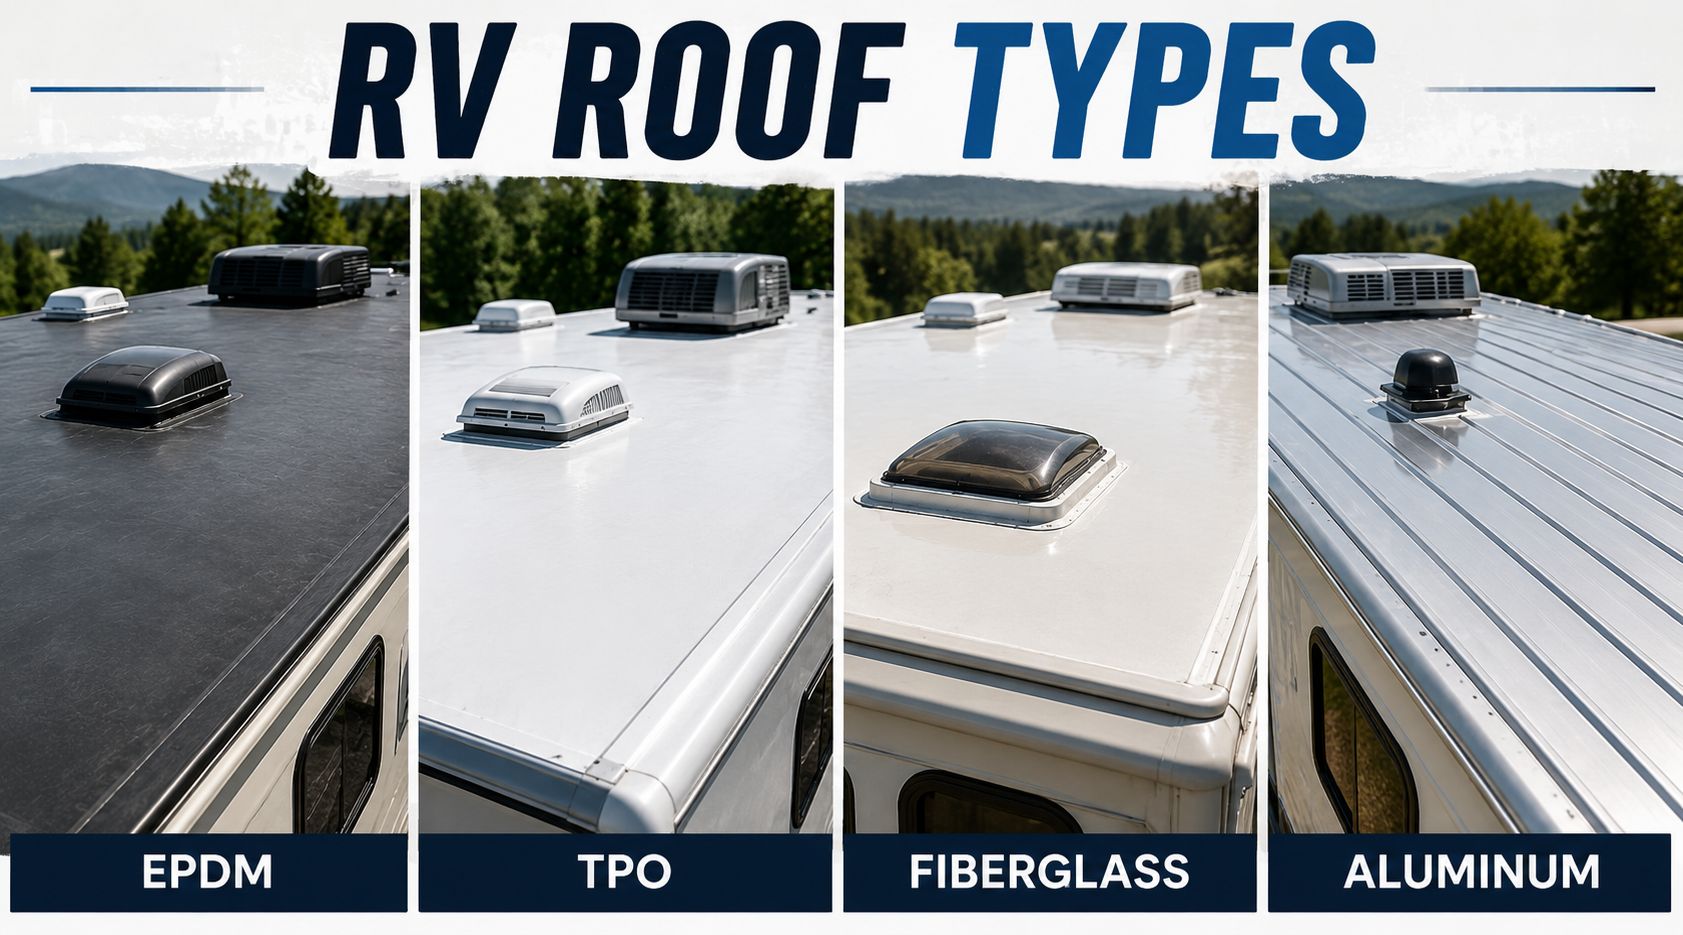
Not every RV roof is maintained the same way, so before you grab a cleaner or sealant, confirm what you’re working with:
- EPDM (rubber): A synthetic rubber membrane, budget-friendly and common on older rigs. It’s more sensitive to petroleum-based cleaners and tends to chalk (develop a powdery white residue) as it ages.
- TPO (rubber): The most common material on newer RVs. It’s more UV-resistant than EPDM but still needs the same gentle cleaning approach and periodic resealing.
- Fiberglass: Rigid and relatively low-maintenance, though it can develop cracks or stress fractures over time, especially around penetrations.
- Aluminum: Durable and largely immune to UV damage, but seams and screw points still need sealant checks, and dents can compromise the surface.
Using the wrong cleaner or sealant for your roof type is one of the fastest ways to cause damage you were trying to prevent, so this is worth confirming before you move on to the checklist below.
How Often Should You Inspect Your RV Roof
There’s no single universal number, but a reasonable rule of thumb most experienced owners follow is:
- Every 3 months for a quick visual check, especially if you travel frequently
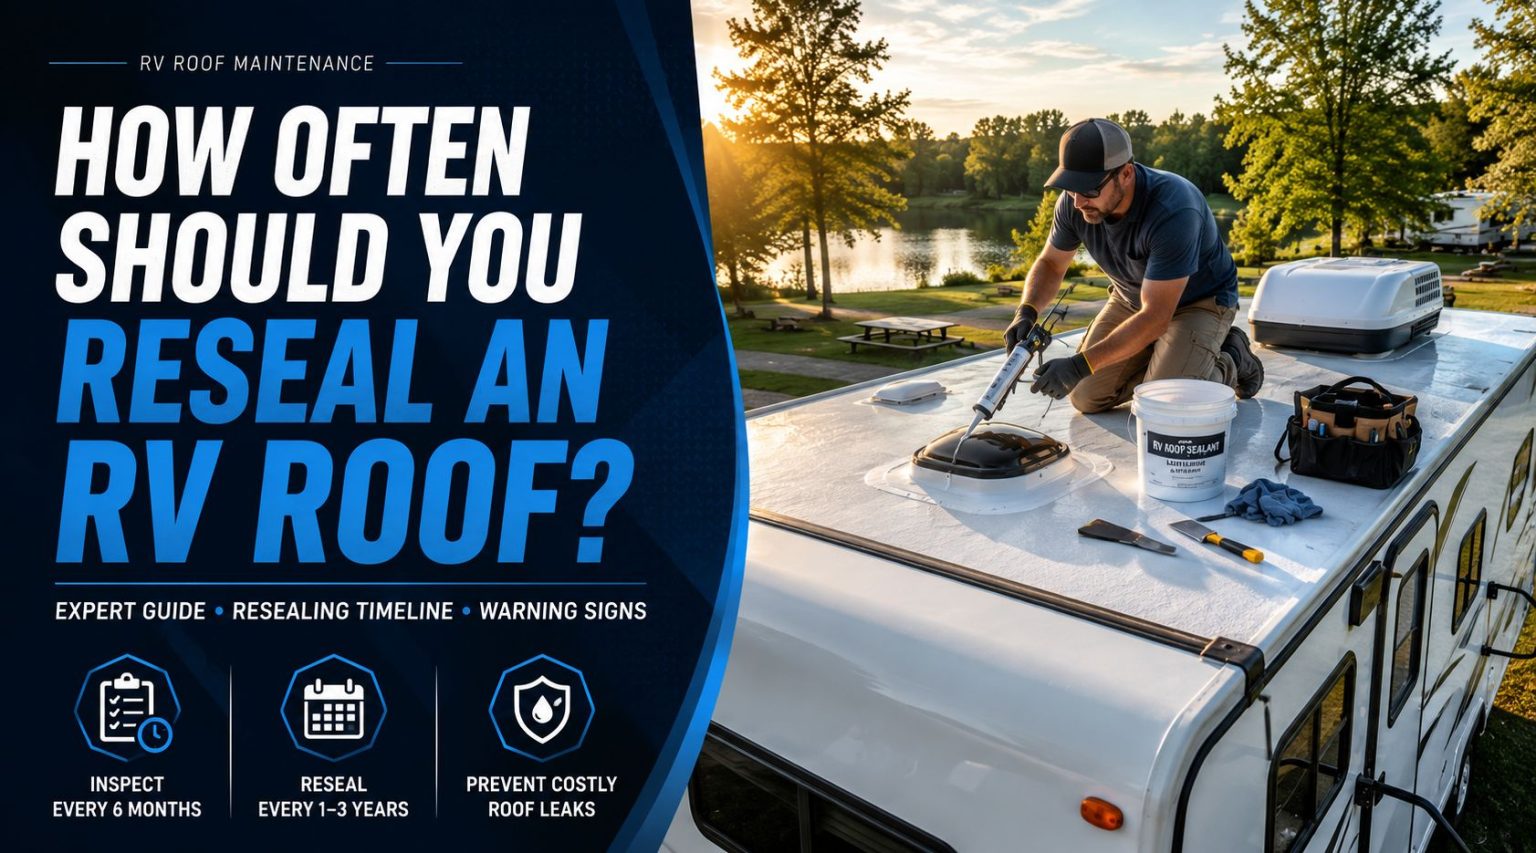
- Twice a year at minimum — once before your travel season starts and once after it ends — for a full, hands-on inspection
- After every major storm — hail, high wind, or heavy rain can loosen sealant or cause damage you won’t notice until it leaks
- After long trips or rough roads, since constant vibration can work seals loose over time
- Older RVs (10+ years) should be checked more frequently, since sealant and membrane naturally degrade with age
If your RV sits in storage under trees or in a dusty area, add more frequent cleanings on top of these inspection intervals – buildup accelerates wear.
RV Roof Maintenance Checklist
Work through these in order before and after travel season, and again after any major storm.
0 of 14 done
What You’ll Need Before You Climb Up
A few basics make the job faster and safer:
- A ladder rated for roof access, or your RV’s built-in ladder if it has one
- Non-slip shoes, since roof surfaces get slippery even when they look dry
- A soft-bristle broom for debris and a soft brush for washing
- A roof cleaner formulated for your specific roof material
- Sealant appropriate for your roof type (confirm with your owner’s manual or manufacturer)
- A flashlight to check shaded areas around AC units and vent housings
- A notepad or phone camera to log what you find for next time
Skip the roof entirely during high wind, rain, or extreme heat – not only is it more dangerous, but sealant and coatings don’t apply well in those conditions either.
10-Step RV Roof Maintenance Checklist
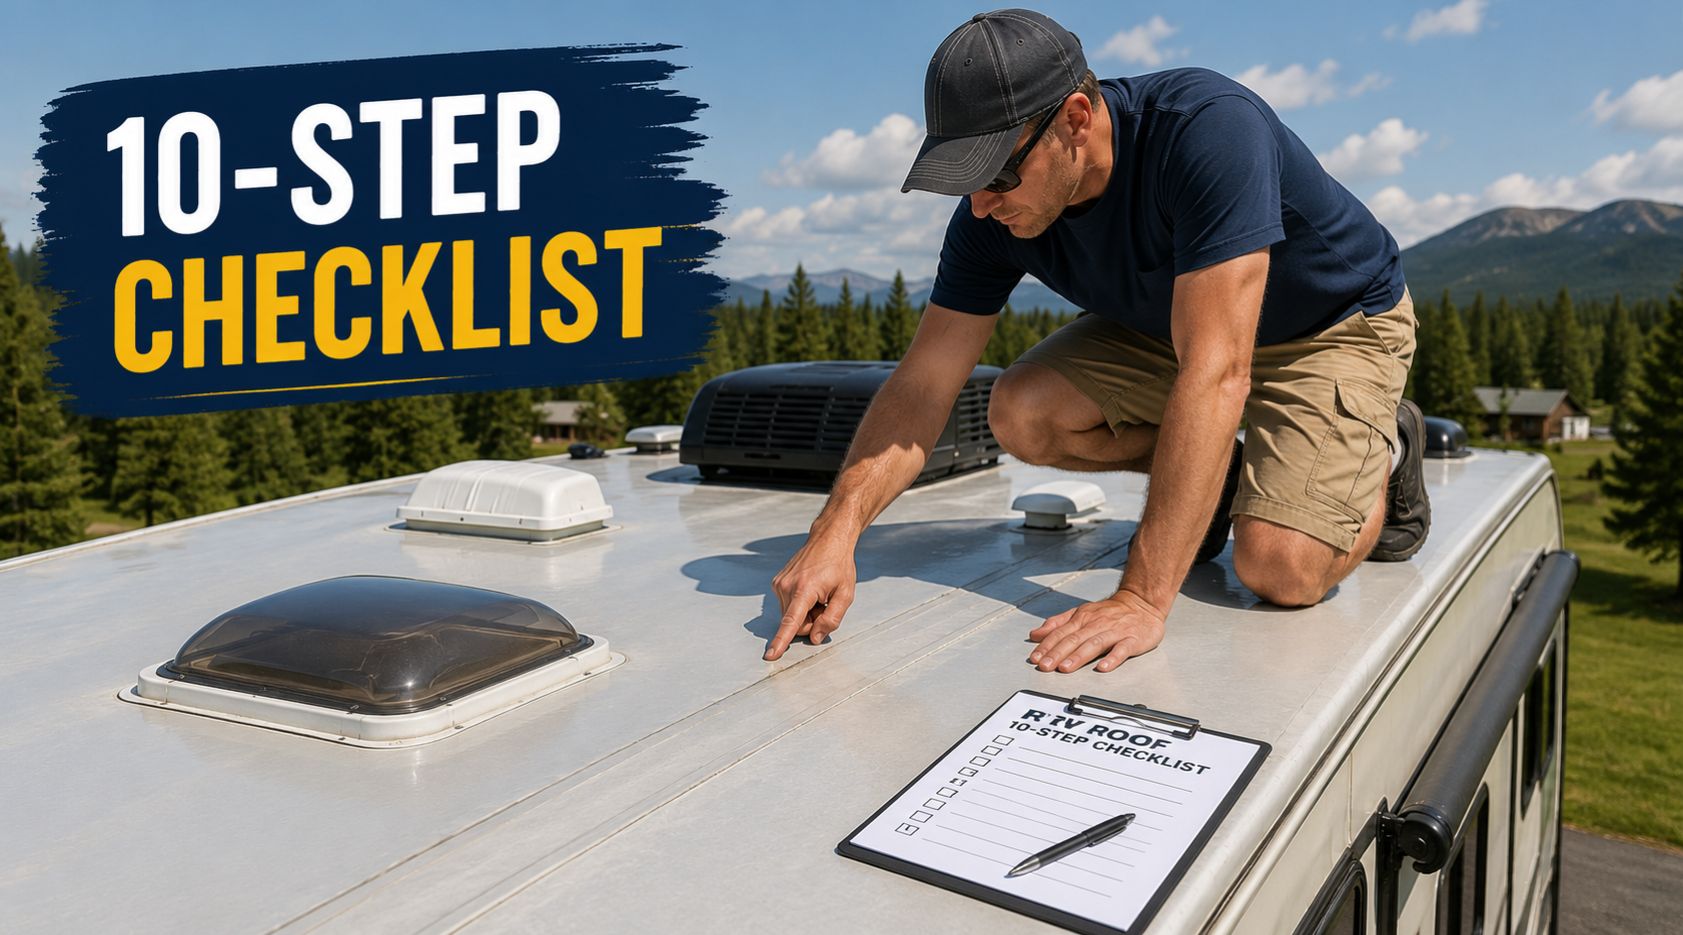
1. Clean the Roof
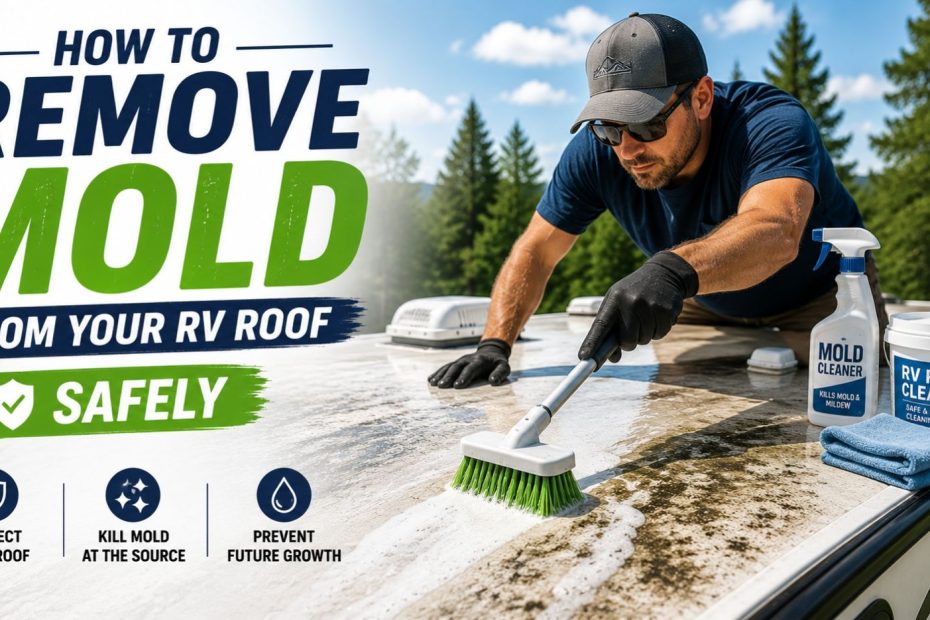
Start every inspection with a clean surface – dirt and grime can hide small cracks that would otherwise be obvious. Use a cleaner made specifically for your roof type; rubber roofs (EPDM/TPO) need a gentler, rubber-safe formula, while fiberglass and aluminum are more forgiving. Avoid petroleum-based cleaners on rubber roofing, since they can break down the material over time.
2. Inspect Sealants
Walk every seam, edge, and joint and look closely at the sealant. You’re checking for cracking, shrinking, peeling, or gaps where the sealant has pulled away from the surface. Sealant naturally breaks down from UV exposure and temperature cycling, so even sealant that looked fine last season can fail after one hot summer.
3. Check Roof Vents
Roof vents (bathroom fans, range vents, refrigerator vents) are common leak points because they’re a literal hole cut into the roof. Check the sealant ring around the base of each vent cover for cracking or separation, and confirm the vent lid itself isn’t cracked from sun exposure.
4. Inspect Skylights
Skylights get the same treatment as vents – check the perimeter seal closely, since these openings tend to flex more than flat sections of roof and are prone to slow seal failure.
5. Remove Debris
Leaves, pine needles, and branches trap moisture against the roof surface and can clog what little drainage your RV roof has. Sweep the roof clean regularly, and pay extra attention if you park under trees.
6. Wash Properly
Rinse before you scrub to avoid grinding dirt into the surface, use a soft-bristle brush (never a stiff wire brush), and skip the pressure washer – high-pressure water can force its way under seams and actually cause the leaks you’re trying to prevent.
7. Inspect for Soft Spots
While you’re up there, gently walk the roof (if it’s rated for foot traffic) and feel for any areas that seem spongy, soft, or give slightly underfoot. This is one of the clearest signs that water has already reached the decking and it’s starting to rot – a problem that needs professional attention quickly.
8. Check Drainage
Confirm gutters, drip edges, and low points on the roof aren’t collecting standing water. Pooling water dramatically increases the odds of a slow leak, especially around any seam or penetration nearby.
9. Look for Mold or Mildew
Dark streaks or a musty smell near roof vents or seams can indicate trapped moisture, even before you see an obvious leak. If you spot this, trace it back to the source rather than just cleaning the surface stain.
10. Apply Protectant or Coating
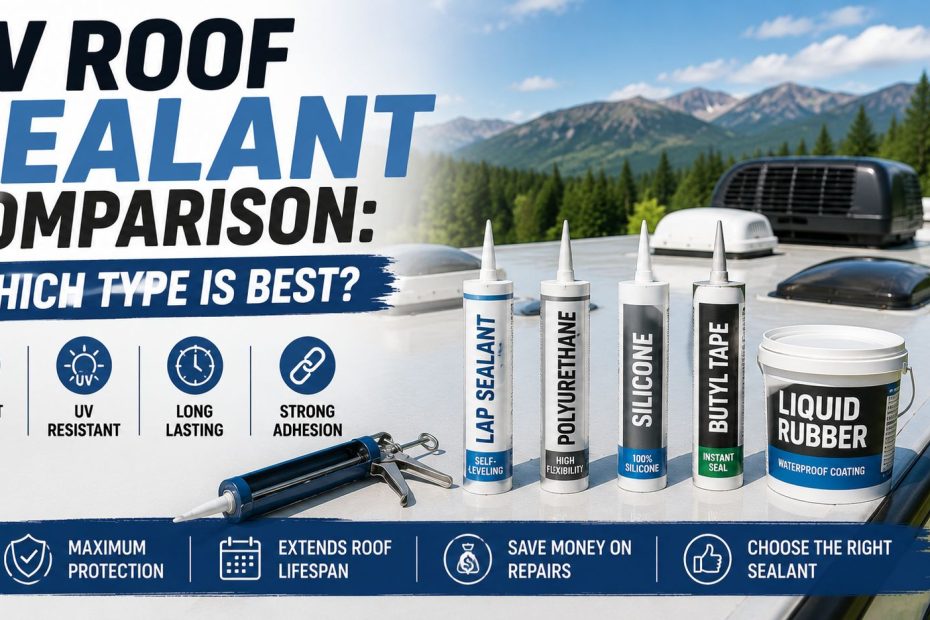
Once your roof is clean and any damaged sealant is repaired, apply a UV-protectant coating suited to your roof material. This slows down sun damage and extends the life of the membrane, meaning fewer repairs and a longer gap before a full recoat or replacement is needed. For a deeper look at how coatings work and which one fits your roof type, see our guide on RV roof sealant options.
RV roof care planner
Answer five quick questions and get a 12-month maintenance schedule you can drop straight into your calendar.
Intervals follow the ranges in our guides: inspect every 3 to 6 months, clean 2 to 4 times a year, reseal trouble spots every 1 to 3 years. Add a check after any severe storm.
Common Roof Maintenance Mistakes
Even well-intentioned RV owners make mistakes that shorten their roof’s life:
- Using a pressure washer. It feels efficient, but it can force water under seams and strip protective coatings.
- Using the wrong cleaner. Household cleaners or harsh chemicals can degrade rubber roofing faster than the elements do.
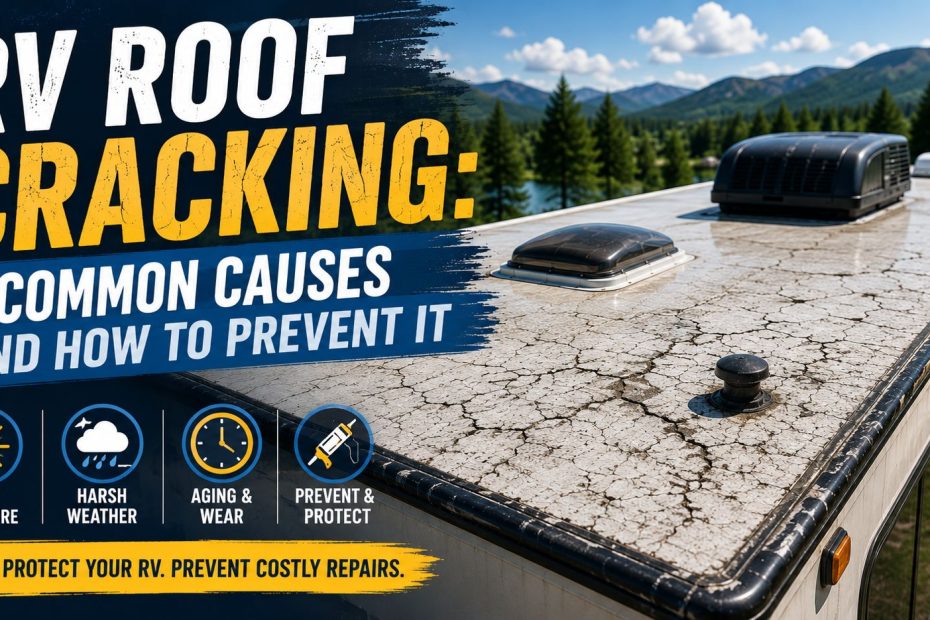
- Ignoring small cracks. A hairline crack in sealant seems harmless, but it’s an open door for water once it rains.
- Skipping inspections in the off-season. Roofs still take damage in storage – snow load, ice, and sun exposure don’t stop because the RV isn’t moving.
- Walking on a roof that isn’t rated for foot traffic. Not every roof can safely support a person’s weight; check your owner’s manual first.
- Forgetting drainage. Standing water is one of the most overlooked causes of roof failure.
Professional Inspection vs. DIY
Most of this checklist is well within reach for a comfortable DIY owner – cleaning, visual inspection, and basic sealant touch-ups don’t require special tools or training. Where it makes sense to call in a professional:
- You’re not comfortable climbing onto the roof or don’t have safe access
- You’ve found soft spots, which likely means water has already reached the decking
- Large sections of sealant are failing rather than a few isolated spots
- You want a full roof recoat, which benefits from professional-grade equipment and materials
A mobile RV technician or service center can also do a more thorough inspection with tools like moisture meters that can catch problems before they’re visible to the naked eye. For a full breakdown of what a professional repair or replacement typically costs, check our guide on RV roof repair costs.
Related guides
Frequently asked questions
How often should I inspect my RV roof?
At minimum twice a year – before and after your main travel season – plus a quick check every three months and after any major storm.
Can I reseal my RV roof myself?
Yes, in most cases. Cleaning the area, removing old sealant, and applying new sealant with a caulk gun is a manageable DIY task as long as you use a product made for your specific roof material.
How do I know what type of roof my RV has?
Check your owner’s manual, or look at the roof surface — EPDM and TPO are rubber membranes, fiberglass has a smoother, harder finish, and aluminum is a metal panel roof. If you’re still unsure, a dealer or service center can identify it quickly.
What happens if I ignore roof maintenance?
Small leaks turn into water damage in the roof decking and walls, which can lead to mold, structural rot, and repair costs that are far higher than routine maintenance would have been.
How long does an RV roof coating last?
This varies by product, but many coatings are rated for several years of protection before they need to be reapplied. Always check the manufacturer’s specific rating.
Should I hire someone or do it myself?
Basic cleaning and inspection are fine for most owners to DIY. If you find soft spots, major sealant failure, or you’re not comfortable on the roof, bring in a professional.
Conclusion
An RV roof doesn’t fail overnight – it fails from months or years of small, ignored details. Running through this RV roof maintenance checklist a few times a year, and after any serious weather, is the cheapest insurance you can buy for your rig. Catch the cracks early, keep the surface clean, and reseal as soon as you spot a problem, and you’ll avoid the roof repair bill that catches so many RV owners off guard.
Did this guide help with your rig?

Written by