On this page16 sections
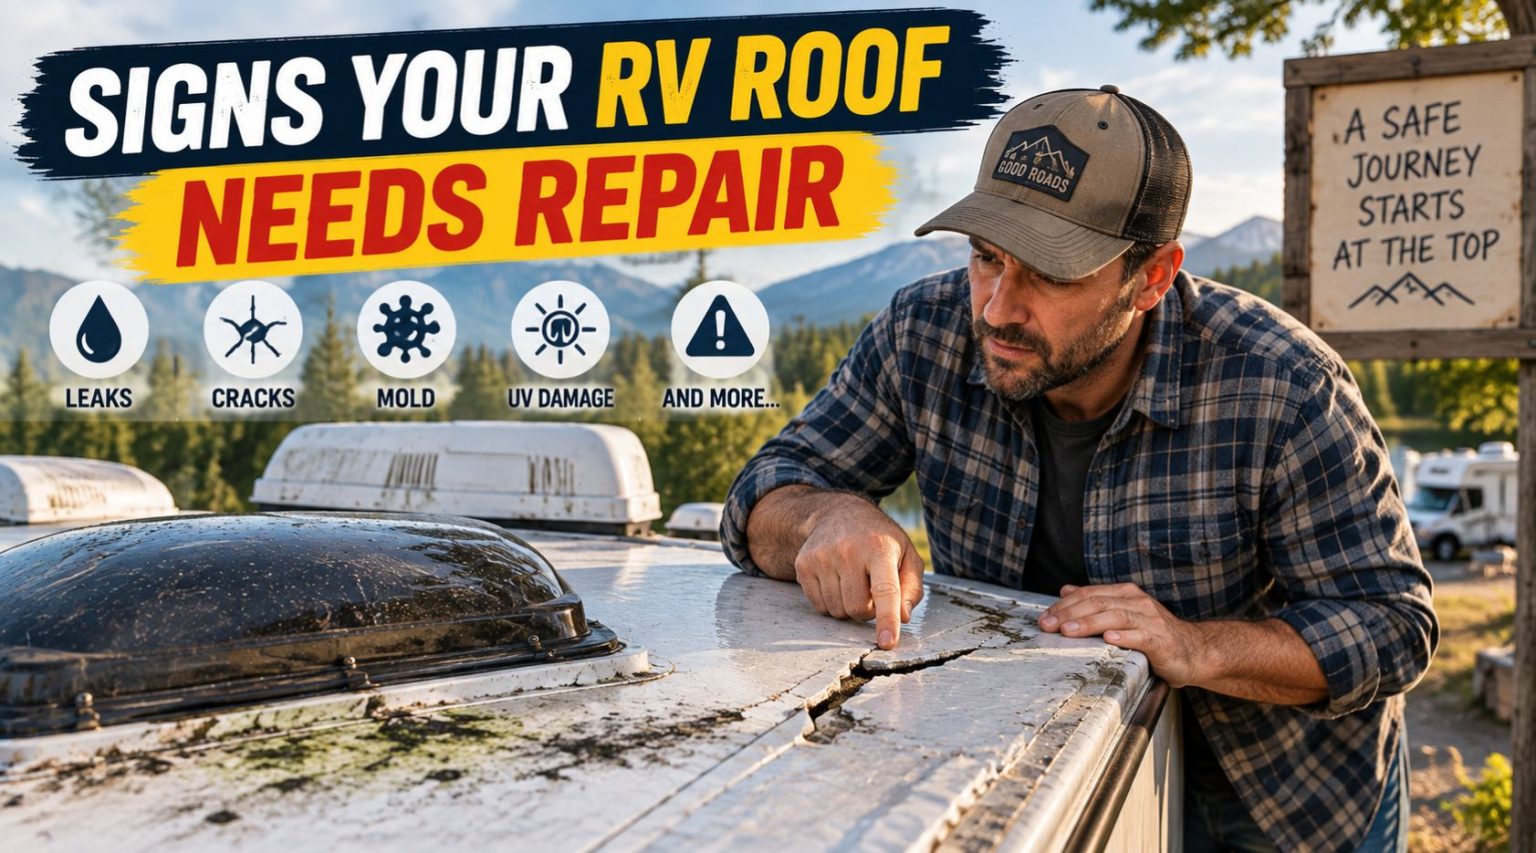
The clearest signs your RV roof needs repair are interior water stains, a musty smell, soft or spongy spots, visible sagging, and cracked or bubbling roof material. Soft spots and sagging mean water has already reached the roof decking and need immediate attention, while chalking, minor cracks, and worn sealant are earlier warnings worth fixing before they become bigger problems.
Roof damage rarely announces itself all at once. It shows up first as small, easy to dismiss details: a slight dullness in the roof color, a faint musty smell that fades once you air the place out, a hairline crack you tell yourself you’ll get to next weekend. By the time it’s obvious, water has usually already been getting in for a while.
This guide ranks the warning signs from most urgent to least, so you know exactly what needs a same-week fix and what you can reasonably schedule for your next maintenance pass.
How to Tell the Signs Your RV Roof Needs Repair Apart from Normal Wear
Not every roof issue carries the same urgency, and telling the signs your RV roof needs repair apart from ordinary cosmetic wear comes down to ranking them correctly. Instead of listing signs randomly, this guide is ordered from the most serious, meaning active structural or water damage, down to early warning signs that are still worth fixing but won’t cause immediate harm if you handle them on your next scheduled inspection.
1. Soft or Spongy Spots on the Roof
Urgency: Immediate If you walk the roof and feel a section that gives, flexes, or feels spongy underfoot, water has already reached the decking beneath the membrane and started softening the wood or composite structure underneath. This isn’t a wait-and-see situation. Continuing to walk on a soft spot risks your safety, and the damage only spreads the longer it’s left alone.
2. Visible Sagging or Bulging
Urgency: Immediate A roof that visibly dips, sags, or bulges, either from outside or when viewed against the ceiling from inside, points to a structural problem, usually extensive water damage that’s compromised the decking or framing. This typically requires professional evaluation rather than a DIY patch, since the extent of hidden damage isn’t always obvious from the surface.
3. Interior Water Stains or Active Dripping
Urgency: Immediate to urgent Water stains on the ceiling, especially near vents, skylights, or seams, or actual dripping during or after rain, mean water is actively getting past the roof’s defenses right now. Water often travels along a rafter before showing up inside, so the stain isn’t necessarily directly below the actual entry point. If you’re dealing with this right now, our guide on what to do when your RV roof leaks after heavy rain walks through finding the source and stopping it.
4. A Persistent Musty or Moldy Smell
Urgency: Urgent A musty odor, even without a visible stain, often means moisture is trapped somewhere you can’t see yet, inside a wall cavity or under the roof membrane. Mold and mildew thrive in these hidden, damp spaces, and by the time you can smell it, moisture has usually been present for a while. This is worth investigating promptly rather than just running a vent fan and hoping it clears up.
RV roof damage triage
Match what you're seeing to how fast it needs attention, most urgent first.
Tick everything you are seeing. Your action plan sorts itself by urgency.
Stop walking on that section. Water has reached the decking, and the damage only spreads the longer it's left, so plan the repair this week.
Book a professional evaluation. Sagging points to decking or framing damage, and the hidden extent is rarely obvious from the surface.
Find the entry point now. Check vents, skylights and seams, and remember water can run along a rafter before it shows inside.
Look for trapped moisture in wall cavities or under the membrane promptly. Running a vent fan and hoping it clears won't fix it.
Moisture is trapped underneath and tends to spread rather than resolve. Find the cause and fix it before the bubble grows.
Repair it before the next rain. A tear or puncture straight through the membrane is more urgent than a hairline crack in sealant.
Reseal it promptly. It's one of the cheapest fixes on the roof, and heavy rain is what turns it into a real leak.
The coating or membrane is breaking down from UV. Watch it closely and plan to address it before it progresses to cracking.
The seal there has degraded enough to pass air, and water tends to follow. Add it to your next inspection pass.
Inspect more often and budget for recoating or replacement, so the other nine signs don't catch you off guard.
Your action plan
Act now0
Fix soon0
Keep watching0
5. Bubbling or Blistering on the Roof Surface
Urgency: Urgent Bubbles or blisters in the roof membrane indicate trapped moisture underneath the surface, pushing the material up as it sits there. This is common enough that it has its own set of causes and fixes, which our guide on why your RV roof is bubbling covers in more depth. Left alone, trapped moisture under a bubble tends to spread rather than resolve on its own.
6. Cracks, Tears, or Punctures in the Membrane
Urgency: Moderate to urgent, depending on size A small hairline crack in sealant is a different situation than an actual tear or puncture straight through the roof membrane. Either way, both are direct paths for water, and both get worse the longer they’re exposed to rain and sun. Our breakdown of common causes behind RV roof cracking explains why this happens and how to catch it early.
7. Cracked, Shrinking, or Missing Sealant
Urgency: Moderate Sealant around vents, skylights, antennas, and seams naturally breaks down from UV exposure and temperature cycling over time. Cracked or pulled-away sealant isn’t an emergency the moment you spot it, but it’s exactly the kind of small failure that turns into a much bigger leak once heavy rain or a storm tests it. This is one of the easiest and cheapest fixes on this entire list if you catch it early.
8. Chalking, Fading, or a Powdery Residue
Urgency: Moderate, watch closely A powdery white residue that rubs off on your hand, along with dulling or fading color, signals that the roof coating or membrane itself is breaking down from UV exposure. This isn’t an active leak yet, but it’s a clear sign the roof’s protective layer is aging out and won’t hold up much longer without attention. Our guide on how long RV roof coating lasts can help you figure out where your roof likely stands in its lifespan.
9. Cold Drafts or Air Leaks Near Vents and Seams
Urgency: Minor to moderate If you notice cold air entering near a roof vent, skylight, or seam, even without water intrusion, it usually means the seal in that spot has degraded enough to let air through, and where air gets in, water eventually follows. This is worth adding to your next inspection pass rather than ignoring indefinitely.
RV roof leak map
Tap a hotspot to see what fails there, how to check it and how it gets fixed. Mark each spot as you inspect it.
Front cap seam
Common leak point- What fails
- The joint where the front cap meets the roof takes the most wind load and chassis flex, so its lap sealant cracks and lifts first.
- How to check
- Run a finger along the whole bead. Look for hairline cracks, shrink-back from the edge, gaps or lifted corners.
- Typical fix
- Clean off loose sealant, then run a fresh bead of lap sealant made for your roof material. Use non-sag where the seam turns vertical.
Rear cap seam
Common leak point- What fails
- Same failure as the front: movement and sun break down the sealant where the rear cap meets the membrane.
- How to check
- Inspect the full width, including the corners where the seam turns down the sidewalls.
- Typical fix
- Remove what is loose and reseal. Self-leveling sealant on the flat roof, non-sag on vertical faces.
Roof vent flange
Common leak point- What fails
- Vent flanges are screwed through the roof. Sealant over the flange and screw heads cracks, and plastic vent lids go brittle in the sun.
- How to check
- Look for cracked sealant over every screw head, gaps at the flange corners and crazing or cracks in the lid.
- Typical fix
- Reseal over the flange and all screw heads. Replace a cracked lid or frame rather than patching it.
Air conditioner
Common leak point- What fails
- The AC sits on a foam gasket that compresses and takes a set over time, letting water past the roof opening.
- How to check
- Look for water stains on the ceiling around the AC, a gap under the shroud or loose mounting bolts inside.
- Typical fix
- Replace the gasket and snug the bolts to the maker's spec. Do not seal the AC base with caulk; it relies on the gasket.
Skylight
Common leak point- What fails
- Skylight domes craze and crack with UV, and the sealant around the frame fails like any other penetration.
- How to check
- Look for crazing, cracks or cloudiness in the dome and cracked sealant around the frame.
- Typical fix
- Reseal the frame. A cracked dome needs replacing; tape over a crack is only a temporary stop.
Second vent or fan
Common leak point- What fails
- Powered fans and bath vents fail the same way as any vent, and the extra hardware adds screw penetrations.
- How to check
- Check sealant over every screw, around the flange and at the corners.
- Typical fix
- Reseal over the flange and fasteners, and replace a cracked lid.
Refrigerator roof vent
Common leak point- What fails
- The fridge vent cap is a large opening with a long sealant perimeter that is easy to forget.
- How to check
- Inspect the sealant around the whole base and look for cracks in the cap.
- Typical fix
- Reseal the base; replace the cap if it is cracked.
Antenna, satellite and solar mounts
Check each season- What fails
- Every mount foot is a screw penetration, and cable entry plates add more.
- How to check
- Look for cracked sealant over each foot and at the cable entry plate.
- Typical fix
- Dab fresh sealant over each fastener and around cable entries.
Sidewall edge terminations
Common leak point- What fails
- Where the roof membrane wraps over the sidewall, a termination bar is screwed down and covered with sealant that cracks along its length.
- How to check
- Walk both edges and look for cracked sealant over the termination bar and exposed screw heads.
- Typical fix
- Reseal the full run. Straight seams like this are also where repair tape works well.
Open roof membrane
Most urgent when it fails- What fails
- The open field of the roof shows chalking, bubbles, tears and punctures, and soft spots where water has reached the decking.
- How to check
- Walk carefully and feel for flex or sponginess. Look for tears, bubbles and chalky residue.
- Typical fix
- Patch tears and punctures with a repair tape made for your membrane. Soft spots mean decking damage: repair them before they spread.
Ladder brackets
Check each season- What fails
- Upper ladder brackets are bolted through the rear cap or roof edge and loosen with use.
- How to check
- Look for cracked sealant or a loose bracket at the top of the ladder.
- Typical fix
- Tighten the bracket and reseal over the fasteners.
Plumbing vent pipes
Check each season- What fails
- Small plumbing stack vents have their own sealant collar and cap, which crack and blow off.
- How to check
- Make sure each cap is present and the sealant around the pipe is intact.
- Typical fix
- Replace a missing cap and reseal around the base.
10. A Roof Nearing or Past Its Expected Lifespan
Urgency: Plan ahead EPDM, TPO, and fiberglass roofs all have a general expected service life, and a roof that’s approaching or past that range, especially one that hasn’t had consistent maintenance, is statistically more likely to develop the other nine issues on this list. This isn’t a sign you need repair today, but it’s a reason to inspect more frequently and budget for eventual recoating or replacement rather than being caught off guard.
Signs at a Glance
| Sign | Urgency | Likely Cause |
|---|---|---|
| Soft or spongy spots | Immediate | Rotted decking from trapped water |
| Visible sagging or bulging | Immediate | Structural water damage |
| Interior stains or dripping | Immediate to urgent | Active leak somewhere on the roof |
| Musty or moldy smell | Urgent | Hidden trapped moisture |
| Bubbling or blistering | Urgent | Moisture trapped under the membrane |
| Cracks, tears, or punctures | Moderate to urgent | Physical damage to the membrane |
| Cracked or missing sealant | Moderate | Normal UV and age related wear |
| Chalking or fading | Moderate | Coating or membrane breaking down |
| Cold drafts near seams | Minor to moderate | Degraded seal allowing air through |
| Roof nearing expected lifespan | Plan ahead | General age and cumulative wear |
What to Do When You Spot One of These Signs
- Confirm what you’re dealing with. A visual inspection combined with a gentle press test on any soft-looking area tells you more than a glance from the ground.
- Address the urgent signs first. Soft spots, sagging, and active leaks take priority over cosmetic issues like chalking.
- Handle small, moderate issues promptly. Cracked sealant and minor cracks are cheap and easy fixes now, and expensive water damage later if ignored.
- Bring in a professional for structural concerns. Soft spots, sagging, and recurring leaks that keep coming back despite repairs usually need more than a DIY sealant fix.
- Build a regular inspection habit going forward. Our RV roof maintenance checklist and RV roof inspection checklist cover exactly what to check and how often, so these signs get caught early instead of after a storm.
When These Signs Point to Something Bigger Than the Roof
Some of these signs, especially musty smells and cracked seals, aren’t limited to the roof alone. Windows, doors, and slide-outs have their own seals that fail in similar ways and cause similar symptoms. Our RV seal inspection guide covers the rest of the RV’s exterior seals if you’ve ruled out the roof as the source and the smell or draft is still showing up somewhere.
Frequently asked questions
What is the most urgent sign that my RV roof needs repair?
Soft or spongy spots and visible sagging are the most urgent, since both indicate water has already reached and damaged the roof decking or structure underneath.
Can I fix RV roof damage myself?
Small sealant cracks, minor surface repairs, and touch-ups are usually manageable DIY tasks. Soft spots, sagging, structural damage, and recurring leaks are better handled by a professional.
How do I know if my roof leak is serious?
If you see active dripping, a stain that’s growing over time, or a musty smell that doesn’t clear up, treat it as serious and investigate right away rather than waiting for your next scheduled inspection.
Is chalking on my RV roof a serious problem?
Not immediately, but it does mean the roof’s protective coating is breaking down. It’s worth addressing before it progresses into cracking or reduced UV protection.
How often should I check my RV roof for these signs?
A full inspection every three to six months is a reasonable baseline, along with a check after any major storm or before and after your main travel season.
Should I call a professional or try to repair it myself?
For cosmetic or minor sealant issues, DIY repair is usually fine. For soft spots, sagging, structural concerns, or leaks that keep returning after repairs, a professional inspection is worth the cost to avoid missing hidden damage.
Final Thoughts
Walk your roof this week and check for even one of these ten signs. Catching a small crack or a patch of chalking now is far cheaper than dealing with a soft spot or sagging ceiling later.
Most RV roof problems don’t start as emergencies, they start as small, easy to overlook details that get worse with time and weather. Learning to recognize these ten signs, and understanding which ones demand immediate action versus which ones you can plan around, is what actually keeps a small repair from turning into a major, expensive one.
Did this guide help with your rig?

Written by