On this page10 sections
Finding mold on your RV roof isn’t just an eyesore. Left alone, it can work its way into seams and sealant, weaken the roof surface over time, and bring a musty smell into the cabin that’s hard to get rid of. The good news is that RV roof mold removal is usually a manageable DIY job, as long as you use the right approach for your roof material and actually deal with the moisture that’s letting the mold grow in the first place.
Here’s how we approached this: we looked at what RV manufacturers and roofing specialists recommend for rubber roof care, compared that against commonly used household remedies like vinegar and diluted bleach, and combined it into one safe, straightforward process.
Why Mold Grows on RV Roofs
Mold needs two things to grow: moisture and a surface to hold onto. RV roofs check both boxes more often than owners expect. Parking under trees blocks sunlight and drops debris that traps moisture against the surface. Roof vents, skylights, and AC units create shaded pockets that stay damp longer than the rest of the roof. And any roof with cracked sealant or a slow, unnoticed leak gives water a place to sit and mold a reason to start growing.
Humid climates make the problem worse, and RVs stored for long stretches without airflow are especially prone to it, since stagnant, damp air is exactly what mold thrives in.
Quick reference: cleaning options compared
| Cleaner | Effectiveness | Roof Safety | Best Use |
|---|---|---|---|
| White vinegar solution | Good for light to moderate mold | Gentle, safe for most roof types | First choice for routine cleaning |
| Mild dish soap and water | Good for light mold and general grime | Gentle, safe for most roof types | Regular maintenance cleaning |
| Diluted bleach (1:4 with water) | Strong, effective on stubborn spots | Use cautiously, confirm roof compatibility first | Stubborn spots only, not full roof |
| RV-specific mold cleaner | Strong, formulated for the job | Generally safe when labeled for your roof type | Heavier or recurring mold problems |
Mold vs. Mildew vs. Regular Dirt
Before you start scrubbing, it helps to know what you’re actually dealing with. Mildew tends to look like a flat, powdery gray or white coating and is generally easier to remove. Mold is usually darker, black, green, or brown, and can appear fuzzy or slightly raised, since it grows into the surface rather than just sitting on top of it. If you’re not sure which one you’re looking at, it’s safest to treat it as mold and follow the fuller cleaning process below.
Is RV Roof Mold Dangerous?
It’s worth taking seriously beyond just the appearance. Mold can gradually break down roofing material and sealant, which shortens the life of the roof and can lead to costlier repairs down the line. Mold spores can also affect indoor air quality and may trigger allergy or respiratory symptoms for some people, especially with prolonged exposure. And practically speaking, a mold streaked roof can hurt your RV’s resale value, since it signals to a buyer that maintenance may have been neglected.
Safe RV roof mold removal, step by step
Work through these in order, and give the gentle cleaners a fair try before reaching for anything stronger.
0 of 14 done
What You’ll Need
- Gloves and eye protection, and a mask if you’re sensitive to mold or working in a large affected area
- A soft-bristle brush or sponge, never a stiff or wire brush
- A bucket for mixing your cleaning solution
- White vinegar or a mild dish soap, your primary cleaning option
- Diluted bleach, optional, for stubborn spots only, and only if your roof material can tolerate it
- A garden hose with low to moderate water pressure
- A ladder rated for roof access and non-slip shoes
How to Remove Mold From Your RV Roof
1. Identify and address the moisture source first
Cleaning mold without fixing what’s causing it is a temporary win at best. Before or immediately after cleaning, inspect the roof for cracked sealant, damaged vents, or any spot where water might be sitting or getting in. If you find damage, plan on repairing it once the cleaning is done, since mold left unaddressed here will simply return.
2. Test your cleaner in a small area first
Before treating the whole roof, apply your chosen cleaner to a small, less visible section and check for any discoloration or damage after a few minutes. This is especially worth doing before using anything stronger than a mild soap or vinegar solution.
3. Apply a mild cleaning solution
For most cases, a solution of white vinegar and water, or warm water with a mild dish soap, is enough to break down mold without being harsh on the roof membrane. Apply it generously to the moldy areas with a sponge or soft brush, making sure to cover the surrounding area as well, since mold spores can be present slightly beyond what’s visibly discolored.
4. Let it sit before scrubbing
Give the solution time to work, typically around ten to fifteen minutes, before scrubbing. This softens the mold and makes it easier to remove without needing to scrub aggressively.
5. Scrub gently with a soft brush
Work the affected areas with a soft-bristle brush, using steady pressure rather than harsh scrubbing. If mold remains after the first pass, reapply the solution and repeat rather than switching to a stronger chemical right away.
6. Reserve diluted bleach for stubborn spots only
If mild cleaners aren’t fully removing the mold, a diluted bleach solution, roughly one part bleach to four parts water, can be used cautiously on roof materials confirmed to tolerate it. Apply it to the specific stubborn spot rather than the entire roof, let it sit for a short time, and rinse thoroughly afterward. Many cleaning guides now favor vinegar or mild detergent over bleach as a first choice, since bleach can be harsh on some rubber roofing over repeated use and isn’t always necessary for routine mold removal.
7. Rinse thoroughly
Rinse the entire treated area with a garden hose on low to moderate pressure, making sure no cleaning solution or loosened mold residue is left behind. Rinse down the sides of the RV too, so runoff doesn’t streak your paint or decals.
8. Let the roof dry completely
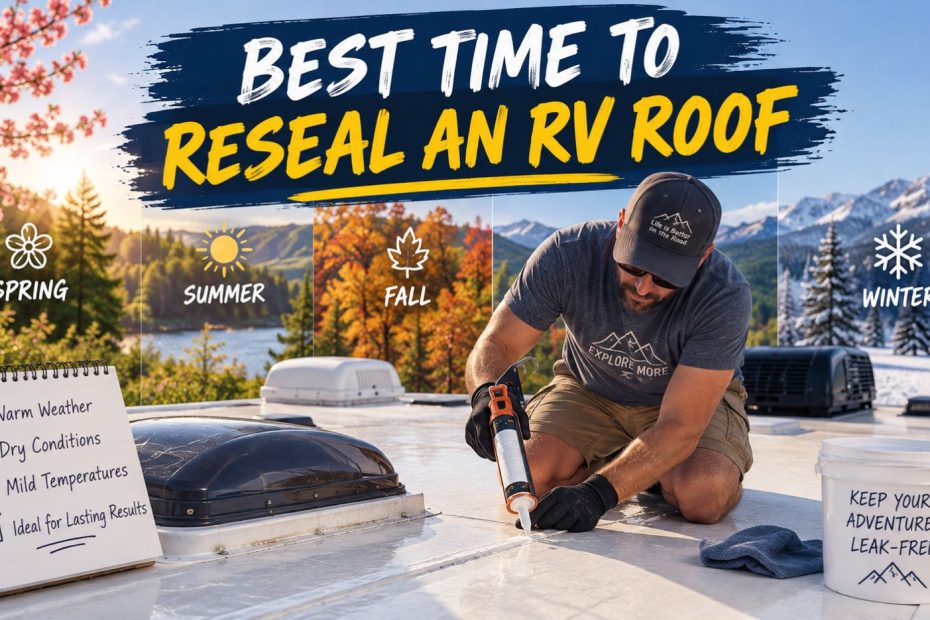
Allow the roof to air dry fully in the sun if possible, since sunlight naturally discourages mold growth and helps confirm the area is completely dry before you consider the job done.
9. Repair any damage you found
If your inspection turned up cracked sealant or another entry point for moisture, take care of that repair now while the roof is clean and it’s easy to see exactly what needs attention. Our guide on RV roof repair walks through the process in detail.
Cleaners to Avoid or Use With Caution
- Full strength bleach applied directly, which is harsher than necessary and can affect some rubber roofing over time
- Petroleum based cleaners or solvents, which can dry out and crack EPDM specifically
- Stiff or wire brushes, which can wear down the roof membrane while you’re trying to protect it
- Pressure washers, since high pressure water can force its way under seams and sealant rather than just cleaning the surface
RV roof care planner
Answer five quick questions and get a 12-month maintenance schedule you can drop straight into your calendar.
Intervals follow the ranges in our guides: inspect every 3 to 6 months, clean 2 to 4 times a year, reseal trouble spots every 1 to 3 years. Add a check after any severe storm.
How to Prevent Mold From Coming Back
Removing existing mold is only half the job. A few habits make a real difference in keeping it from returning:
- Park in sunlight when possible. Mold prefers dark, damp conditions, and regular sun exposure makes the roof a much less hospitable place for it to grow.
- Keep the roof clean and dry. Regular cleaning, ideally a few times a year, prevents the buildup of dirt and debris that traps moisture against the surface.
- Clear drainage and gutters. Standing water is one of the most common reasons mold keeps coming back in the same spots.
- Inspect and maintain sealant. Cracked or aging sealant lets moisture in, so staying ahead of it removes one of mold’s biggest opportunities. Our RV roof maintenance checklist covers what to check and how often.
- Ventilate during storage. If your RV sits for extended periods, proper airflow, whether through vent covers or periodic airing out, helps prevent the trapped, damp conditions mold needs.
When to Call a Professional
Most roof mold is manageable as a DIY project, but consider bringing in a professional if:
- The mold covers a large area or keeps returning despite repeated cleaning
- You find soft, spongy spots, which likely mean water has already reached the roof decking underneath
- You have health concerns or sensitivities that make handling mold removal yourself risky
- You’re not confident identifying whether what you’re looking at is mold, mildew, or something else entirely
Related guides
Frequently asked questions
Is vinegar or bleach better for removing RV roof mold?
Vinegar is generally considered the gentler, safer first option for RV roof mold removal, and it’s effective on most mold and mildew without the harshness of bleach. Bleach can be used cautiously on stubborn spots for compatible roof materials, but it isn’t necessary for most routine cleaning.
Can mold damage my RV roof permanently?
Yes, if left untreated for a long time. Mold can gradually break down sealant and roofing material, which can lead to more serious water damage and costlier repairs.
How often should I check my RV roof for mold?
Checking during your regular roof inspections, ideally every few months and after storms or extended storage, is enough to catch mold early before it spreads.
Is RV roof mold dangerous to my health?
It can be, particularly with prolonged exposure or for people sensitive to mold spores. It’s worth cleaning promptly rather than leaving it to spread.
Why does mold keep coming back after I clean it?
This usually means the moisture source hasn’t been fixed. Check for cracked sealant, poor drainage, or shaded, damp areas that aren’t drying out between rains.
Can I use the same cleaner for mold on my roof and mold on my RV’s siding?
In many cases yes, but always confirm the product is safe for both surfaces, since roofing material and painted or fiberglass siding don’t always react to cleaners the same way.
Final Thoughts
Don’t wait for mold to spread before dealing with it. Catching it early, cleaning it with the gentlest effective solution, and fixing whatever’s letting moisture in are the three things that actually keep it from coming back.
RV roof mold removal isn’t complicated, but it does reward doing it properly rather than rushing straight to the strongest chemical you can find. Start gentle, address the moisture source, and treat the cleanup as a chance to catch small roof problems before they turn into bigger ones. A little consistency here goes a long way toward keeping your roof both mold free and structurally sound for years to come.
Did this guide help with your rig?

Written by