On this page8 sections
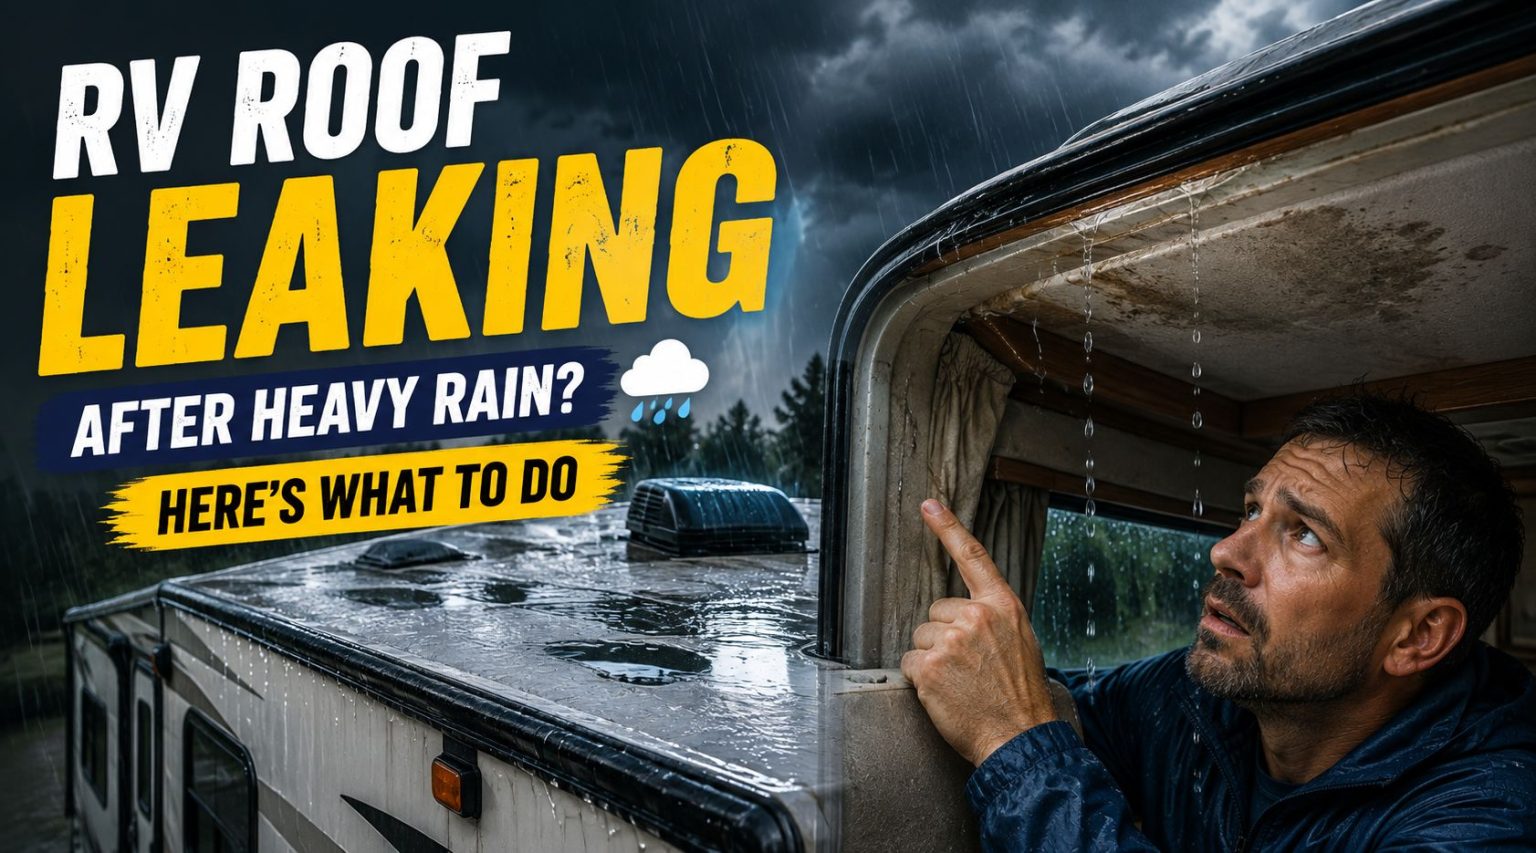
A heavy rainstorm is one of the fastest ways to expose a weak spot in your RV roof. Everything can look fine for months, then one hard rain later, you notice a water stain on the ceiling, a damp spot in a cabinet, or water pooling near a vent. It’s stressful, but it’s also fixable, and in most cases you can find the source and stop it from getting worse before it turns into a bigger repair.
Here’s how we approached this: we looked at what actually causes RV roofs to leak during heavy rain, cross-checked common troubleshooting steps used by RV technicians, and combined that with the kind of practical, on-the-ground advice RV owners share after dealing with this themselves.
Why RV Roofs Leak After Heavy Rain
RV roofs are flatter than a house roof, so instead of shedding water quickly, they rely almost entirely on sealant and seams to keep water out. That works fine under normal conditions, but heavy rain adds extra pressure in a few specific ways.
Sealant that was already weakening finally gives way. Small cracks or thinning sealant around vents, skylights, and seams often hold up fine in light rain. A heavy downpour, especially with wind pushing water sideways, is often what finally forces water through a spot that was already compromised.
Water finds low points and pools. If your roof has a low spot, from sagging, an uneven install, or just years of settling, water collects there instead of running off. The longer it sits, the more pressure it puts on the seal underneath.
Clogged drainage makes it worse. Gutters, channels, or drip edges clogged with leaves and debris stop water from draining properly, so it backs up and sits against seams longer than it should.
Wind driven rain gets into places vertical rain wouldn’t. Storms with strong wind can push rain sideways into gaps around AC units, vents, and roof edges that would otherwise stay dry.
Signs You Have a Roof Leak, Not Just Condensation
Before assuming the worst, it helps to rule out condensation, which is common in RVs and isn’t a roof problem. A few signs point specifically to a roof leak:
- Water stains that appear or grow right after a rainstorm, not overnight regardless of weather
- Discoloration or sagging directly under a vent, skylight, or seam
- A musty smell that wasn’t there before, which can mean hidden moisture
- Water inside a cabinet or closet near an exterior wall or the ceiling
- Visible dripping during or right after rain, especially near roof penetrations
If the moisture only shows up on windows and metal surfaces and disappears once you run the vent fan, that’s more likely condensation than a roof leak.
What to Do Right Away
1. Move anything getting wet
Start by protecting what’s inside. Move electronics, bedding, and anything else away from the affected area, and place a container under active drips if the leak is still coming through.
2. Find the source, not just the symptom
Water rarely drips straight down from where it enters. It often travels along a rafter, wall cavity, or the underside of the roof before showing up somewhere else entirely, so the wet spot inside isn’t always directly below the actual leak. Once it’s safe and dry outside, get on the roof and check the usual failure points first: vent covers, skylights, AC unit seals, antenna mounts, and seams along the roof edge.
3. Do a simple hose test if you’re still not sure
If it’s not actively raining and you want to confirm the source, have someone inside the RV while you run a garden hose slowly over one section of the roof at a time, starting near suspected trouble spots. This lets you narrow down exactly where water is getting in without waiting for the next storm.
4. Apply a temporary seal if needed
If you find cracked or separated sealant and can’t do a full repair right away, a temporary bead of RV grade sealant over the cracked area can buy you time until you can do the job properly. This isn’t a permanent fix, but it can stop active water intrusion in the short term.
5. Document the damage
Take photos of both the exterior source and any interior damage. This is useful for your own records, for warranty claims if applicable, and for tracking whether the same spot causes problems again later.
RV Roof Leak Action Checklist
Work down this list from the moment you spot water, from protecting the inside to testing the finished repair.
0 of 13 done
How to Fix the Leak Properly
Once you’ve found the source and the roof is dry, here’s the general repair process:
- Clean the area thoroughly. Remove dirt, debris, and any old, cracked sealant with a plastic scraper. Avoid metal tools that can gouge the roof membrane.
- Let it dry completely. Sealant won’t bond properly to a damp surface, so give it time to fully dry before applying anything new.
- Apply the right sealant for your roof type. Self leveling lap sealant works well for horizontal seams, while cap or trowel sealant is better for vertical surfaces like vent housings. Always match the product to your specific roof material: EPDM, TPO, fiberglass, or aluminum.
- Use a patch for larger tears. Cracked sealant is one thing, but an actual puncture or tear in the membrane usually needs a patch kit made for your roof type, not just sealant alone.
- Let it cure fully before exposing it to rain. Most sealants need at least 24 hours to cure, sometimes longer depending on temperature and humidity, so check the product label and avoid driving or camping under trees during that window if possible.
- Test it before you trust it. Once cured, run a hose over the repaired area and check inside for any remaining drips before considering the job done.
For a full breakdown of tools, materials, and step by step technique, see our guide on RV roof repair.
When a Patch Isn’t Enough
Some situations go beyond a DIY sealant fix. Call in a professional if you notice:
- Soft, spongy, or sagging spots on the roof, which usually means the decking underneath has already absorbed water
- Leaks that keep returning in the same area even after resealing
- Widespread sealant failure across multiple sections rather than one isolated spot
- Visible mold or a strong musty smell inside the RV, which can indicate moisture has been trapped for a while
Ignoring these signs tends to turn a manageable repair into a much larger one, since trapped water can lead to rot, delamination, and damage to the framing underneath the roof.
RV roof leak map
Tap a hotspot to see what fails there, how to check it and how it gets fixed. Mark each spot as you inspect it.
Front cap seam
Common leak point- What fails
- The joint where the front cap meets the roof takes the most wind load and chassis flex, so its lap sealant cracks and lifts first.
- How to check
- Run a finger along the whole bead. Look for hairline cracks, shrink-back from the edge, gaps or lifted corners.
- Typical fix
- Clean off loose sealant, then run a fresh bead of lap sealant made for your roof material. Use non-sag where the seam turns vertical.
Rear cap seam
Common leak point- What fails
- Same failure as the front: movement and sun break down the sealant where the rear cap meets the membrane.
- How to check
- Inspect the full width, including the corners where the seam turns down the sidewalls.
- Typical fix
- Remove what is loose and reseal. Self-leveling sealant on the flat roof, non-sag on vertical faces.
Roof vent flange
Common leak point- What fails
- Vent flanges are screwed through the roof. Sealant over the flange and screw heads cracks, and plastic vent lids go brittle in the sun.
- How to check
- Look for cracked sealant over every screw head, gaps at the flange corners and crazing or cracks in the lid.
- Typical fix
- Reseal over the flange and all screw heads. Replace a cracked lid or frame rather than patching it.
Air conditioner
Common leak point- What fails
- The AC sits on a foam gasket that compresses and takes a set over time, letting water past the roof opening.
- How to check
- Look for water stains on the ceiling around the AC, a gap under the shroud or loose mounting bolts inside.
- Typical fix
- Replace the gasket and snug the bolts to the maker's spec. Do not seal the AC base with caulk; it relies on the gasket.
Skylight
Common leak point- What fails
- Skylight domes craze and crack with UV, and the sealant around the frame fails like any other penetration.
- How to check
- Look for crazing, cracks or cloudiness in the dome and cracked sealant around the frame.
- Typical fix
- Reseal the frame. A cracked dome needs replacing; tape over a crack is only a temporary stop.
Second vent or fan
Common leak point- What fails
- Powered fans and bath vents fail the same way as any vent, and the extra hardware adds screw penetrations.
- How to check
- Check sealant over every screw, around the flange and at the corners.
- Typical fix
- Reseal over the flange and fasteners, and replace a cracked lid.
Refrigerator roof vent
Common leak point- What fails
- The fridge vent cap is a large opening with a long sealant perimeter that is easy to forget.
- How to check
- Inspect the sealant around the whole base and look for cracks in the cap.
- Typical fix
- Reseal the base; replace the cap if it is cracked.
Antenna, satellite and solar mounts
Check each season- What fails
- Every mount foot is a screw penetration, and cable entry plates add more.
- How to check
- Look for cracked sealant over each foot and at the cable entry plate.
- Typical fix
- Dab fresh sealant over each fastener and around cable entries.
Sidewall edge terminations
Common leak point- What fails
- Where the roof membrane wraps over the sidewall, a termination bar is screwed down and covered with sealant that cracks along its length.
- How to check
- Walk both edges and look for cracked sealant over the termination bar and exposed screw heads.
- Typical fix
- Reseal the full run. Straight seams like this are also where repair tape works well.
Open roof membrane
Most urgent when it fails- What fails
- The open field of the roof shows chalking, bubbles, tears and punctures, and soft spots where water has reached the decking.
- How to check
- Walk carefully and feel for flex or sponginess. Look for tears, bubbles and chalky residue.
- Typical fix
- Patch tears and punctures with a repair tape made for your membrane. Soft spots mean decking damage: repair them before they spread.
Ladder brackets
Check each season- What fails
- Upper ladder brackets are bolted through the rear cap or roof edge and loosen with use.
- How to check
- Look for cracked sealant or a loose bracket at the top of the ladder.
- Typical fix
- Tighten the bracket and reseal over the fasteners.
Plumbing vent pipes
Check each season- What fails
- Small plumbing stack vents have their own sealant collar and cap, which crack and blow off.
- How to check
- Make sure each cap is present and the sealant around the pipe is intact.
- Typical fix
- Replace a missing cap and reseal around the base.
How to Prevent This From Happening Again
A leak after heavy rain is often the result of something that was slowly building for months. A few habits go a long way toward preventing a repeat:
- Inspect the roof every six months, and again after any major storm, checking every seam, vent, and skylight seal
- Clean the roof regularly so you can actually see small cracks instead of missing them under dirt and grime
- Keep drainage clear of leaves and debris so water doesn’t pool against seals
- Reseal proactively, not just when you notice a problem, since sealant naturally breaks down over time even without visible damage
- Track what you check and when, so you know exactly when your next inspection is due
If you want a full seasonal routine to follow, our RV roof maintenance checklist walks through what to check throughout the year, and our guide on how often you should reseal an RV roof breaks down a realistic schedule based on your roof material and climate.
Frequently asked questions
Why does my RV roof only leak during heavy rain?
Heavy rain adds extra water volume and often wind pressure, which is enough to push water through small cracks or thinning sealant that light rain doesn’t expose. The weak spot was likely already there, heavy rain just revealed it.
How do I find where my RV roof is leaking?
Start with the usual failure points: vents, skylights, AC units, antenna mounts, and roof edge seams. Since water can travel before showing up inside, a hose test with someone watching indoors is often the most reliable way to pinpoint the exact source.
Can I drive my RV while it has a roof leak?
You can, but it’s not ideal. Driving in rain with an active leak allows more water in, and road vibration can worsen a weak seal. If possible, apply a temporary seal before your next trip.
How much does it cost to fix an RV roof leak?
A small sealant repair might only cost the price of a tube of sealant and an afternoon of your time. Larger repairs involving patches, decking replacement, or a full recoat cost significantly more, which is part of why catching leaks early matters.
Is it normal for a new RV to leak?
It shouldn’t be, but it does happen. Even new RVs can develop leaks from manufacturing gaps or seams that weren’t sealed properly, so the same inspection and repair steps apply regardless of the RV’s age.
Will homeowners or RV insurance cover roof leak damage?
This depends on your specific policy and the cause of the leak. Gradual wear and lack of maintenance is often excluded, while sudden storm damage may be covered. Check your policy directly or ask your provider before assuming either way.
Final Thoughts
A roof leak after heavy rain is unsettling, but it’s rarely something you can’t recover from if you act quickly. Find the source, protect what’s inside, apply a proper repair once the area is clean and dry, and use the experience as a reminder to stay ahead of roof maintenance going forward. Catching problems early is always cheaper and less stressful than dealing with them after a storm.
Did this guide help with your rig?

Written by