On this page9 sections
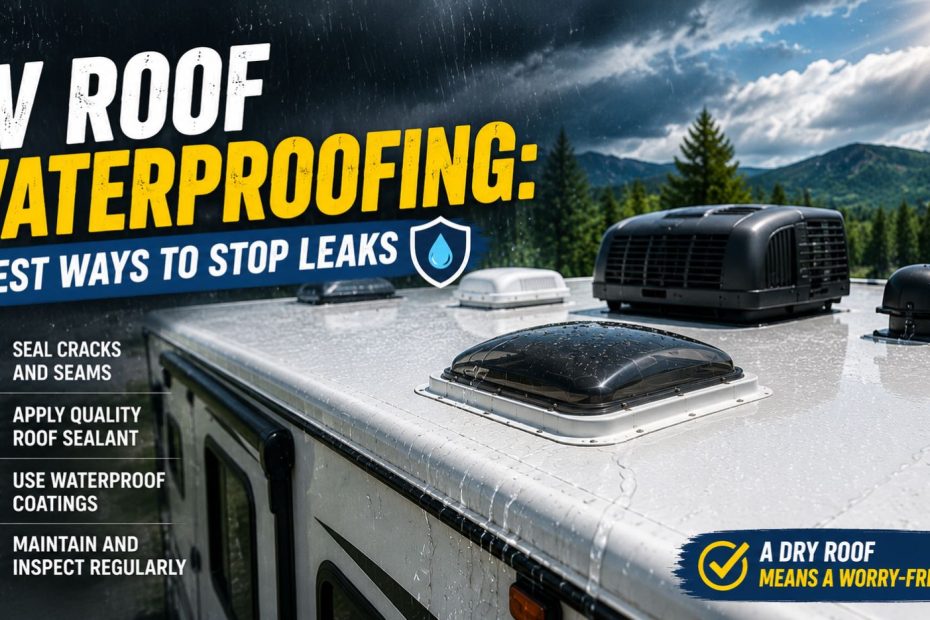
Most RV roof problems do not start as leaks. They start as a small crack in the sealant, a screw that has backed out, or a seam that has quietly separated. By the time water actually shows up on your ceiling, the damage underneath has usually been building for months, and what could have been a quick fix has turned into a much bigger job.
That is exactly why a proper inspection routine matters more than a single big repair job. It does not take special training or expensive equipment, just a clear list of what to look for and a habit of actually checking it on a regular schedule. We built this checklist based on manufacturer guidance, professional RV inspector recommendations, and common issues reported by long-time RV owners, so you know exactly what to check, not just that you should check “the roof” in general.
How We Built This Checklist
Before putting this list together, we looked at what actually causes roof failures in the field, not just what sounds thorough on paper. Each item below was chosen because it is:
- A common failure point reported across multiple RV roof types and materials
- Something an owner can realistically check without special tools or training
- A spot where catching a problem early saves real money compared to catching it late
- Consistent with what professional RV inspectors flag during pre-purchase and pre-trip inspections
What You Will Need
- A ladder rated for roof access, or your RV’s built in roof access if it has one
- Non slip shoes, since roof surfaces get slippery even when dry
- A flashlight for shaded spots around AC units and vent housings
- A soft cloth or notepad to log anything you find
- Good weather: skip the roof during rain, high wind, or extreme heat
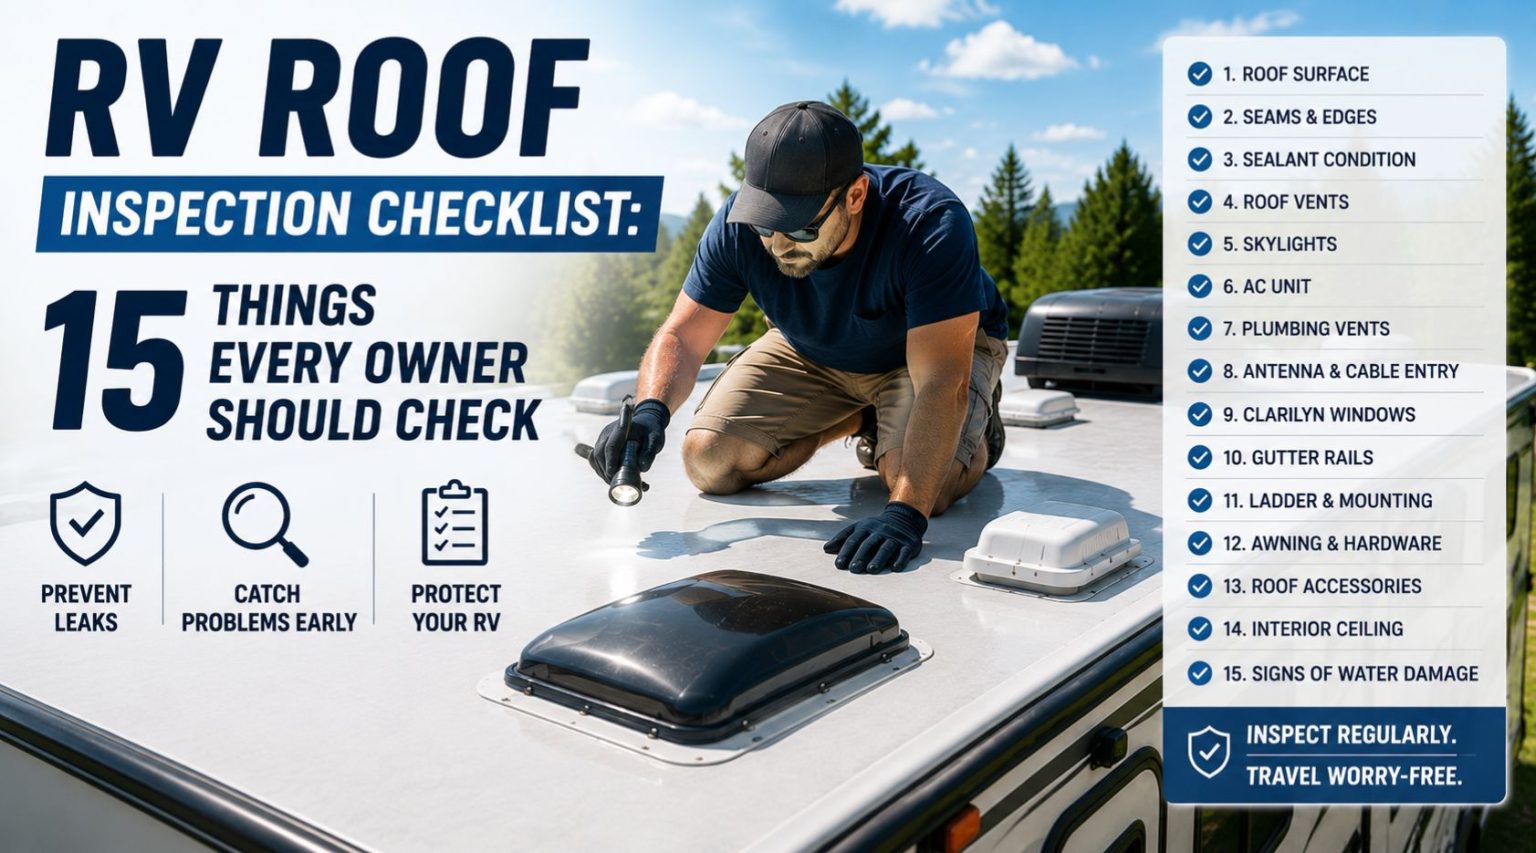
The 15 Point RV Roof Inspection Checklist
1. Clean the Roof First
Dirt and grime hide small cracks and early warning signs. Give the roof a basic clean before you start inspecting, so you are actually looking at the surface, not a layer of buildup on top of it.
2. Check Roof Vents
Inspect the sealant ring around every roof vent, including bathroom fans and range vents. This is one of the most common leak points on any RV, since each vent is a hole cut directly into the roof.
3. Inspect Skylights
Skylights get the same treatment as vents. Look closely at the perimeter seal, since these openings flex more than flat sections of roof and tend to fail gradually rather than all at once.
4. Check the AC Unit Gasket
The gasket under your roof mounted AC unit is another major leak point. Look for cracking, shrinking, or gaps where the gasket has pulled away from the roof surface.
5. Inspect All Seams and Lap Sealant
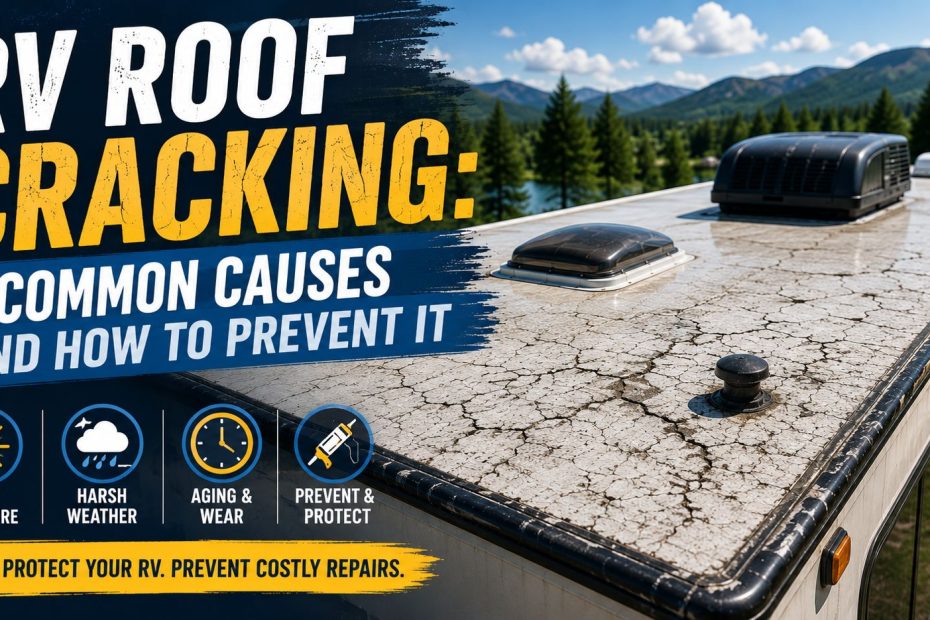
Walk every seam on the roof and check the lap sealant closely. You are looking for cracking, lifting, shrinking, or sealant that has pulled away from the surface entirely.
6. Check Antenna and Satellite Mounts
Any hardware bolted through the roof, including antennas and satellite dish mounts, needs its own sealant check. These are easy to forget since they are often smaller and less obvious than vents.
7. Inspect Where the Roof Meets the Sidewalls
This edge is a common trouble spot, especially on older RVs. Look for soft spots, heavy patching, or signs of previous repairs that were not done cleanly.
8. Press for Soft Spots
If your roof is rated for foot traffic, gently walk it and press lightly in a few areas. A soft, spongy, or give feeling under your foot usually means water has already reached the decking underneath.
9. Look for Bubbling or Blistering
Bubbles or blisters in the roof membrane are a sign that moisture has gotten trapped underneath the surface. This is worth addressing before it spreads.
10. Check for Standing Water
Look at low points, gutters, and drip edges for pooled water. Standing water dramatically increases the odds of a slow leak developing nearby.
11. Inspect Around Slide Out Toppers
Where the roof meets any slide out topper or awning track is another spot prone to sealant failure, since it sees constant movement and flexing.
12. Check Screw Heads and Fasteners
Look for screws that are backing out, rusted, or missing their sealant cap entirely. A single exposed screw head is a small leak waiting to happen.
13. Inspect Solar Panel Mounts
If you have solar panels, check the sealant around every mounting bracket and cable entry point. These are often added after the original roof installation, so the seals can be less consistent.
14. Look for Mold, Mildew, or Dark Streaks
Dark streaks or a musty smell near seams or vents can mean trapped moisture, even before you see an obvious leak. Trace the source rather than just noting the stain.
15. Check Overall Membrane Condition
Step back and look at the whole roof surface. Chalking, thinning, or widespread wear across the membrane is a sign it may be time for a full recoat rather than another round of spot repairs. If it has been a while since your last full check, our RV roof maintenance checklist walks through the complete seasonal routine.
15-Point RV Roof Inspection Checklist
Work through all 15 in good weather with a ladder, non-slip shoes and a flashlight, and note anything you find for next time.
0 of 15 done
Quick Reference Table
| Item | What You Are Checking For | How Often |
|---|---|---|
| Vents and skylights | Cracked or missing sealant | Every 6 months |
| AC gasket | Gaps, cracking, shrinking | Every 6 months |
| Seams and lap sealant | Lifting, cracking, gaps | Every 6 months |
| Soft spots | Water damage underneath | Every inspection |
| Screws and fasteners | Backed out or exposed heads | Every inspection |
| Overall membrane | Chalking, thinning, wear | Once a year |
How Often Should You Run This Checklist
A reasonable schedule for most owners looks like this:
- Every 3 to 6 months for a full walk through of this checklist
- Before your main travel season starts
- After your main travel season ends
- After any hail, high wind, or severe storm
- Before long term storage
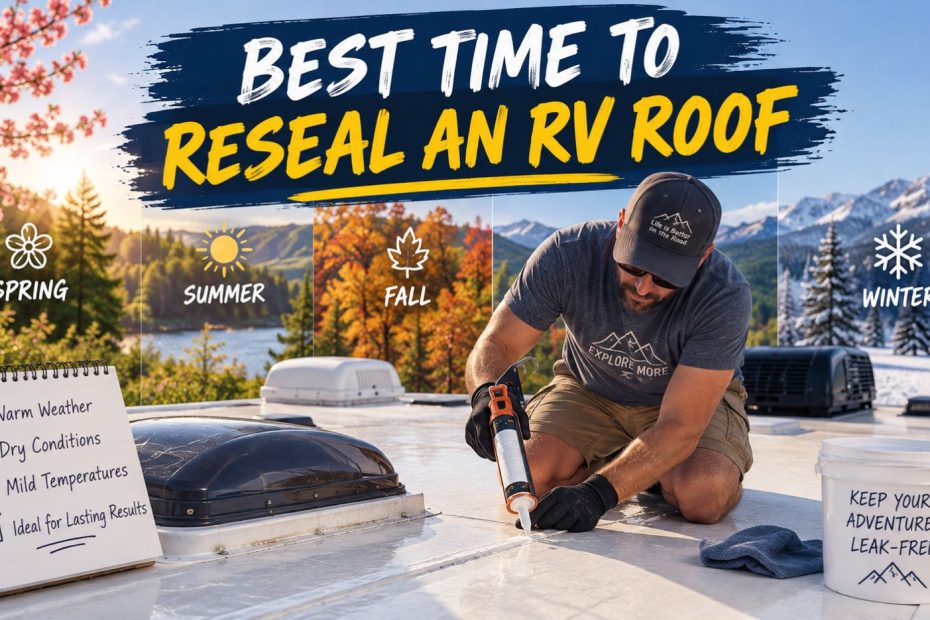
If you are unsure how this ties into a full resealing schedule, our guide on how often you should reseal an RV roof breaks that down in more detail.
RV roof leak map
Tap a hotspot to see what fails there, how to check it and how it gets fixed. Mark each spot as you inspect it.
Front cap seam
Common leak point- What fails
- The joint where the front cap meets the roof takes the most wind load and chassis flex, so its lap sealant cracks and lifts first.
- How to check
- Run a finger along the whole bead. Look for hairline cracks, shrink-back from the edge, gaps or lifted corners.
- Typical fix
- Clean off loose sealant, then run a fresh bead of lap sealant made for your roof material. Use non-sag where the seam turns vertical.
Rear cap seam
Common leak point- What fails
- Same failure as the front: movement and sun break down the sealant where the rear cap meets the membrane.
- How to check
- Inspect the full width, including the corners where the seam turns down the sidewalls.
- Typical fix
- Remove what is loose and reseal. Self-leveling sealant on the flat roof, non-sag on vertical faces.
Roof vent flange
Common leak point- What fails
- Vent flanges are screwed through the roof. Sealant over the flange and screw heads cracks, and plastic vent lids go brittle in the sun.
- How to check
- Look for cracked sealant over every screw head, gaps at the flange corners and crazing or cracks in the lid.
- Typical fix
- Reseal over the flange and all screw heads. Replace a cracked lid or frame rather than patching it.
Air conditioner
Common leak point- What fails
- The AC sits on a foam gasket that compresses and takes a set over time, letting water past the roof opening.
- How to check
- Look for water stains on the ceiling around the AC, a gap under the shroud or loose mounting bolts inside.
- Typical fix
- Replace the gasket and snug the bolts to the maker's spec. Do not seal the AC base with caulk; it relies on the gasket.
Skylight
Common leak point- What fails
- Skylight domes craze and crack with UV, and the sealant around the frame fails like any other penetration.
- How to check
- Look for crazing, cracks or cloudiness in the dome and cracked sealant around the frame.
- Typical fix
- Reseal the frame. A cracked dome needs replacing; tape over a crack is only a temporary stop.
Second vent or fan
Common leak point- What fails
- Powered fans and bath vents fail the same way as any vent, and the extra hardware adds screw penetrations.
- How to check
- Check sealant over every screw, around the flange and at the corners.
- Typical fix
- Reseal over the flange and fasteners, and replace a cracked lid.
Refrigerator roof vent
Common leak point- What fails
- The fridge vent cap is a large opening with a long sealant perimeter that is easy to forget.
- How to check
- Inspect the sealant around the whole base and look for cracks in the cap.
- Typical fix
- Reseal the base; replace the cap if it is cracked.
Antenna, satellite and solar mounts
Check each season- What fails
- Every mount foot is a screw penetration, and cable entry plates add more.
- How to check
- Look for cracked sealant over each foot and at the cable entry plate.
- Typical fix
- Dab fresh sealant over each fastener and around cable entries.
Sidewall edge terminations
Common leak point- What fails
- Where the roof membrane wraps over the sidewall, a termination bar is screwed down and covered with sealant that cracks along its length.
- How to check
- Walk both edges and look for cracked sealant over the termination bar and exposed screw heads.
- Typical fix
- Reseal the full run. Straight seams like this are also where repair tape works well.
Open roof membrane
Most urgent when it fails- What fails
- The open field of the roof shows chalking, bubbles, tears and punctures, and soft spots where water has reached the decking.
- How to check
- Walk carefully and feel for flex or sponginess. Look for tears, bubbles and chalky residue.
- Typical fix
- Patch tears and punctures with a repair tape made for your membrane. Soft spots mean decking damage: repair them before they spread.
Ladder brackets
Check each season- What fails
- Upper ladder brackets are bolted through the rear cap or roof edge and loosen with use.
- How to check
- Look for cracked sealant or a loose bracket at the top of the ladder.
- Typical fix
- Tighten the bracket and reseal over the fasteners.
Plumbing vent pipes
Check each season- What fails
- Small plumbing stack vents have their own sealant collar and cap, which crack and blow off.
- How to check
- Make sure each cap is present and the sealant around the pipe is intact.
- Typical fix
- Replace a missing cap and reseal around the base.
When to Call a Professional
Most of this checklist is safe and reasonable to handle yourself. Bring in a professional if you notice any of the following:
- Soft spots that suggest the decking underneath is already damaged
- Sealant failing across large sections rather than a few isolated spots
- Water stains or discoloration on interior ceilings or walls
- You are not comfortable or safely able to access the roof yourself
Common Inspection Mistakes to Avoid
Even owners who inspect regularly sometimes miss things because of a few common habits:
- Inspecting without cleaning first. Dirt hides small cracks, so a dirty roof inspection often misses real problems.
- Only checking the obvious spots. Vents and the AC unit get attention, but antenna mounts, solar brackets, and slide topper seams are just as important and easier to forget.
- Skipping the off season. Roofs still take damage during storage. Snow load, ice, and sun exposure do not pause just because the RV is not moving.
- Assuming a roof is fine because it looks fine from the ground. Most roof problems are invisible unless you are actually up there looking closely.
- Waiting for a leak before acting. By the time water shows up inside, the underlying damage has usually been developing for a while already.
- Not logging what you find. Without notes from your last check, it is hard to tell if a small crack is new or has been slowly getting worse.
Avoiding these habits is often the difference between catching a fifteen dollar fix early and facing a much larger repair later.
Frequently asked questions
How often should I inspect my RV roof?
Most owners should aim for a full inspection every 3 to 6 months, plus a check before and after the main travel season and after any severe storm.
What is the most common RV roof leak point?
Roof vents and AC unit gaskets tend to be the most common failure points, simply because there are more of them and each one is a direct penetration through the roof.
Can I do this inspection myself, or do I need a professional?
Most of this checklist is a reasonable DIY task. Call a professional if you find soft spots, widespread sealant failure, or you are not comfortable walking the roof yourself.
What tools do I need for an RV roof inspection?
A ladder, non slip shoes, and a flashlight are usually enough. No special equipment is required for a basic visual and hands on check.
Is it safe to walk on my RV roof?
Most RV roofs are rated for occasional foot traffic, but confirm this in your owner’s manual first. Some fiberglass or aluminum roofs are not designed to be walked on directly.
Before You Start
Before your next trip or your next storage season, take fifteen minutes to run through this list. A cracked seal caught today costs a tube of sealant. The same problem ignored for a year can mean a soft roof deck, interior water damage, or a repair bill running into the thousands.
Related reading:
Did this guide help with your rig?

Written by