On this page10 sections
A soft spot on an RV roof means water has already reached the decking underneath the membrane and started to soften or rot it. Small, early soft spots can sometimes be repaired by cutting out the damaged section, drying and replacing the rotted decking, and resealing the membrane. Larger or spreading soft spots usually need a professional repair or a partial roof replacement, since the surrounding wood is often more compromised than it looks from the surface.
Finding a soft spot on your RV roof is one of those moments that makes your stomach drop a little. Unlike a crack in the sealant, which is a warning sign, a soft spot means water has already won a round, it’s inside the roof structure, not just threatening to get there. The good news is that catching it early, even at this stage, still puts you well ahead of where you’d be if you ignored it for another season.
This guide walks through why soft spots form, how to tell how serious yours is, the repair process for smaller areas, and when it’s genuinely time to call a professional instead of pulling out the tools yourself.
What Causes a Soft Spot on an RV Roof
A soft spot doesn’t appear out of nowhere. It’s the end result of water finding its way past the roof membrane and soaking into the plywood or OSB decking underneath, which softens and eventually starts to rot as moisture sits in the wood over time. The most common paths water takes to get there include:
- Cracked or failed sealant around vents, skylights, AC units, and roof seams
- Torn or punctured membrane, often from a low tree branch, hail, or something falling on the roof
- Failed seams or lap joints where sections of roofing material were originally joined
- Old age, since roofing material naturally becomes more brittle and prone to small failures as it ages
None of these happen overnight. A soft spot is usually the result of months, sometimes years, of a small leak nobody caught in time, which is exactly why regular roof inspection matters so much. Our RV roof inspection checklist covers exactly what to look for before a small leak turns into this kind of problem.
How to Tell How Serious the Soft Spot Is
Not every soft spot means the same level of damage. A few things to check before deciding on a repair approach:
- Size. A small, localized soft area, a few inches across, is a very different repair than one that spans multiple feet.
- Depth of the spring. Press gently with your hand. A slight give suggests early softening, while a spot that flexes deeply or feels spongy all the way through usually means more advanced rot.
- Whether it’s spreading. If you’ve checked this spot before and it’s grown since your last inspection, the damage is actively getting worse, not sitting still.
- Interior signs. Check the ceiling and walls directly below the soft spot for staining, discoloration, or a musty smell, which can indicate how far the water has already traveled.
If you’re dealing with an active leak right now rather than an older soft spot, our guide on what to do when your RV roof leaks after heavy rain covers immediate steps to take.
Can You Repair a Small Soft Spot Yourself?
For a small, early stage soft spot, a DIY repair is often realistic if you’re comfortable with basic tools and don’t mind a bit of a learning curve. Here’s the general process:
1. Locate and mark the full extent of the damage
Press around the soft area in all directions to map out exactly how far it extends, since damage often spreads further than what’s visible from the surface. Mark the boundary clearly before cutting into anything.
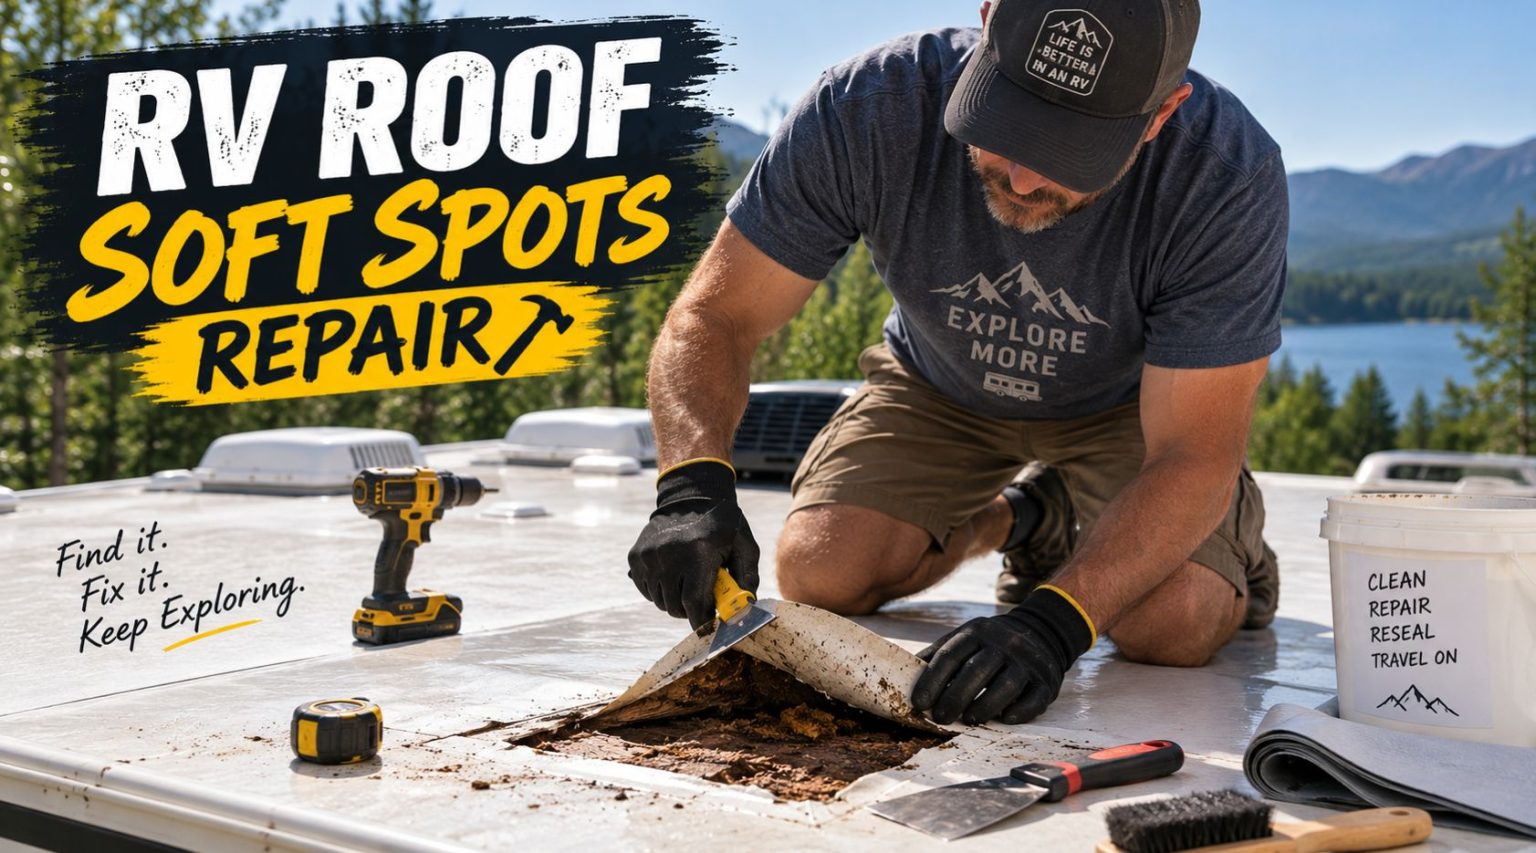
2. Remove the roofing membrane over the damaged area
Carefully cut and peel back the membrane covering the soft section. Depending on your roof type, this might mean removing rubber membrane, fiberglass panel, or aluminum skin, so the approach varies based on what you’re working with.
3. Inspect and remove the damaged decking
Once the membrane is pulled back, you’ll likely find wet, darkened, or crumbling plywood or OSB underneath. Remove all of the compromised material, not just the obviously rotted section, since wood that looks borderline can still be too weak to trust long term.
4. Let everything dry completely
Before installing anything new, make sure the surrounding area is fully dry. Sealing moisture inside the roof structure defeats the purpose of the repair and can lead to mold growth inside the roof cavity.
5. Replace with new decking material
Cut a new piece of marine grade plywood or an equivalent moisture resistant material to match the removed section, sized and fitted as closely as possible to the original.
6. Reinstall the membrane and reseal
Glue or fasten the roofing membrane back into place over the repaired section, using adhesive appropriate for your roof material, then seal all edges and seams thoroughly with a compatible lap sealant. Don’t expect a perfectly invisible repair, seams from patch work are often still visible, but a properly sealed patch will function correctly even if it’s not flawless cosmetically.
7. Inspect the repair after it cures
Once everything has cured according to the product instructions, check the area again and run a hose test to confirm the patch is holding before trusting it through a real storm.
Patch it yourself or call a pro?
Answer five questions about your soft spot to see which repair approach fits it.
Our recommendation
A DIY patch is realistic
This reads as a minor soft spot: small, slight give, no interior staining. Mark the edges, cut back the membrane, remove all compromised decking, let it dry, fit marine grade plywood and seal the edges with a compatible lap sealant. Hose test the patch once it cures.
Our recommendation
DIY with experience, or a pro patch
A noticeable spring, some spreading or faint interior signs put this in the moderate range. If you're confident with your roof type, the same patch process works, but open it up expecting more rot than you can see. If you're not, a professional patch lowers the risk of an incomplete fix.
Our recommendation
Call a professional
A large spongy area, interior damage, mold or odor, a spot near framing, or one that came back after a repair all point past a simple patch. Expect a professional repair or a partial roof replacement, and make sure the original water source gets found so it doesn't return.
Our recommendation
Stay off the roof and call a pro
If the roof feels unsafe to walk on or the framing looks affected, treat this as structural damage. Don't walk on the roof, and leave the repair to a professional, since a mistake here can compromise more than the roof surface.
How your answers stacked up
- A DIY patch is realistic
- DIY with experience, or a pro patch
- Call a professional
- Stay off the roof and call a pro
Tools and Materials You’ll Likely Need
- Utility knife or roofing knife for cutting membrane
- Pry bar or scraper for removing old material
- Marine grade plywood or OSB for decking replacement
- Roofing adhesive appropriate for your membrane type
- Lap sealant for finishing seams and edges
- Screws or fasteners matching your original roof construction
- Basic safety gear: gloves, non-slip shoes, and eye protection
When a Soft Spot Is Too Big for DIY
Some situations are genuinely better left to a professional, and pushing forward without the right experience can make things worse rather than better. Consider calling in help if:
- The soft area spans a large section of the roof rather than a small, isolated spot
- You find extensive rot once you open up the area, more than a simple patch can reasonably address
- The damage is near structural framing or major roof components, where a mistake could compromise more than just the roof surface
- You’re not confident matching the roof material, since aluminum, fiberglass, and rubber roofs all require different repair techniques
- The soft spot keeps returning after a repair, which usually means the original water source was never fully addressed
A professional repair typically costs more upfront, but it also reduces the risk of a repeat problem from an incomplete fix, which matters more than it might seem when you’re staring at a roof that’s already failed once.
What It Typically Costs
Costs vary widely depending on severity, but as a general guide, small, early soft spot repairs handled as a straightforward patch job tend to run in the low hundreds of dollars in materials if done yourself, while professional repairs for the same scope are often several hundred dollars once labor is included. Larger sections involving extensive decking replacement or a full roof section rebuild can run into the thousands, and a full roof replacement, the outcome you’re trying to avoid by catching this early, typically costs significantly more than either option.
RV roof leak map
Tap a hotspot to see what fails there, how to check it and how it gets fixed. Mark each spot as you inspect it.
Front cap seam
Common leak point- What fails
- The joint where the front cap meets the roof takes the most wind load and chassis flex, so its lap sealant cracks and lifts first.
- How to check
- Run a finger along the whole bead. Look for hairline cracks, shrink-back from the edge, gaps or lifted corners.
- Typical fix
- Clean off loose sealant, then run a fresh bead of lap sealant made for your roof material. Use non-sag where the seam turns vertical.
Rear cap seam
Common leak point- What fails
- Same failure as the front: movement and sun break down the sealant where the rear cap meets the membrane.
- How to check
- Inspect the full width, including the corners where the seam turns down the sidewalls.
- Typical fix
- Remove what is loose and reseal. Self-leveling sealant on the flat roof, non-sag on vertical faces.
Roof vent flange
Common leak point- What fails
- Vent flanges are screwed through the roof. Sealant over the flange and screw heads cracks, and plastic vent lids go brittle in the sun.
- How to check
- Look for cracked sealant over every screw head, gaps at the flange corners and crazing or cracks in the lid.
- Typical fix
- Reseal over the flange and all screw heads. Replace a cracked lid or frame rather than patching it.
Air conditioner
Common leak point- What fails
- The AC sits on a foam gasket that compresses and takes a set over time, letting water past the roof opening.
- How to check
- Look for water stains on the ceiling around the AC, a gap under the shroud or loose mounting bolts inside.
- Typical fix
- Replace the gasket and snug the bolts to the maker's spec. Do not seal the AC base with caulk; it relies on the gasket.
Skylight
Common leak point- What fails
- Skylight domes craze and crack with UV, and the sealant around the frame fails like any other penetration.
- How to check
- Look for crazing, cracks or cloudiness in the dome and cracked sealant around the frame.
- Typical fix
- Reseal the frame. A cracked dome needs replacing; tape over a crack is only a temporary stop.
Second vent or fan
Common leak point- What fails
- Powered fans and bath vents fail the same way as any vent, and the extra hardware adds screw penetrations.
- How to check
- Check sealant over every screw, around the flange and at the corners.
- Typical fix
- Reseal over the flange and fasteners, and replace a cracked lid.
Refrigerator roof vent
Common leak point- What fails
- The fridge vent cap is a large opening with a long sealant perimeter that is easy to forget.
- How to check
- Inspect the sealant around the whole base and look for cracks in the cap.
- Typical fix
- Reseal the base; replace the cap if it is cracked.
Antenna, satellite and solar mounts
Check each season- What fails
- Every mount foot is a screw penetration, and cable entry plates add more.
- How to check
- Look for cracked sealant over each foot and at the cable entry plate.
- Typical fix
- Dab fresh sealant over each fastener and around cable entries.
Sidewall edge terminations
Common leak point- What fails
- Where the roof membrane wraps over the sidewall, a termination bar is screwed down and covered with sealant that cracks along its length.
- How to check
- Walk both edges and look for cracked sealant over the termination bar and exposed screw heads.
- Typical fix
- Reseal the full run. Straight seams like this are also where repair tape works well.
Open roof membrane
Most urgent when it fails- What fails
- The open field of the roof shows chalking, bubbles, tears and punctures, and soft spots where water has reached the decking.
- How to check
- Walk carefully and feel for flex or sponginess. Look for tears, bubbles and chalky residue.
- Typical fix
- Patch tears and punctures with a repair tape made for your membrane. Soft spots mean decking damage: repair them before they spread.
Ladder brackets
Check each season- What fails
- Upper ladder brackets are bolted through the rear cap or roof edge and loosen with use.
- How to check
- Look for cracked sealant or a loose bracket at the top of the ladder.
- Typical fix
- Tighten the bracket and reseal over the fasteners.
Plumbing vent pipes
Check each season- What fails
- Small plumbing stack vents have their own sealant collar and cap, which crack and blow off.
- How to check
- Make sure each cap is present and the sealant around the pipe is intact.
- Typical fix
- Replace a missing cap and reseal around the base.
Severity vs Repair Approach
| Severity | Signs | Typical Approach |
|---|---|---|
| Minor | Small area, slight give, no interior staining | DIY patch and reseal |
| Moderate | Noticeable spring, some spreading, faint interior signs | DIY possible with experience, or professional patch |
| Severe | Large spongy area, visible interior damage, mold or odor | Professional repair or partial roof replacement |
| Structural | Framing affected, roof feels unsafe to walk on | Professional repair only, do not walk on the roof |
How to Prevent Soft Spots From Coming Back
A repaired soft spot is only as good as the maintenance that follows it. A few habits make a real difference:
- Inspect the roof every three to six months, and again after any major storm
- Reseal seams, vents, and penetrations proactively, not just when you notice a problem
- Apply a protective roof coating if your roof is aging or has needed multiple sealant repairs already
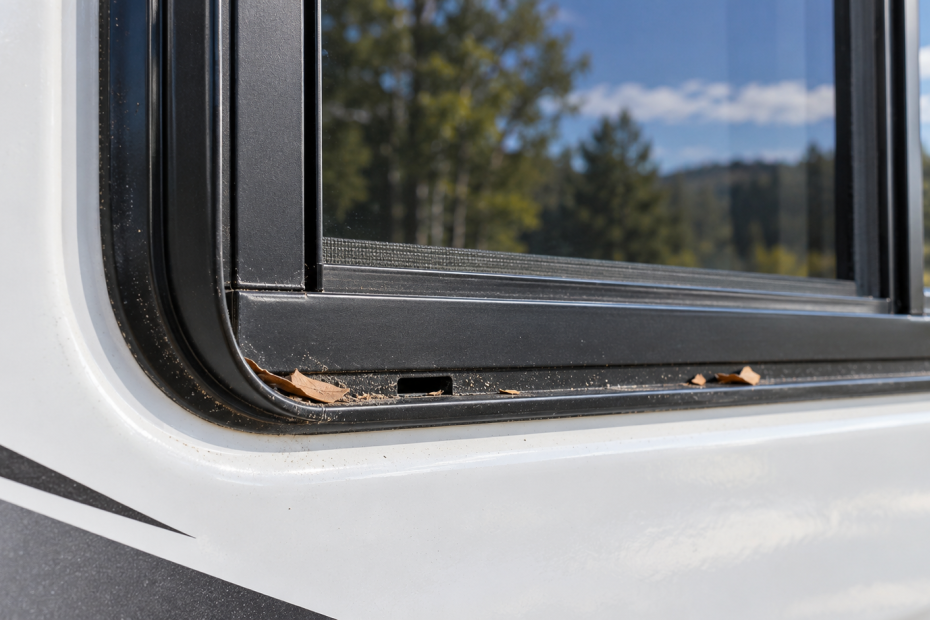
- Check seals beyond the roof too, since windows, doors, and slide-outs can develop similar water intrusion issues; our RV seal inspection guide covers the full exterior, not just the roof
- Keep a maintenance log, so you know exactly what’s been checked, repaired, and when
Our RV roof maintenance checklist is a useful ongoing reference once the repair itself is done, and for a broader look at repair techniques and materials beyond soft spots specifically, see our RV roof repair guide.
Frequently asked questions
What does a soft spot on an RV roof mean?
It means water has already gotten past the roof membrane and softened or started rotting the decking underneath. It’s a sign of existing damage, not just a warning of future risk.
Can I walk on a soft spot to inspect it?
Carefully, and only briefly to assess it. Avoid putting your full weight directly on a spot that feels significantly spongy, since the decking underneath may not safely support you.
How much does it cost to repair a soft spot on an RV roof?
Small DIY patches can cost a few hundred dollars in materials. Professional repairs for the same scope often run several hundred dollars with labor, while extensive damage or a partial roof rebuild can reach into the thousands.
Can a soft spot heal on its own if I just reseal the surface?
No. Resealing the surface without addressing the wet or rotted decking underneath just traps the moisture in place, which allows rot and mold to continue spreading beneath a roof that looks fine from the outside.
How do I know if a soft spot needs a professional instead of a DIY fix?
If the damage is large, spreading, located near structural framing, or keeps coming back after a repair, it’s worth bringing in a professional rather than risking an incomplete fix.
Does insurance cover RV roof soft spot repair?
This depends entirely on your specific policy and the cause of the damage. Gradual wear from lack of maintenance is often excluded, while sudden storm or accident damage may be covered. Check your policy directly to be sure.
Final Thoughts
Press test your roof this week, especially near vents, seams, and edges. A soft spot caught early is a patch job. One caught late is a rebuild.
Soft spots are one of the more serious findings you can come across during a roof inspection, but they’re rarely a reason to panic if you catch them early and act on them properly. Identify the full extent of the damage, dry and replace what’s compromised underneath, and follow up with consistent maintenance so the same problem doesn’t quietly start again somewhere else on the roof.
Did this guide help with your rig?

Written by