On this page11 sections
Most RV owners think about roof leaks a lot, and for good reason, but the roof is only one part of a much bigger picture. Your RV has dozens of individual seals holding water out: around every window, every door, every slide-out, and every screw that penetrates the exterior skin. Any one of them failing quietly is enough to let water in, and by the time you notice a stain or a soft spot, the damage has often been developing for months.
This guide walks through every seal on your RV, what it’s made of, how to inspect it properly, and how to tell the difference between something that needs a quick touch-up and something that needs to be replaced entirely.
Why RV Seal Inspection Matters More Than Most Owners Realize
Water intrusion is one of the most common and most expensive problems in RV ownership, and failed sealant is behind a large share of it. Unlike a dramatic leak that shows up all at once, seal failure tends to be gradual. A gasket compresses and loses its shape. A bead of caulk dries out and pulls away from the surface. A slide-out wiper seal wears flat until it stops making full contact. None of these look urgent in the moment, which is exactly why they get ignored until water has already found its way into the wall cavity or roof decking.
Once moisture gets past a seal, it doesn’t just sit there. It travels along framing members, soaks into plywood decking or luan backing, and can lead to delamination, soft spots, mold, and eventually rot. At that point, you’re no longer looking at a simple reseal, you’re looking at structural repair, which is a very different bill.
The Main Types of RV Seals
Not every seal on your RV works the same way, and knowing the difference helps you inspect each one correctly.
Caulk and lap sealant are liquid products applied around roof vents, seams, screws, and trim pieces, then left to cure into a flexible, waterproof layer. These break down primarily from UV exposure and temperature cycling, cracking or shrinking over time.
Gasket seals are pre-formed rubber or foam strips, often used around windows and doors, designed to compress and create a tight barrier when the window or door is closed. They fail when the rubber hardens, flattens, or tears, since a compressed gasket that’s lost its spring can no longer seal properly even if it looks intact.
Bulb seals are a specific type of gasket shaped like a hollow tube, common on RV doors and some windows, that compress under pressure to close a gap. Like other gaskets, they lose effectiveness once they flatten permanently or crack.
Slide-out wiper seals run around the perimeter of a slide-out room and are designed to wipe against the slide as it moves in and out, keeping water and debris off the mechanism while also sealing the gap when the slide is retracted. These take more physical wear than almost any other seal on the RV, since they’re compressed and dragged across a surface every time the slide operates.
How Often to Inspect Your RV’s Seals
A reasonable general schedule looks like this:
- Every three to six months, do a full inspection of every seal on the exterior
- Every three months specifically for the roof, since it takes the most direct sun and weather exposure of any surface
- Before and after your main travel season, since both storage and heavy use put different types of stress on seals
- After any major storm, particularly hail or high wind, which can stress seals even without obvious visible damage
- After long trips on rough roads, since constant vibration can work seals loose faster than normal use
RVs stored outdoors year-round, or used in extreme climates, generally need more frequent checks than one kept under cover in a mild climate.
RV seal inspection by zone
Work from the roof down, and press test anything that looks questionable instead of trusting a glance.
0 of 15 done
Where to Check: A Room by Room Walkthrough
Roof Seams, Vents, and Skylights
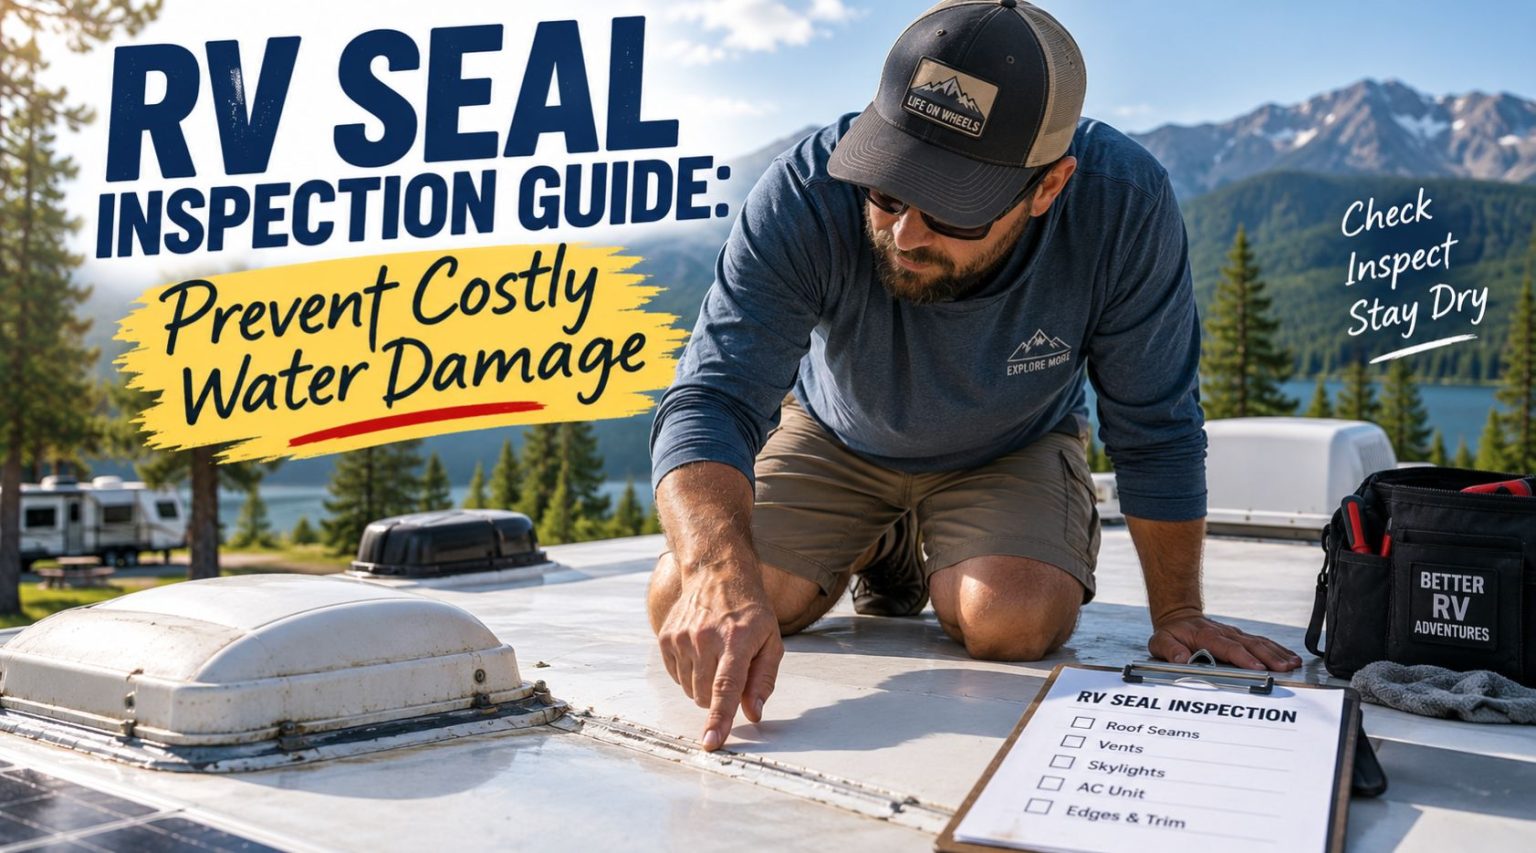
Start at the top, since the roof sees the most direct sun and weather. Walk every seam and check the sealant around each vent, skylight, antenna mount, and roof-mounted appliance for cracking, shrinking, or gaps. Also look at the roof surface itself for discoloration or a chalky texture, which can indicate the coating underneath is breaking down. Our RV roof maintenance checklist and RV roof inspection checklist go into more detail specifically on this part of the RV if you want a deeper roof-focused routine.
Windows
Inspect the caulking or gasket around every window, paying close attention to the top edge, since that’s where gravity pushes the most water during rain. Look for cracked or missing caulk, gaps where light or air can pass through, and any softness or delamination in the wall material directly around the frame, which can indicate water has already gotten in.
Doors
Check the entry door frame and any exterior compartment doors the same way you check windows, looking closely at the hinge side and bottom edge, since these areas see the most movement and pressure over time. A door that no longer closes snugly, or where you can see daylight around the edges, usually means the gasket has compressed permanently and needs replacement.
Slide-Outs
Slide-out seals deserve extra attention because they’re mechanical as well as protective. Inspect the wiper seals around the entire perimeter, especially the top, and check whether the seal is making full, even contact with the slide when it’s retracted. Also look at the slide-out roof if it has one, checking the membrane and the sealant around any moldings, and clear off leaves or debris that can lift the seals and let water underneath.
Storage Compartments and Exterior Penetrations
Don’t skip the smaller stuff. Every screw that penetrates the exterior skin, including the ones holding clearance lights, awning brackets, and exterior fixtures in place, has a small bead of sealant around it. Any one of these failing gives water a direct path into the wall cavity, so a quick check of exterior hardware is worth including in your routine.
How to Physically Inspect a Seal, Not Just Look at It
A visual check catches a lot, but not everything. Good sealant should be pliable, bonded on both edges, and free of visible gaps or cracks. Press on it gently: it should flex under pressure and spring back rather than staying compressed or crumbling. For gaskets and bulb seals, check whether they still have some give when compressed, since a seal that’s gone permanently flat or hard has lost its ability to seal properly even if it looks fine from a few feet away.
Signs You Already Have a Problem
- Water stains on interior ceilings, walls, or around window and door trim
- A musty or mildew smell, even without a visible stain, which can mean moisture is trapped somewhere you can’t see yet
- Soft spots in flooring, walls, or the roof, which usually means water has already reached the structure underneath
- Visible warping or bubbling on a sidewall, which can indicate delamination, where the exterior skin has separated from the backing material
- A slide-out that no longer seals evenly, leaving a visible gap on one side when retracted
If you’re dealing with an active leak rather than a preventive check, our guide on what to do when your RV roof leaks after heavy rain walks through finding the source and stopping it.
Repairing vs Replacing a Seal
Small cracks or gaps in caulk and lap sealant are usually a straightforward DIY repair: clean the area, remove any loose or failing material, and apply fresh sealant suited to the surface. Our comparison of RV roof sealant types and our breakdown of RV roof coating vs sealant can help you pick the right product for the job.
Gaskets, bulb seals, and slide-out wiper seals are a different story. Once rubber has hardened, flattened, or torn, resealing over it won’t fix the underlying problem, since the seal has lost its ability to compress and spring back. These need to be fully removed and replaced with new material cut and fitted to the same channel or frame, a process that varies depending on your RV’s specific make and model.
RV roof care planner
Answer five quick questions and get a 12-month maintenance schedule you can drop straight into your calendar.
Intervals follow the ranges in our guides: inspect every 3 to 6 months, clean 2 to 4 times a year, reseal trouble spots every 1 to 3 years. Add a check after any severe storm.
When to Call a Professional
Most caulk and sealant touch-ups are well within reach for a comfortable DIY owner. Consider bringing in a professional when you find soft or spongy spots, which likely means water has already reached the structure and the repair goes beyond resealing. The same applies to slide-out seal replacement if you’re not familiar with your specific mechanism, or if you find delamination or warping on a sidewall, since that kind of damage often requires more specialized repair than a simple reseal.
A Simple Seal Inspection Routine
- Walk the roof every three months, checking seams, vents, and skylights
- Do a full exterior seal check every three to six months: windows, doors, slide-outs, and storage compartments
- Physically press test any sealant or gasket that looks questionable, not just a visual glance
- Address small cracks and gaps immediately with fresh sealant rather than waiting
- Replace gaskets and wiper seals once they’ve lost their flexibility, rather than trying to reseal over them
- Keep a simple log of what you checked and when, so you always know when your next inspection is due
Frequently asked questions
How often should I inspect the seals on my RV?
A full inspection every three to six months is a reasonable baseline, with the roof checked more frequently, roughly every three months, since it takes the most direct weather exposure.
What’s the difference between a gasket seal and caulk sealant?
Caulk is a liquid sealant applied and cured in place around vents, seams, and screws. Gaskets are pre-formed rubber strips that compress to create a seal around windows and doors, and they fail differently, by hardening or flattening rather than cracking.
Can I reseal a gasket instead of replacing it?
No, not effectively. Once a gasket has hardened or flattened, it’s lost its ability to compress and spring back, so applying more sealant over it won’t restore a proper seal. It needs to be replaced.
What are the warning signs of a failing RV seal?
Water stains, musty smells, soft or spongy spots, visible cracks or gaps in sealant, and a slide-out that no longer closes evenly against its seals are all signs worth investigating right away.
Which RV seals fail the most often?
Roof seals and slide-out wiper seals tend to wear out fastest, since the roof takes constant UV exposure and slide-out seals experience physical wear every time the slide operates.
Is seal inspection something I can do myself?
Yes, most of the inspection process just requires a ladder, a flashlight, and some time to walk the exterior. Repairs range from simple DIY resealing to gasket replacement that may need more specific knowledge of your RV’s hardware.
Final Thoughts
Set a recurring reminder for your seal inspection now, before you forget. A twenty minute walk around your RV every few months is far cheaper than the water damage repair that follows a seal nobody checked.
Seal inspection isn’t the most exciting item on an RV maintenance list, but it’s one of the few habits that directly prevents the most expensive kind of repair an RV owner can face. Windows, doors, slide-outs, and the roof all depend on seals doing their job quietly in the background, and a consistent inspection routine is what catches the small failures before they turn into water damage you can’t ignore.
Did this guide help with your rig?

Written by