On this page5 sections
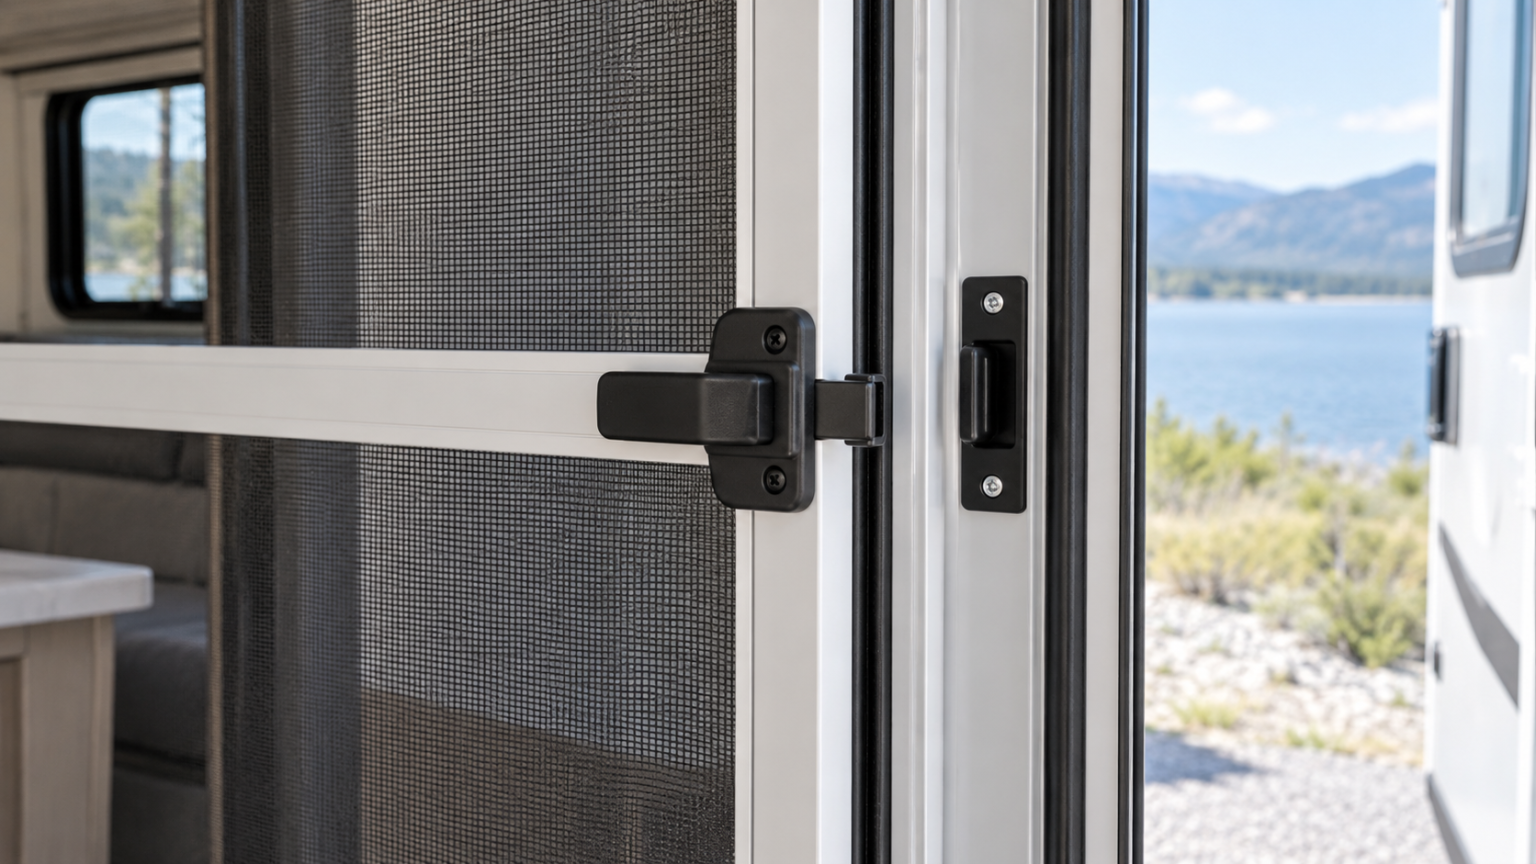
A screen door that will not stay shut can tempt you into buying the first latch that looks similar. Before ordering, identify the door assembly and establish which part is failing to engage. A latch, its keeper, the screen-door frame and the connection to the outer entry door are different pieces of the same problem.
This is an owner’s identification and service-planning guide, not a universal latch-adjustment procedure. If the main entry door will not latch securely, or the doorway cannot be opened normally, stop treating the issue as a minor screen repair and have the entry system assessed before using the RV.
Describe what happens without forcing the door
With the RV parked and secured according to its manual, observe the ordinary closing motion from a stable position. Keep fingers clear of the latch and hinge areas. Do not repeatedly slam, bend or pry the door to make it catch.
Write down which of these descriptions fits:
- The screen door reaches the frame but the latch does not catch.
- The latch catches but releases without operating the handle.
- The screen drags or meets another part before reaching its closed position.
- The screen works alone but behaves differently when coupled to the outer door.
- A handle, spring, fastener or plastic housing is visibly damaged.
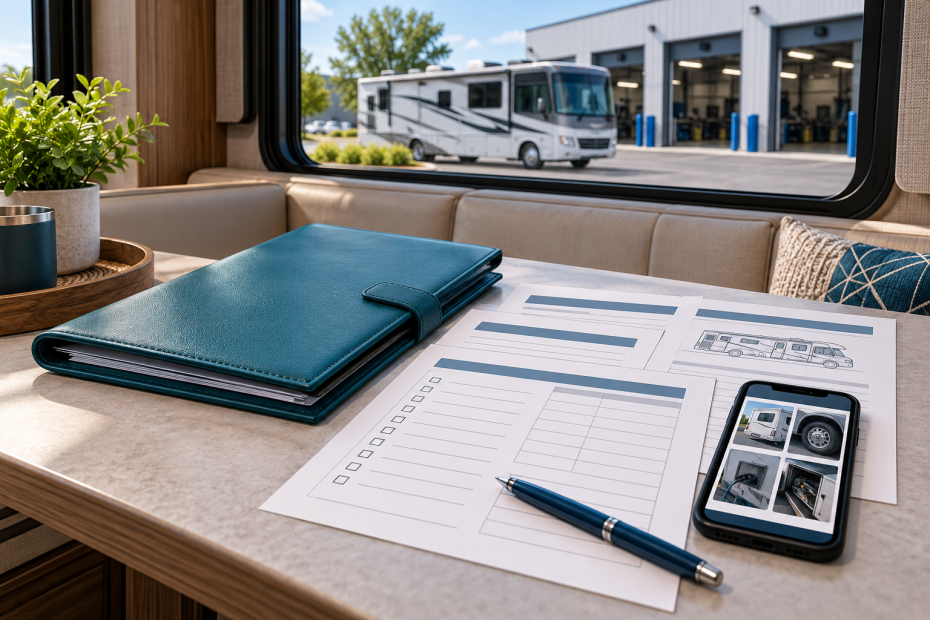
Those observations are more useful than the conclusion “the latch is bad.” Photograph the overall doorway, the latch on the screen, and the corresponding keeper or striker. Include a wider view showing how the pieces relate; a close-up without context can hide the source of a mismatch.
Find the door identification, not just the RV model
For the Lippert entry doors covered by its QR-136 reference, the identification tag is at the bottom of the hinge side, between the door and frame, and is visible with the door fully open. The tag includes identifying information such as the RPO and variant numbers. That is a model-specific example, not a promise that every door’s label is in the same place. See Lippert’s Entry Door Frequently Asked Questions, hosted by NHTSA.
Record the actual door brand and tag information. A replacement door may not match what the RV originally left the factory with. If the label is absent or unreadable, send the manufacturer or parts supplier the overall and detail photographs rather than inventing a model number from an online listing.
Check the hardware generation and the complete kit
Lippert’s official Entry Doors support library lists separate current and original screen-latch replacement resources, plus screen-door components and striker information. The existence of those separate resources is a good reason not to assume every black plastic latch is interchangeable.
Before purchase, ask the supplier to confirm the part number against your door identification. Clarify whether the item includes only the latch or also a matching keeper, screws and instructions. Confirm the applicable handing or orientation using the supplier’s terminology; “left” can be ambiguous when one person is inside the RV and another is outside.
Keep the old hardware in place until you have the correct instructions and understand whether the job is intended for an owner or a service technician. Do not enlarge holes or substitute a different fastener merely because the replacement appears close.
Separate alignment from replacement
A new latch should not be used to disguise a bent frame, loose hinge assembly or obstruction. Tell the service provider if the problem started after an impact, door replacement, entry-step work or another change near the opening. Also record whether the behavior differs between parking locations; report that observation without guessing at its cause.
Ask which component needs attention and why. If an adjustment is proposed, request the procedure for the identified door rather than copying a technique for a different assembly. Frame bending, hinge relocation and structural fastening are outside this checklist.
Finish with a functional handover
After authorized repair, have the installer demonstrate normal opening, closing and separation of the screen and outer door where applicable. Confirm that both can be operated as intended from their normal positions and that no part obstructs the doorway. Do not add an improvised strap or secondary catch that interferes with getting out.
Save the confirmed part number and instructions with the RV records. If the symptom remains, describe it using the same photos and observations rather than escalating to more force. For a broader service visit, the RV service symptom-record guide explains how to keep that conversation focused.
Keep the confirmed door details in your RV equipment and manual index so the next service visit starts with the right assembly.
Did this guide help with your rig?

Written by