On this page20 sections
The most important RV roof maintenance tips are inspecting the roof every three months, cleaning it two to four times a year, resealing seams as soon as cracks appear, knowing your specific roof material before buying products, and keeping a simple log so nothing slips through the cracks. Together, these habits catch small problems while they’re still a tube of sealant instead of a full roof replacement.
A roof replacement on an RV can run into the thousands of dollars, while most of the maintenance that prevents one costs almost nothing and takes less than an hour at a time. The gap between those two numbers is exactly why RV roof maintenance deserves more attention than it usually gets. Below are 15 practical tips, gathered from what RV technicians actually recommend and what experienced owners have learned the hard way, organized so you can start applying them immediately.
1. Inspect the Roof Every Three Months
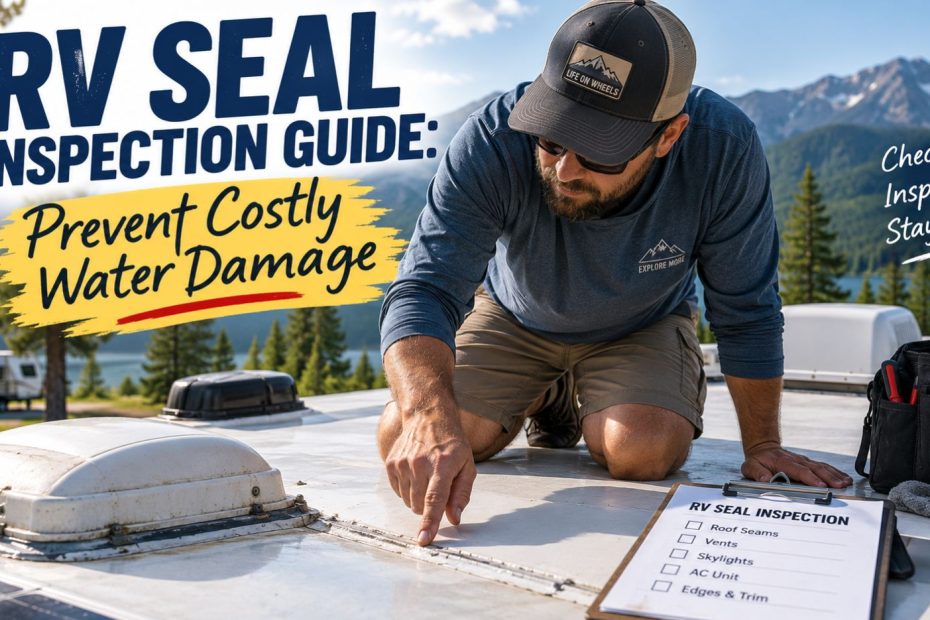
Most RV manufacturers and technicians recommend a full roof inspection roughly every 60 to 90 days, not just once or twice a year. Sealant and roof membranes break down faster than most owners expect, and a quarterly check catches problems while they’re still small. Walk every seam, vent, and skylight, and don’t skip this just because nothing looked wrong last time.
2. Always Inspect After Storms and Long Trips
Beyond your regular schedule, add an inspection any time your RV goes through hail, high wind, or a long stretch of rough road. Storm impact and constant vibration both stress seals in ways that a calm, stationary month won’t, so these events deserve their own dedicated check rather than waiting for your next quarterly review.
3. Know Your Roof Material Before You Buy Anything
EPDM, TPO, fiberglass, and aluminum roofs don’t respond the same way to every cleaner, sealant, or coating. Using the wrong product can strip protective layers, void a warranty, or actively damage the roof rather than protect it. Confirm what you’re working with before you buy a single product, not after.
4. Clean the Roof Two to Four Times a Year
Dirt and grime don’t just look bad, they trap moisture and hide small cracks that would otherwise be easy to spot. Clean more often if your RV sits under trees or in a dusty area, and always use a cleaner rated safe for your specific roof material rather than a generic household product.
5. Remove Debris Regularly, Not Just During Deep Cleans
Leaves, pine needles, and bird droppings left sitting on the roof trap moisture against the surface and can clog what limited drainage an RV roof has. A quick sweep between full cleanings takes a few minutes and prevents buildup from becoming a bigger problem.
6. Reseal Cracks the Moment You Spot Them
A small crack in sealant is not a wait-and-see situation. It’s an open door for water the next time it rains. Keep a small tube of the correct sealant for your roof on hand, since a five minute touch-up now is dramatically cheaper than the water damage repair that follows a crack left alone for months.
RV roof maintenance routine
The 15 tips as one routine: set it up once, repeat the roof pass every three months, and log each one.
0 of 15 done
7. Pay Extra Attention to Vents, Skylights, and Seams
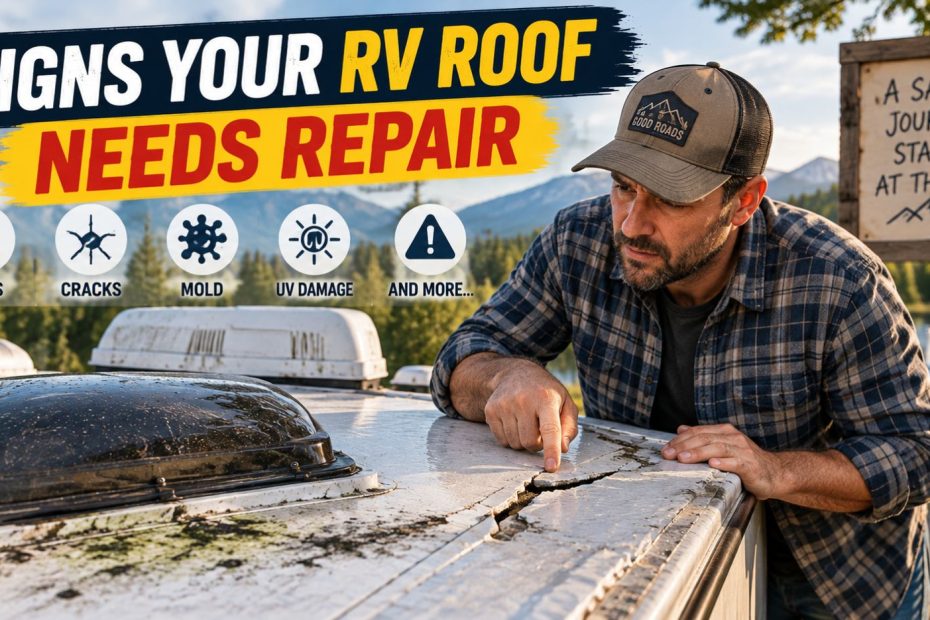
These are the most common failure points on any RV roof, since they’re where the membrane is interrupted and sealant is doing the most work. When you inspect, don’t just glance at the flat sections, get close to every penetration and run your fingers along the sealant to check for cracking or softness.
8. Apply a UV Protective Coating on a Schedule
A quality roof coating adds broad UV and moisture protection across the entire surface, not just the seams, and can meaningfully extend how long your roof lasts. How often you need to reapply depends on the coating type, with acrylic coatings needing more frequent attention than silicone or premium elastomeric options. Our guide on how long RV roof coating lasts breaks this down by product type if you want specifics.
9. Don’t Confuse Coating with Sealant
These solve different problems, and using one when you actually need the other is a common and avoidable mistake. Sealant targets specific seams and penetrations, while coating protects the entire roof surface broadly. Our comparison of RV roof coating vs sealant walks through exactly when each one applies.
10. Walk the Roof Carefully, and Check If It’s Rated for Foot Traffic
Not every RV roof is designed to support a person’s weight. Check your owner’s manual before walking directly on the surface, use non-slip shoes, and avoid roof access entirely during high wind, rain, or extreme heat when conditions are more dangerous and materials are more prone to damage.
11. Feel for Soft Spots, Not Just Visual Damage
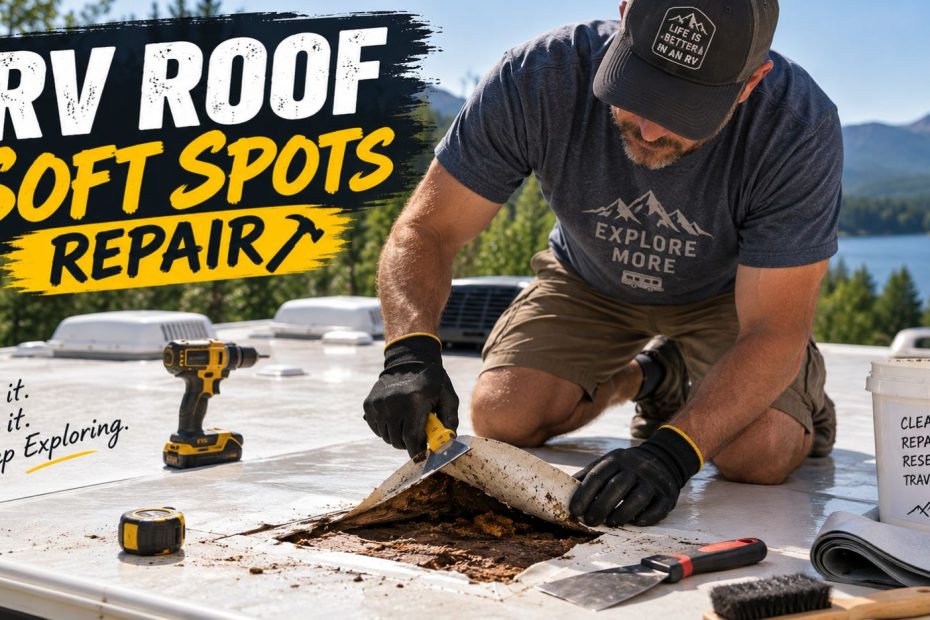
A visual inspection misses one of the most important warning signs: a soft or spongy spot underfoot. This usually means water has already reached the roof decking and started causing damage beneath the surface, even if nothing looks obviously wrong from above. Catching this early is the difference between a manageable repair and a much larger one.
12. Keep Drainage Clear
Standing water dramatically increases the odds of a slow leak, especially around any nearby seam or penetration. Check that gutters, drip edges, and any low points on the roof aren’t collecting water after it rains, and clear debris that could be blocking what drainage exists.
13. Use an RV Cover or Shade During Storage
Extended sun exposure during storage accelerates UV damage to the roof just as much as active use does. A properly fitted RV cover, or simply parking in shade when possible, significantly slows down the wear that leads to premature cracking and chalking.
RV roof care planner
Answer five quick questions and get a 12-month maintenance schedule you can drop straight into your calendar.
Intervals follow the ranges in our guides: inspect every 3 to 6 months, clean 2 to 4 times a year, reseal trouble spots every 1 to 3 years. Add a check after any severe storm.
14. Keep a Simple Maintenance Log
Write down what you checked, what you found, and when you did it, even if it’s just a note on your phone. This single habit is what actually keeps a maintenance routine consistent over years rather than fading out after the first season, and it makes it easy to spot patterns, like a seam that keeps failing in the same spot.
15. Know When to Call a Professional
Most roof maintenance is genuinely DIY friendly, but soft spots, widespread sealant failure, or leaks that keep returning despite repeated repairs are signs the issue goes deeper than a routine fix. Bringing in a professional at that point is usually cheaper than a DIY attempt that doesn’t address the underlying problem.
RV Roof Maintenance Tips: Quick Reference Chart
| Task | How Often |
|---|---|
| Full roof inspection | Every 3 months |
| Inspection after storms or long trips | As needed, immediately |
| Roof cleaning | 2 to 4 times per year |
| Sealant touch-ups | As soon as cracks appear |
| Full roof coating | Every few years, varies by product |
| Drainage check | Every cleaning and inspection |
Common Mistakes That Undo Good Maintenance Habits
- Using the wrong cleaner or sealant for your specific roof material, which can cause damage even when your intentions are good
- Waiting for a visible leak instead of acting on early warning signs like chalking, cracking, or soft spots
- Skipping inspections during storage, assuming a parked RV isn’t taking damage, when sun and weather exposure continue regardless
- Pressure washing the roof, which can force water under seams and cause the exact leaks you’re trying to prevent
- Forgetting to log what you’ve done, which makes it easy to lose track of when the last inspection or reseal actually happened
How These Tips Work Together
None of these 15 tips do much on their own. Inspecting regularly only helps if you actually act on what you find. Cleaning matters because it makes small cracks visible in the first place. Coating and sealant work together rather than replacing each other. The real value comes from treating roof care as an ongoing system rather than a single item you check off once a year. For a full seasonal walkthrough that ties these habits into a complete yearly routine, see our RV roof maintenance checklist, and if you’re specifically trying to figure out how often to reseal based on your roof material, our guide on how often you should reseal an RV roof covers that in more depth.
Frequently asked questions
How often should I maintain my RV roof?
Inspect every three months, clean two to four times a year, and reseal cracks as soon as you spot them rather than waiting for a scheduled check.
What’s the single most important RV roof maintenance tip?
Consistent inspection. Most other tips on this list only matter if you’re actually checking the roof often enough to catch problems early.
Can I do RV roof maintenance myself?
Yes, most of it is DIY friendly with basic tools. Soft spots, widespread sealant failure, or a full roof coating are the situations where a professional is often worth bringing in.
How do I know what type of roof my RV has?
Check your owner’s manual, or look at the surface itself: EPDM and TPO are rubber membranes, fiberglass has a smoother, rigid finish, and aluminum is a metal panel roof. A dealer or service center can also identify it for you.
Does regular maintenance actually prevent expensive repairs?
Yes. The vast majority of costly roof repairs trace back to small issues, like a cracked seam or minor leak, that went unnoticed or unaddressed for months. Routine maintenance is what catches those issues while they’re still cheap to fix.
How much does neglecting RV roof maintenance actually cost?
A small sealant touch-up might cost under $20 and take a few minutes. A full roof replacement after prolonged water damage can run into the thousands, which is the entire reason these 15 habits exist.
Final Thoughts
Pick three tips from this list you’re not currently doing and start this week. Small, consistent habits do more for your roof’s lifespan than any single big fix ever will.
RV roof maintenance isn’t complicated, but it does require consistency. None of these 15 tips are difficult individually, and most take only a few minutes. What makes the real difference is doing them on a schedule instead of only thinking about the roof after something has already gone wrong.
Did this guide help with your rig?

Written by