On this page7 sections
You’ve had your RV for many years now. It keeps you warm, dry, and safe year after year on each trip you take. You’re now giving your roof the bad eye, knowing that it is time to give up several months’ pay to give it some TLC, or perhaps it is time to reseal the RV roof.
So, what is the cost of resealing your RV roof?
It depends on what type of roof you have, and how much damage your roof has sustained. Here are the average costs per square foot:
| Rubber roof | 45 cents per square foot |
| Fiberglass roof | 18 cents per square foot |
| Metal Roof | 21 Cents per Square Foot |
You should consider the cost of roof coatings as well as the costs of roof cleaning chemicals and supplies that will be required to prepare the roof for the new coating.
What is the Difference between Sealants and Coatings?
Your RV roof will eventually need to be replaced, just like a house. It may be worth considering re-coating your entire roof if your RV is more than 9 years old. Coatings can be used to cover the entire roof. You will need to choose the right coating for your RV’s roof, depending on whether it is made of rubber, fiberglass or metal.
Before applying any sealants or coatings, thoroughly clean the roof. You can find many roof coatings online. Heng’s Rubber Roof Coating was the best. Two coats of rubber roof coating are recommended. The first coat should be completely dry before applying the second.
Only one coat is required if you are using a silicone roof coating. Acrylic and urethane types require two coats plus a primer.
You can use an RV roof sealant to “coat” your roof. Many are used to seal cracks and areas on the roof that have leaks. Sealants can be liquid, tape, caulk, or both. Sealants work by sealing holes in the RV roof, around vents, and gaps between windows, as well as cracks at the a/c unit. To ensure that sealant adheres properly, clean the area where it will be applied.
A caulk gun can be used with the appropriate roof caulk to seal cracks. Sealant tape such as EternaBond is another useful product. It requires very little preparation. It is available in a variety of lengths and widths. It also protects against the elements well.
It is common to use the terms coatings and sealants interchangeably. You can find the right coating or sealant to protect your RV.
Re-roofing or coating your roof
The process of coating an RV roof should take less than one day. Wash the RV roof first with a suitable cleaner. The roof should then dry completely. Rubber roofs can be cleaned with a cleaner/activator. Many are available on Amazon.com. The cleaner/activator can be used to open pores in the EPDM membrane over several hours. This allows the coatings to bond with the roofing.
It’s a good idea for RV owners to tape the edges using a quality painter’s tape to prevent any coating from sticking to the sides.
Use a medium-nap roll to apply the first coat. Let dry completely. Drying time can vary depending on temperature and humidity. Allow the second coat to dry for 3-4 hours before it is time to apply the roof coating. To ensure that the roof coating is fully dry, do not allow the RV to be used for at least 24 hours.
Clean and dry the roof area where the sealant will be applied. There are many options for RV roof cleaners. A mixture of Tide and warm water works well. Dawn dish soap is useful for many cleaning tasks but can leave a film on your roof that could prevent sealant adhering.
Check the RV roof under good lighting. You want to find potential leaks and seal them before any damage can occur.
You will only need to remove old sealant from cracks in the roof if it is separating or loose. Remove a rubber roof carefully to avoid damaging the material. The sealant can be removed with a putty knife, or a flat, wide blade. A heat gun and a putty knife are helpful in removing an aluminum roof.
Use a cloth to clean the area and then use denatured alcohol. Seal the RV roof with the appropriate sealant. If necessary, apply additional sealant.
Regular inspection of seams on your RV’s exterior is a good idea. You can find sealants that are compatible with the RV’s roof and surface in the RV Owner’s Manual.
How to Find a Roof Leak
A roof leak will not happen to everyone. There will be those who experience a roof leakage. It’s best to learn how to prevent them from happening, and/or where they are coming from if your RV does leak. In many areas of our lives, we can all agree with Ben Franklin’s statement that “an ounce of prevention is worth a thousand cures”. Leaks are not a topic that is fun, so it is worth your time to keep an eye on them.
A professional can perform a pressure test inside the RV to find external leaks. This is the best way to identify if there is a roof leak. Air will be forced out of your RV’s crevices and cracks if you create more pressure inside than outside. A professional can inspect the RV’s exterior with soapy water to find any potential leaks.
Leakage can be caused by several items, such as a damaged compression seal, urethane or silicone sealant, or a butyl tap used as a filler. You should inspect these items periodically for missing or lose gaskets, cracks or crevices as well as gaps at windows and loose sealant. You can save a lot of money and headaches by being proactive.
You can prevent roof leaks by having a plan for maintaining, restoring, or resealing your roof as necessary.
Reseal It Yourself or Call a Pro?
Answer four quick questions to see whether your roof calls for a DIY reseal, a pro, or a replacement.
Our recommendation
Reseal it yourself
This sounds like a sealing or coating job you can handle in under a day. Clean with Tide and warm water, tape the edges, roll on the coating with a medium-nap roller, or use sealant tape like EternaBond on cracks. Then keep the RV parked for at least 24 hours.
Our recommendation
Hire a pro
A leak you can't trace is the best reason to call a professional, who can pressure-test the coach and check the outside with soapy water to find where air escapes. A pro also makes sense if you'd rather not spend a day on the roof and want the job done properly.
Our recommendation
Plan for a roof replacement
Tearing or bubbling in several areas usually means resealing won't hold. Replacement means pulling the awning and roof fixtures, stripping the membrane, replacing damaged plywood and sealing the edges, a major job for an RV technician. Some bedliner shops also spray polyurea as a replacement roof.
How your answers stacked up
- Reseal it yourself
- Hire a pro
- Plan for a roof replacement
Is it time to replace my roof?
Rubber TPO roofs should not show signs of tearing or bubbling. You may consider replacing your roof if you notice multiple areas that are showing signs of wear or if the damage is so severe that it is threatening the entire roof.
You will need to take down the awning and other roof-attached items in order to replace the roof. You will need to remove the entire roof membrane and replace any plywood that is damaged underneath. The roof membrane can then be replaced and all roof items (vents, AC units, antenna, etc.) are put back in place. The RV’s sides and roof edges must be sealed properly.
This is a major undertaking that should be handled by an RV technician.
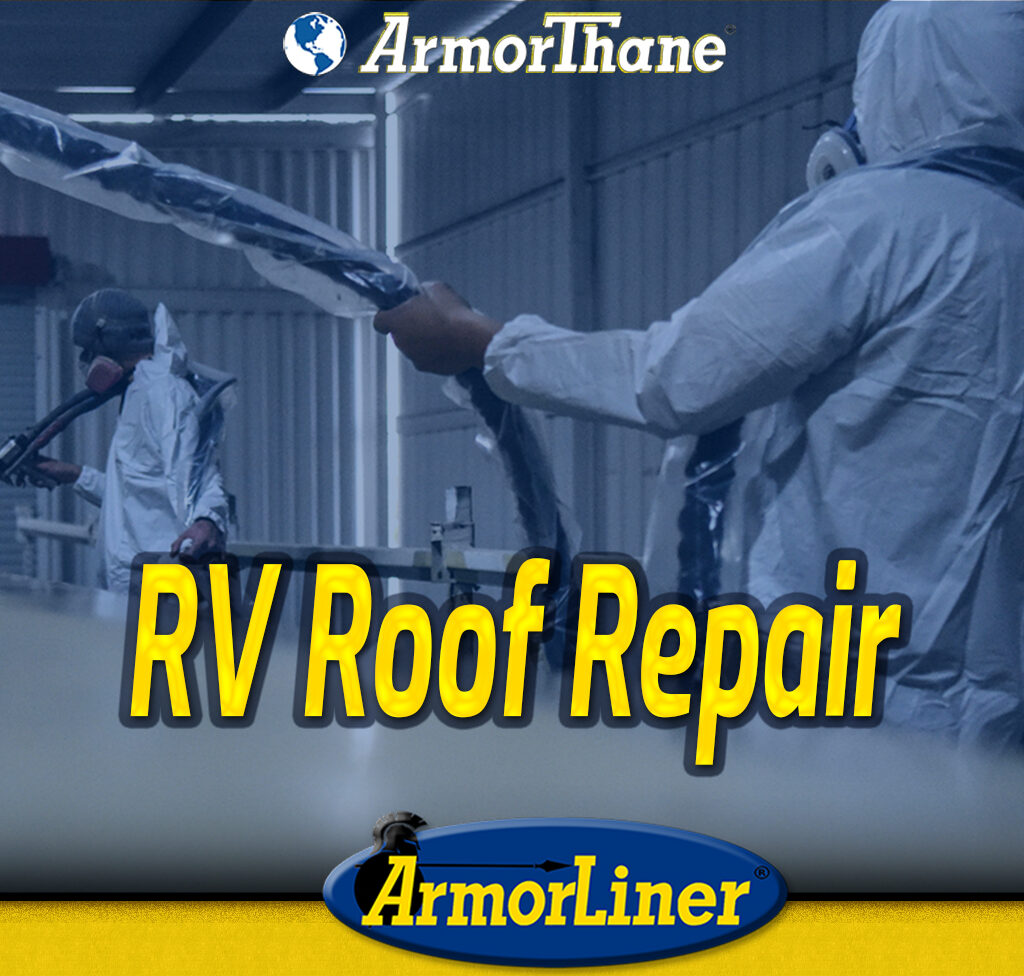
Polyurea Roof Coating
This is a cool product that will keep your RV roof dry and clean for many years.
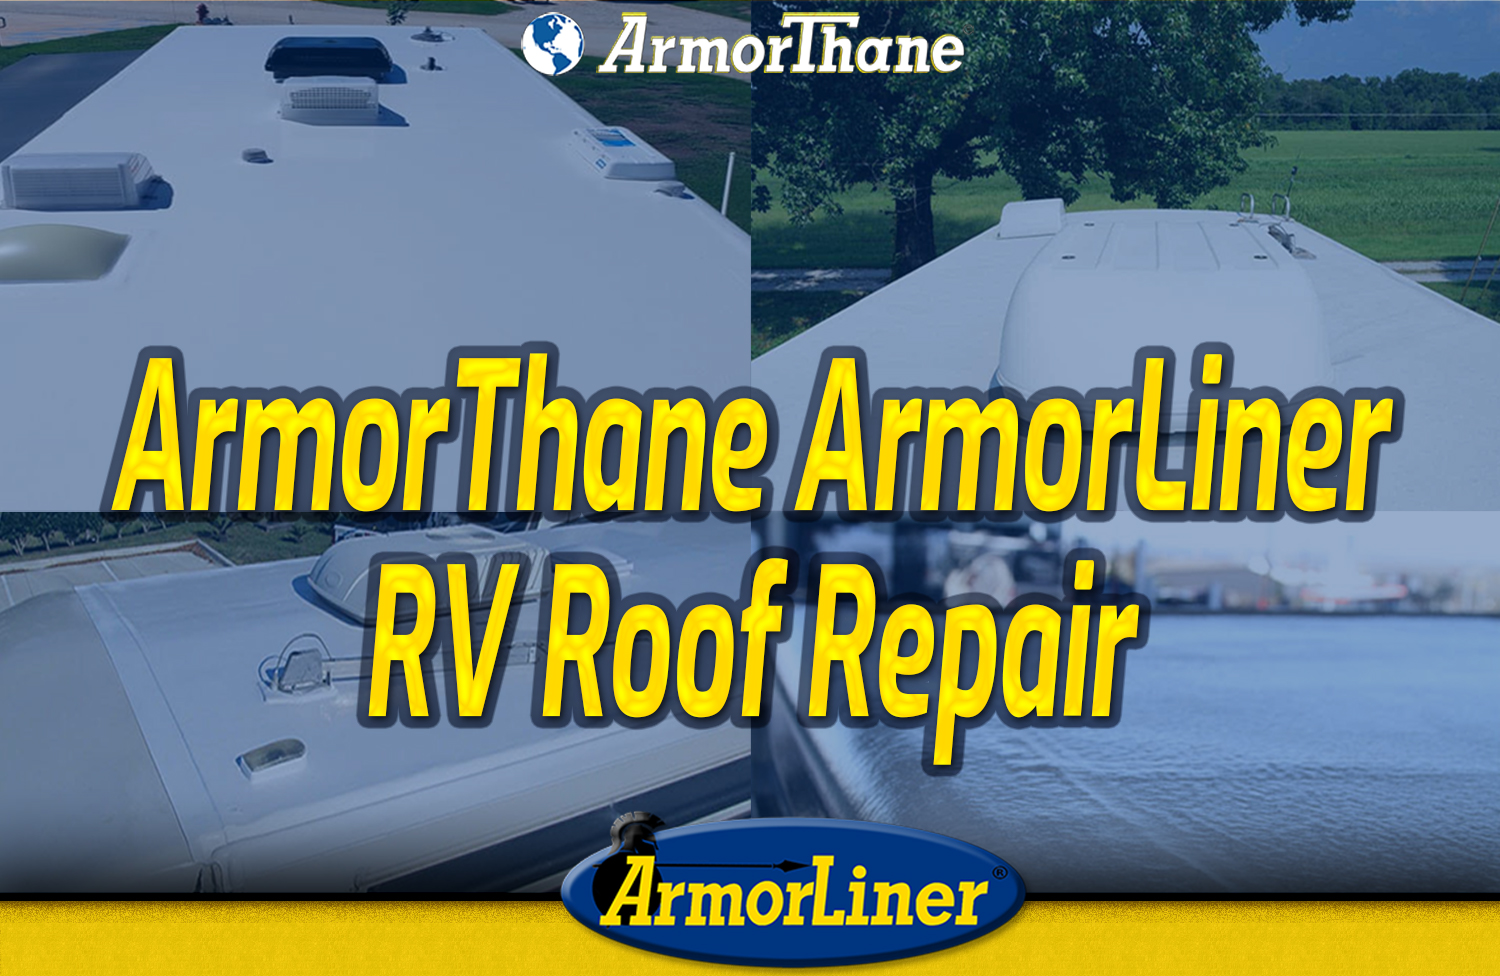
Spray on rubber bed liners are also installed by the same companies as pick-up trucks. They also use the same product to replace an RV roof. This coating was applied to my pick-up truck and it never got punctured. It lasted for many years despite being thrown concrete, concrete, and even rebar. This is the product that I will use to replace my RV roof.
This type of roof coating is called polyurea roof coating. It is easy to maintain, seamless, puncture-resistant, and will not crack, sun-rot, or deteriorate. Roof coatings do not require inspection, re-sealing or conditioning. It often comes with a 20-year guarantee.
Here is the website for ArmorThane , which is a company that has a multitude of bedliner applicators throughout the world. You might be able to find one near you that does this.
RV roof materials estimator
Enter your roof size and what is mounted on it for a rough shopping list of coating, sealant and tape.
A planning estimate, not a quote. Coverage varies widely by product, surface and application thickness, so check each label and buy a little extra.
Conclusion
When it comes time to replace your RV roof or reseal it, you can choose which option suits you best. While some people will save money by doing it themselves, others will hire professionals to do the job properly.
Whatever your choice, we hope that this article will help you find the right way!
Related guides
Frequently asked questions
How much does it cost to reseal an RV roof?
It depends on the roof material. Average costs run about 45 cents per square foot for a rubber roof, 18 cents for fiberglass and 21 cents for metal. On top of that, budget for roof cleaning chemicals and supplies to prep the surface, because the new coating or sealant needs a clean, dry roof to bond to.
What's the difference between RV roof sealant and roof coating?
A coating covers the entire roof. A sealant targets specific trouble spots: cracks, holes, gaps around vents and windows, and cracks at the AC unit. Sealants come as liquid, tape or caulk, and sealant tape like EternaBond needs very little prep. People use the two terms interchangeably, but they do different jobs.
How many coats does an RV roof need when resealing?
It depends on the product. Rubber roof coating is usually applied in two coats, with the first completely dry before the second goes on. Silicone roof coating needs only one coat. Acrylic and urethane coatings need two coats plus a primer. Drying time between coats varies with temperature and humidity, so don't rush it.
What should I clean my RV roof with before resealing?
A mix of Tide and warm water works well. Avoid Dawn dish soap here, since it can leave a film that keeps sealant from sticking. On rubber roofs, a cleaner/activator opens the pores of the EPDM membrane over several hours so the coating can bond. Wipe sealant areas with denatured alcohol right before you apply.
When should I replace my RV roof instead of resealing it?
When the damage is widespread. If a rubber roof is tearing or bubbling in several spots, or the damage threatens the whole roof, resealing won't hold. Replacement means removing the awning and roof fixtures, stripping the membrane, replacing damaged plywood and resealing the edges. That's a job for an RV technician, not a weekend project.
Did this guide help with your rig?

Written by