On this page10 sections
To wash an RV safely, use a pH balanced RV soap, not dish soap, wash from top to bottom in sections, use a soft brush or mitt with a two-bucket rinse system, and avoid a pressure washer near seals and decals. If you do use a pressure washer, stay under 1,500 to 2,000 PSI, use a wide-angle nozzle, and keep it 12 to 18 inches from the surface.
An RV is a much bigger, more exposed surface than a car, and it’s covered in things a standard car wash never has to think about: rubber roof membranes, window and slide-out seals, printed decals, and painted fiberglass panels that all react differently to pressure, chemicals, and technique. Wash it the wrong way, and you’re not just missing a spot, you can strip wax, peel decals, or force water past a seal and into the wall cavity. Wash it the right way, and you’re actually protecting the RV’s finish and extending its life at the same time.
Here’s how we approached this guide: we compared washing techniques recommended across RV detailing guides and manufacturers, cross-checked pressure washer safety guidance for RV-specific materials, and organized it into a clear order so you’re not guessing at any step.
What You’ll Need Before You Start
- A pH balanced, RV-specific soap. Regular dish soap is too harsh for RV paint, fiberglass, and decals, and it strips wax while leaving a dull film behind.
- Two buckets. One for soapy water, one for rinsing your mitt or brush, which keeps grit from transferring back onto the surface and causing scratches.
- A soft wash mitt or sponge, plus a soft-bristle, extendable brush for the roof and higher sections.
- A separate brush for wheels and tires. Never share this with the body brush, since embedded tire grit will scratch paint or fiberglass instantly.
- A hose with an adjustable, low-pressure nozzle, or a pressure washer used carefully with the right settings, covered in detail below.
- A sturdy ladder with slip-resistant feet, rated for reaching the roof and upper sides safely.
- Microfiber towels or a chamois for drying, since air-drying alone tends to leave water spots.
Before You Wash: A Few Prep Steps
Close all windows, vents, and doors before you start, and park somewhere shaded if possible, since direct sun causes soap and water to dry too fast, leading to streaks and spots. If you’re washing near decals or graphics, take a moment to note their location so you know where to ease up on pressure once you’re mid-wash and moving quickly.
How to Wash an RV Step by Step
1. Rinse the Whole RV First
Start with a full rinse from top to bottom to knock off loose dirt, dust, and debris before any soap goes on. This step alone prevents a lot of the grinding and scratching that happens when dirt gets trapped under a wash mitt.
2. Start With the Roof
The roof is usually the dirtiest part of the RV, since it takes the most direct sun, rain, and airborne grime. Use your extendable brush and an appropriate roof cleaner, keeping in mind that rubber, fiberglass, and aluminum roofs may need different products. If you have a rubber roof specifically, our guide on how to clean an RV rubber roof covers the safest cleaners and technique in more depth.
3. Work Top to Bottom on the Sides
Move down to the sides in sections, applying soapy water with your mitt or brush and rinsing each section before it has a chance to dry. Washing top to bottom keeps dirty runoff from re-soiling areas you’ve already cleaned. Use the two-bucket method here: dip your mitt in the rinse bucket to remove grit before reloading it with soap, rather than going straight back into the soap bucket every time.
4. Be Gentle Around Decals, Graphics, and Seals
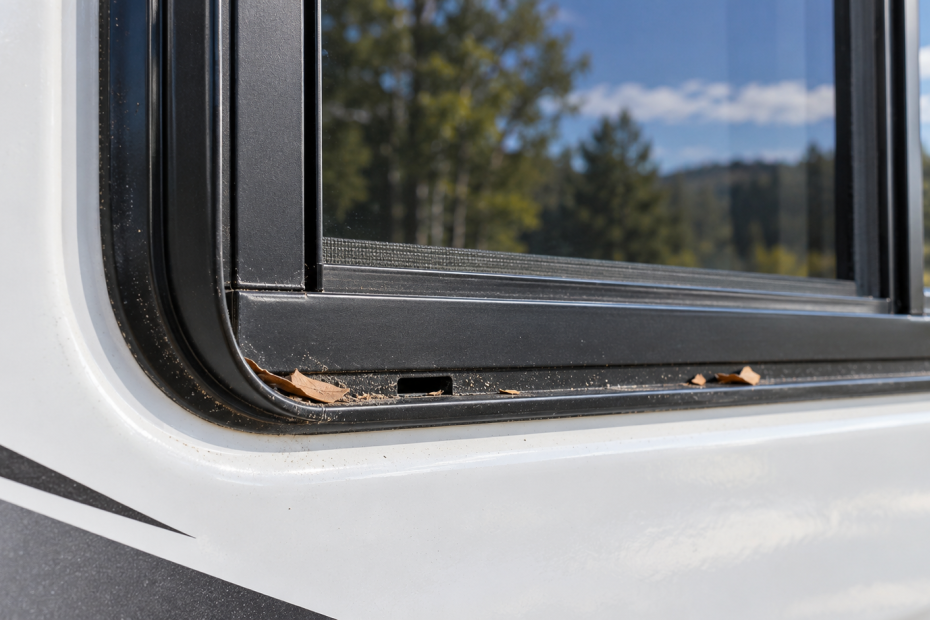
Ease off on scrubbing pressure specifically around decals, graphics, and any window, door, or slide-out seals. These areas are more sensitive than painted panels, and aggressive scrubbing can lift edges, cause premature peeling, or work water into a seal that’s already starting to wear.
5. Handle Wheels and Tires Separately
Use your dedicated wheel brush and a tire and wheel cleaner, keeping this tool completely separate from anything that touches the body. Road grime and brake dust on tires contain fine grit that will scratch paint or fiberglass on contact if the same brush is used on both.
6. Rinse Thoroughly
Once every section is washed, do a final full rinse, making sure no soap residue is left anywhere, including in seams, under trim, and around vents, since dried soap can leave streaks and dull spots.
7. Dry With a Towel or Chamois
Don’t skip drying. Air drying alone almost always leaves water spots, especially on darker paint or in direct sun. A microfiber towel or chamois, used gently, gives a cleaner, streak-free finish and reduces the mineral deposits that build up from air-dried water.
8. Finish the Awning If You Washed It
If you cleaned the awning as part of the wash, make sure it’s fully dry before retracting it, even if you only rinsed it briefly. Trapped moisture leads to mold and mildew fast. Our RV awning maintenance guide covers this in more detail if awning care is a bigger priority for your routine.
Can You Pressure Wash an RV?
Yes, carefully. A pressure washer can speed up washing a large RV significantly, but the margin for error is smaller than with a garden hose, since high pressure can force water past seals around windows and slide-outs, peel decals, and even chip paint if used incorrectly.
If you choose to use one:
- Stay under 1,500 to 2,000 PSI, and start on the lowest setting, increasing only if needed
- Use a wide-angle nozzle, roughly 40 degrees, rather than a narrow, concentrated tip
- Keep the nozzle 12 to 18 inches away from the surface at minimum
- Angle the spray downward rather than directly at seams, vents, or seals
- Stay well clear of decals and graphics, giving them extra distance compared to plain painted panels
If you’re not confident about maintaining the right distance and angle consistently across the whole RV, a hose and soft brush is the safer choice, especially around anything with a seal or a printed decal.
Recommended Pressure Washer Settings
| Setting | Recommendation |
|---|---|
| PSI | Under 1,500 to 2,000 |
| Nozzle angle | Wide, around 40 degrees |
| Distance from surface | 12 to 18 inches minimum |
| Areas to avoid entirely | Seals, seams, vents, decals |
| Direction | Angled downward, never straight into a seam |
Common Mistakes That Damage an RV’s Finish
- Using dish soap. It strips wax and protective coatings while leaving a dull film behind, which is exactly the opposite of what a wash is supposed to do.
- Sharing a wheel brush with the body. Tire grit transferred to painted or fiberglass surfaces causes fine scratches almost instantly.
- Using a narrow, high-pressure nozzle up close. This is the fastest way to peel decals, damage seals, or chip paint.
- Letting soap dry on the surface. Working in smaller sections and rinsing promptly prevents streaking and spotting.
- Skipping the final dry. Air drying alone tends to leave water spots that are avoidable with a quick pass of a towel or chamois.
- Washing in direct sun. Heat speeds up drying time before you can rinse properly, leading to streaks.
Ladder Safety While Washing
Reaching the roof and upper sides safely matters just as much as the washing technique itself. Use a sturdy ladder with wide, stable steps and slip-resistant rubber feet, and avoid leaning or overreaching, which is one of the more common ways people get hurt during routine RV washing. If your RV is particularly tall or you wash frequently, a small scaffold or step platform can make the job both safer and easier than balancing on a ladder for an extended period.
How Often Should You Wash Your RV
Most owners wash every few weeks during active travel season, and less frequently during storage. A few situational guidelines:
- After long road trips, to remove bug splatter and accumulated road grime before it has a chance to bond to the surface
- More often if parked under trees, since sap, pollen, and bird droppings build up faster in that environment
- At minimum, a thorough wash and wax at the start and end of your travel season, even if you skip regular washing during storage
If UV protection matters as much to you as cleaning, pairing your wash routine with our guide on how to protect your RV from sun damage rounds out a fuller maintenance approach, and our picks for the best RV wash products can help you choose a soap and wax that fits your specific finish.
Frequently asked questions
Is it safe to pressure wash an RV?
Yes, if you’re careful. Stay under 1,500 to 2,000 PSI, use a wide-angle nozzle, keep the nozzle at least 12 to 18 inches from the surface, and avoid spraying directly at seals, seams, or decals.
Can I use regular dish soap to wash my RV?
It’s not recommended. Dish soap is too harsh for RV paint, fiberglass, and decals, and it strips wax while leaving a dull film behind. Use a pH balanced, RV-specific soap instead.
How often should I wash my RV?
Most owners wash every few weeks during travel season, more often if parked under trees, and at minimum once at the start and end of the season.
What’s the safest order to wash an RV in?
Start with a full rinse, wash the roof first, then work top to bottom on the sides in sections, handle wheels and tires with a separate brush, rinse thoroughly, and finish by drying with a towel or chamois.
Why shouldn’t I use the same brush on my tires and the body?
Tires and wheels collect fine grit and brake dust that will scratch paint or fiberglass if the same brush touches both surfaces.
Can an RV go through an automatic truck wash?
Some larger automated truck washes can accommodate RVs, but many aren’t recommended, since brushes and high-pressure equipment designed for trucks aren’t always gentle enough for RV-specific materials like decals and rubber roofing.
Final Thoughts
Grab a soft mitt, a two-bucket setup, and an RV-safe soap before your next wash, and skip the pressure washer unless you’re confident in your technique. That alone prevents most of the damage RV owners run into.
Washing an RV safely isn’t complicated, it just requires a bit more care than washing a car, mostly around pressure, product choice, and technique near decals and seals. Stick to a soft-touch, top-to-bottom process, keep harsh chemicals and high pressure away from the most sensitive areas, and finish with a proper dry. Done consistently, this routine keeps your RV’s finish looking good and actually protects it, rather than slowly wearing it down one wash at a time.
Did this guide help with your rig?

Written by