On this page12 sections
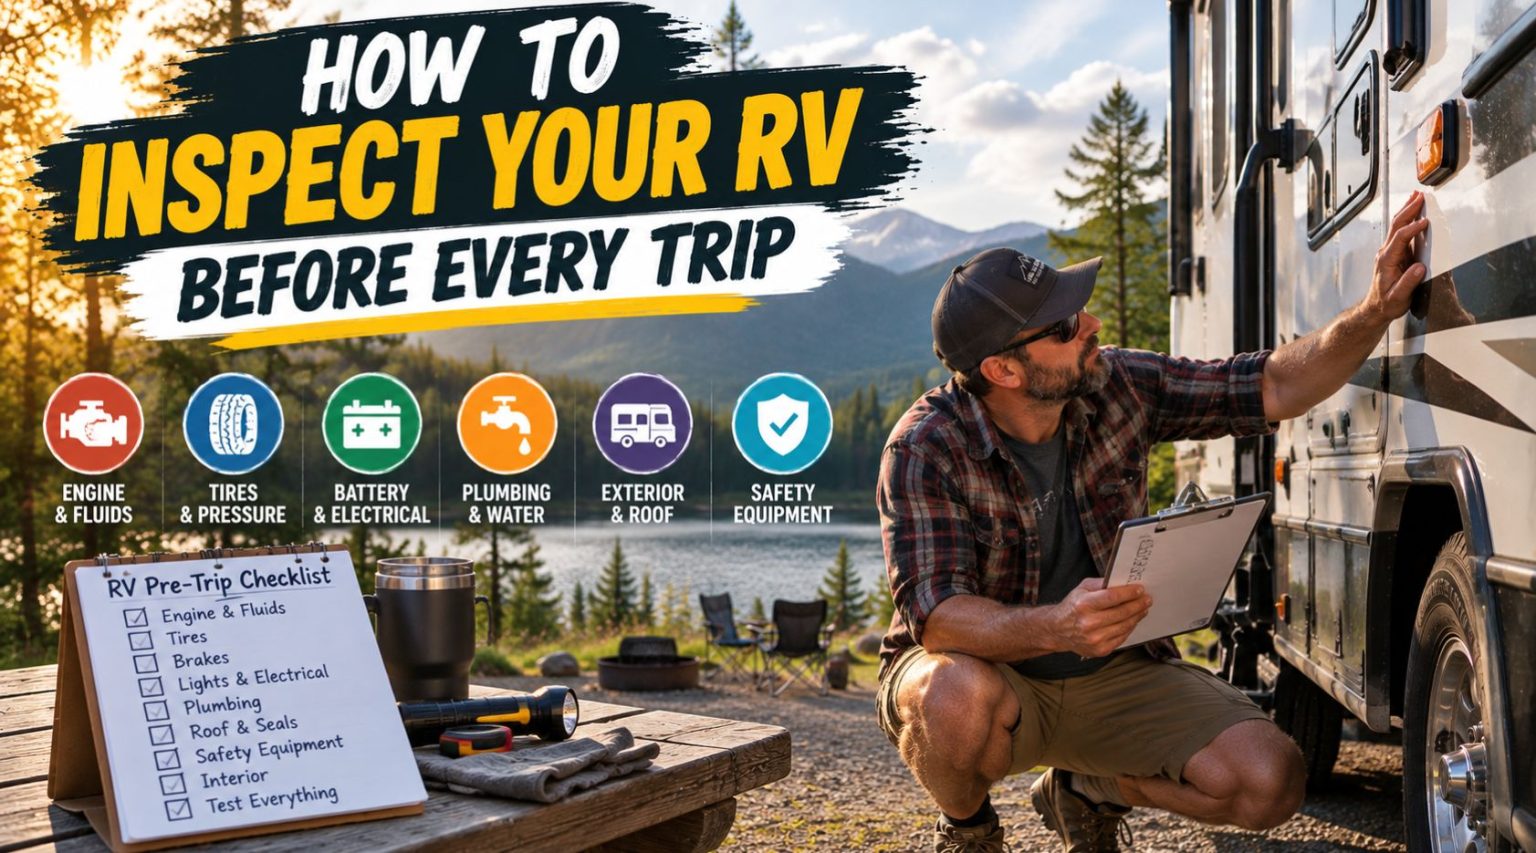
A proper pre-trip RV inspection covers four zones: tires and wheels, exterior and roof, mechanical and towing components, and interior systems. Check tire pressure and condition, inspect the roof and seals for cracks, test brakes and lights, confirm propane connections, and make sure slides, awnings, and loose items are secured before driving. A thorough walk-around takes about fifteen to twenty minutes and catches the issues behind most roadside breakdowns.
Most RV breakdowns don’t happen because of some freak, unpredictable failure. They happen because something that was already wearing out, a slightly underinflated tire, a cracked roof seal, a loose lug nut, finally gives out under the stress of a long drive. A consistent pre-trip inspection is the single habit that catches most of these problems while they’re still cheap, easy fixes instead of expensive, dangerous ones.
This guide walks through the inspection zone by zone, the same way an experienced RVer would actually walk around the rig before pulling out of the driveway, so nothing gets missed.
Why a Pre-Trip Inspection Matters Every Single Time
It’s tempting to skip the full routine if nothing seemed wrong on your last trip, but RVs change between uses in ways that aren’t always obvious. Tires lose pressure sitting in storage. Seals dry out and crack from sun exposure even when the RV isn’t moving. Batteries drain. Mice and other pests can get into places you wouldn’t think to check. Treating every trip, even a short one, as worth a full walk-around is what actually prevents the kind of issue that turns into a roadside call for help.
Zone 1: Tires and Wheels
Start here, since tire failure is one of the most dangerous things that can happen on the road and one of the most preventable with a proper check.
- Check tire pressure cold, using the number on your RV’s placard rather than the maximum pressure printed on the tire itself
- Inspect every tire, including the spare, for cracks, bulges, or uneven tread wear
- Check lug nut torque, since nuts can loosen gradually and continue loosening further once you’re driving
- Look for cracking near the sidewall base, especially on tires that sat through a full off-season in storage
- Check the tire’s age using the DOT date code if you’re not sure how old it is, since tires degrade with age even if the tread still looks fine
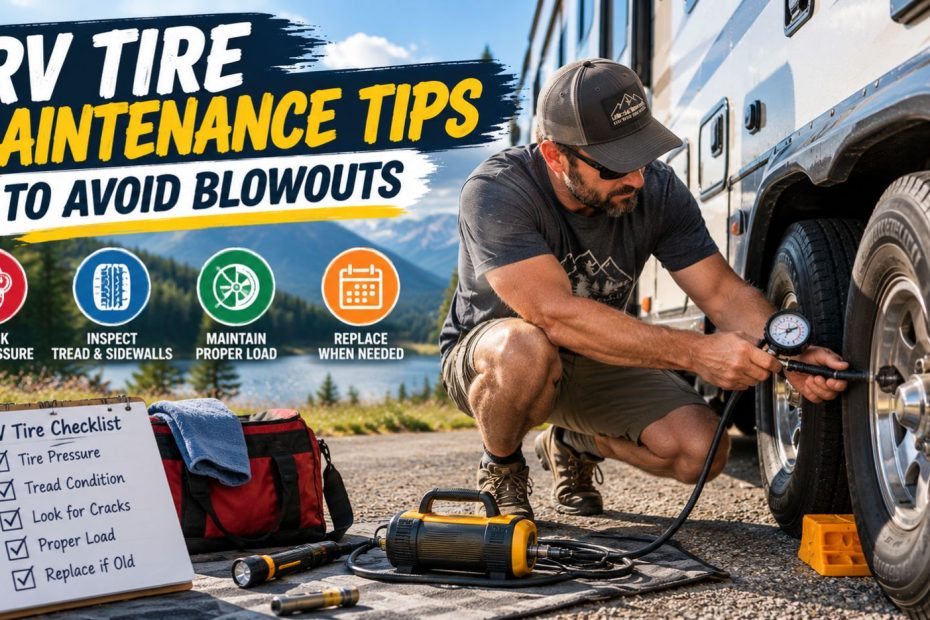
Tire maintenance deserves more depth than a single bullet list can cover, so our full guide on RV tire maintenance tips to avoid blowouts walks through pressure, load limits, and age-related risk in detail.
Zone 2: Exterior and Roof
Walk the full exterior, and if you have safe roof access, get up top as part of this step too.
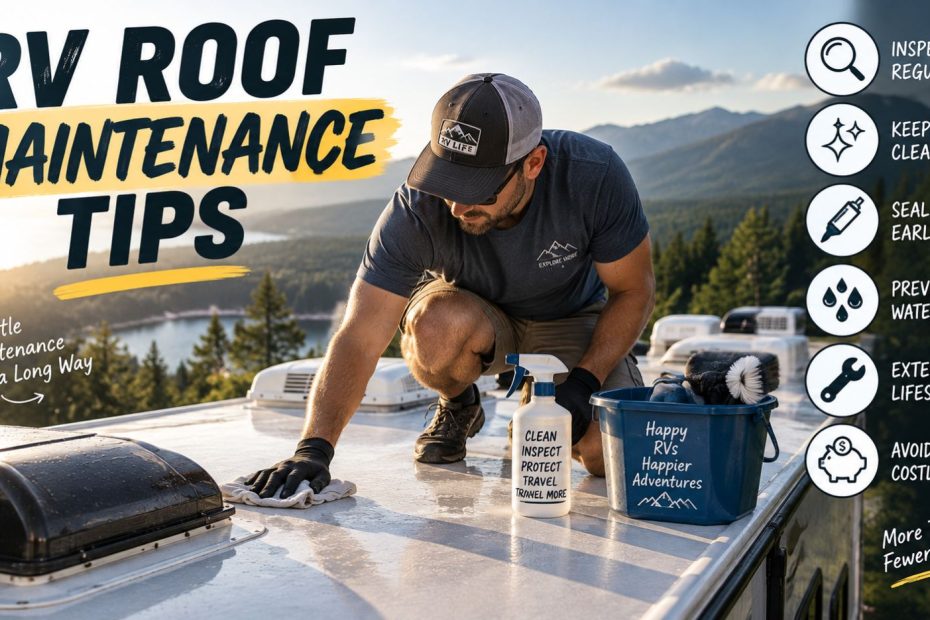
- Inspect the roof, seams, and vents for cracked sealant, gaps, or signs of UV wear like chalking
- Check all window and door seals for cracking, gaps, or softness in the surrounding wall material
- Confirm slide-out seals are making full contact and that the slide is fully retracted and flush before travel
- Check exterior compartment doors and latches, confirming they close and lock securely
- Confirm the awning is fully retracted and secured, since a partially extended awning can be damaged or torn loose at highway speed
- Check all exterior lights: headlights, brake lights, turn signals, and running lights
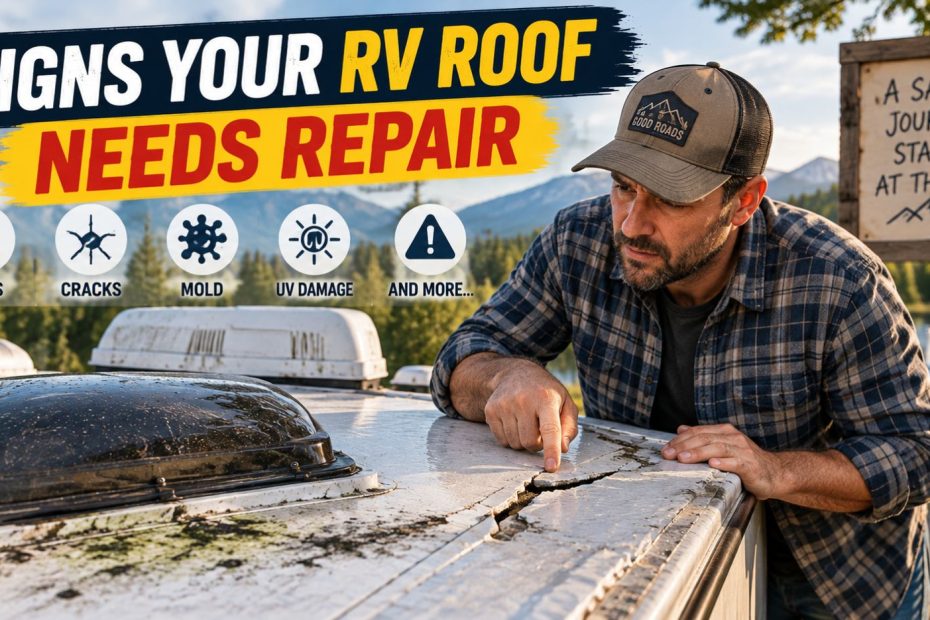
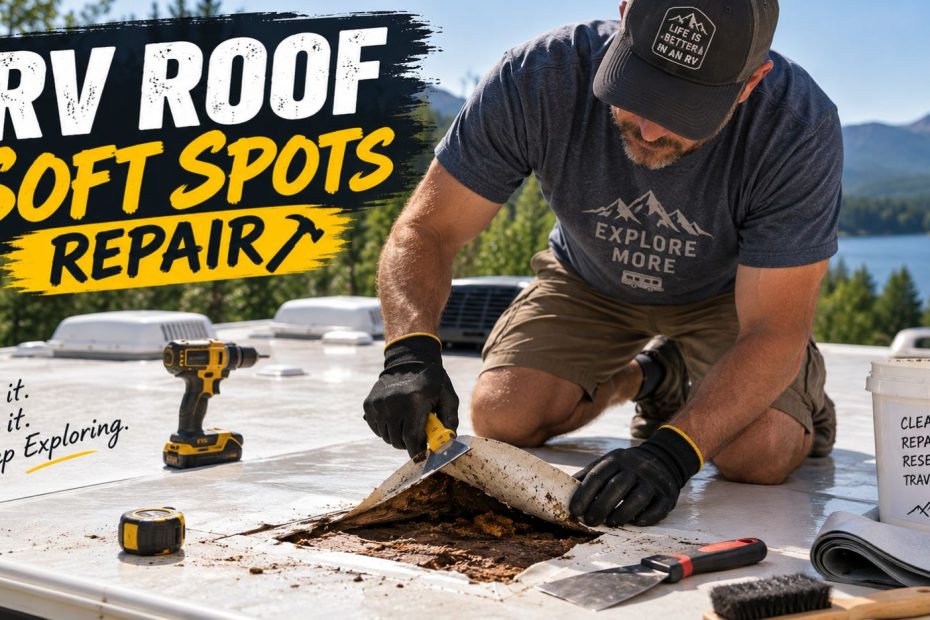
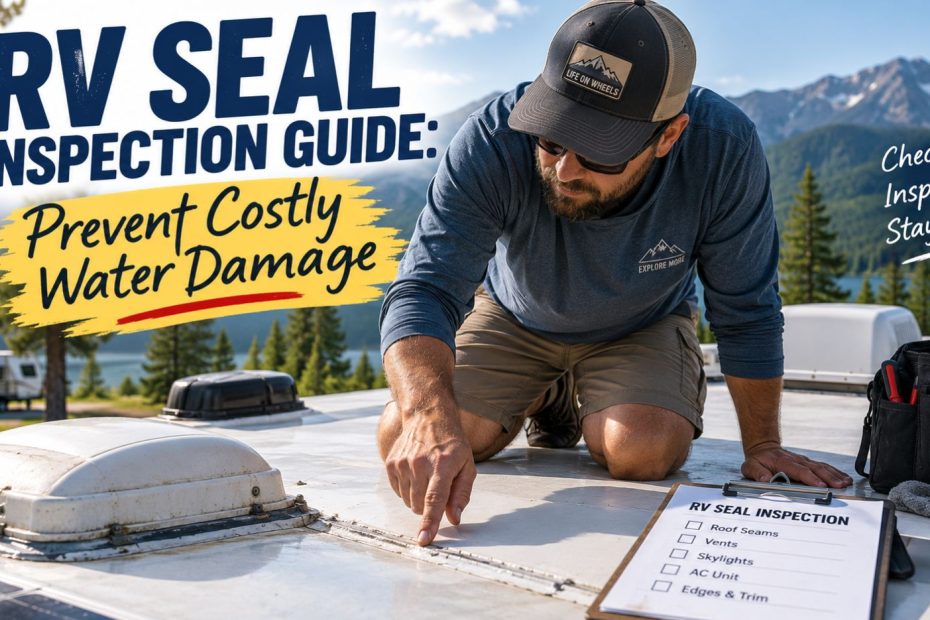
Seals across the entire exterior, not just the roof, deserve a closer look on a regular basis, not just before trips. Our RV seal inspection guide covers windows, doors, and slide-outs in depth, and our RV roof maintenance checklist and 10 warning signs your roof needs repair help you catch roof-specific issues before they become a leak mid-trip.
Zone 3: Mechanical, Brakes, and Towing
This zone is where the most dangerous failures tend to hide, since problems here aren’t always visible from a quick glance.
- Check all fluid levels on motorhomes and tow vehicles: engine oil, coolant, brake fluid, transmission fluid, and washer fluid
- Test brakes in a safe, low-speed area before getting onto the highway, especially after the RV has been sitting unused for a while
- Inspect the hitch, coupler, and safety chains on towables, confirming everything is properly connected and secured
- Test the breakaway cable and brake controller if you’re towing, since this is a safety system you want confirmed working before you need it in an emergency
- Check leaf springs, shackles, and suspension mounts for cracks, rust, or looseness, particularly if the RV has been parked for an extended period
- Look for fluid leaks around wheel hubs and bearings, a sign of a developing brake or bearing problem
Zone 4: Interior Systems and Final Walkthrough
Before you pull out, run through the interior and the systems that keep everything running once you’re at your destination.
- Secure loose items on counters, in cabinets, and anywhere else things could shift while driving
- Close and lock all windows, vents, and blinds
- Turn off the water pump, and confirm water, power, and sewer hookups are fully disconnected and stowed
- Check propane connections with a simple soapy water test on fittings, watching for bubbles that indicate a leak
- Test smoke, carbon monoxide, and propane detectors, replacing batteries at the start of each travel season regardless of how they currently test
- Confirm jacks and stabilizers are fully retracted
- Do one final walk around the entire RV, visually confirming slides, steps, and the awning are retracted and nothing is left connected or hanging loose
A Simple Pre-Trip Inspection Checklist
| Zone | What to Check |
|---|---|
| Tires and wheels | Pressure, tread, cracks, lug nuts, spare, tire age |
| Exterior and roof | Roof seams, seals, slide-out contact, compartment doors, awning, lights |
| Mechanical and towing | Fluid levels, brakes, hitch and safety chains, suspension, bearings |
| Interior systems | Loose items, water pump off, propane leak test, detectors, hookups disconnected |
How to Inspect Your RV Before Every Trip Without Skipping Steps
A full walk-around inspection typically takes about fifteen to twenty minutes once it becomes routine, which is a small amount of time compared to dealing with a roadside breakdown or a leak discovered three days into a trip. The biggest risk to consistency isn’t forgetting what to check, it’s rushing through the process on a trip that feels routine or skipping zones because the RV was just used a few days earlier.
Many experienced RVers keep a printed or saved checklist specifically so the process stays consistent and quick rather than relying on memory, especially after a long stretch without using the RV. Going zone by zone in the same order every time, rather than wandering around checking whatever catches your eye first, is what actually prevents something from getting missed. It also means the inspection gets faster with repetition, since you’re not relearning the process each time, just confirming nothing has changed since your last trip.
Tools Worth Keeping on Hand
A few simple tools make the inspection faster and more accurate than eyeballing everything:
- A tire pressure gauge, since visual checks alone can miss significant underinflation, especially on dual tire setups
- A flashlight, useful for checking shaded areas like wheel wells, under slide-outs, and roof vents
- A small spray bottle of soapy water, for a quick propane connection leak test
- A basic lug wrench and jack, kept accessible in case a tire issue turns up during the inspection itself rather than after you’re already on the road
- A written or saved checklist, so the process stays the same every time rather than depending on memory
None of these need to be expensive or specialized. Keeping them in a consistent, easy to reach spot means you’re more likely to actually use them instead of skipping a step because the right tool wasn’t handy.
If Your RV Has Been in Storage
A pre-trip inspection after extended storage needs extra attention beyond the routine version. Tires lose pressure faster than most people expect sitting unused, seals dry out from sun exposure even when the RV isn’t moving, and batteries can drain significantly over weeks or months. If your RV has been sitting for a while, slow down and go through each zone more thoroughly than you would for a trip taken just a week or two after your last one, and pay particular attention to the roof and tires, since both degrade steadily from UV exposure regardless of mileage.
Common Pre-Trip Inspection Mistakes
- Skipping the inspection because “nothing seemed wrong last time.” Conditions change between trips even without obvious warning signs.
- Checking tire pressure after driving instead of cold. Heat from driving raises the reading and can hide an actual underinflation problem.
- Doing a visual-only check on seals and roof. A gentle press test catches issues a glance from the ground will miss.
- Forgetting the spare tire. It’s easy to overlook since it’s not something you see every day, but a flat spare defeats the purpose of having one.
- Not testing brakes until you’re already on the highway. A low-speed test area gives you a safe chance to catch a problem early.
Frequently asked questions
How long should a pre-trip RV inspection take?
A thorough walk-around typically takes fifteen to twenty minutes once you’re familiar with the routine, covering tires, exterior, mechanical components, and interior systems.
What should I check first during a pre-trip inspection?
Tires and wheels are a good starting point, since tire failure is one of the most dangerous and preventable issues, followed by a walk around the exterior and roof.
Do I need to inspect my RV before every single trip, even short ones?
Yes. Conditions change between uses, tires lose pressure, seals dry out, batteries drain, even over a short period, so a consistent routine matters regardless of trip length.
What’s the most commonly missed item in a pre-trip inspection?
The spare tire and a physical press test on roof and door seals are both frequently skipped, since neither is as visible or top-of-mind as the main tires or obvious exterior damage.
Should I inspect differently after my RV has been in storage?
Yes. Extended storage means more time for tire pressure loss, UV-related seal wear, and battery drain, so a post-storage inspection should be more thorough than a routine between-trip check.
Can a pre-trip inspection actually prevent a breakdown?
In many cases, yes. Most roadside issues trace back to something that was already developing, like low tire pressure or a cracked seal, and a routine inspection is designed specifically to catch those before they fail on the road.
Final Thoughts
Print or save this checklist somewhere you’ll actually use it, glovebox, phone notes, wherever works, so the routine stays quick and consistent every time you head out.
A pre-trip inspection isn’t about assuming something is wrong, it’s about catching the small, quiet failures before they turn into a bigger problem hundreds of miles from home. Fifteen to twenty minutes, covering tires, exterior, mechanical systems, and the interior, is a small price for the peace of mind that comes with knowing your RV is actually ready for the road.
Did this guide help with your rig?

Written by