On this page10 sections
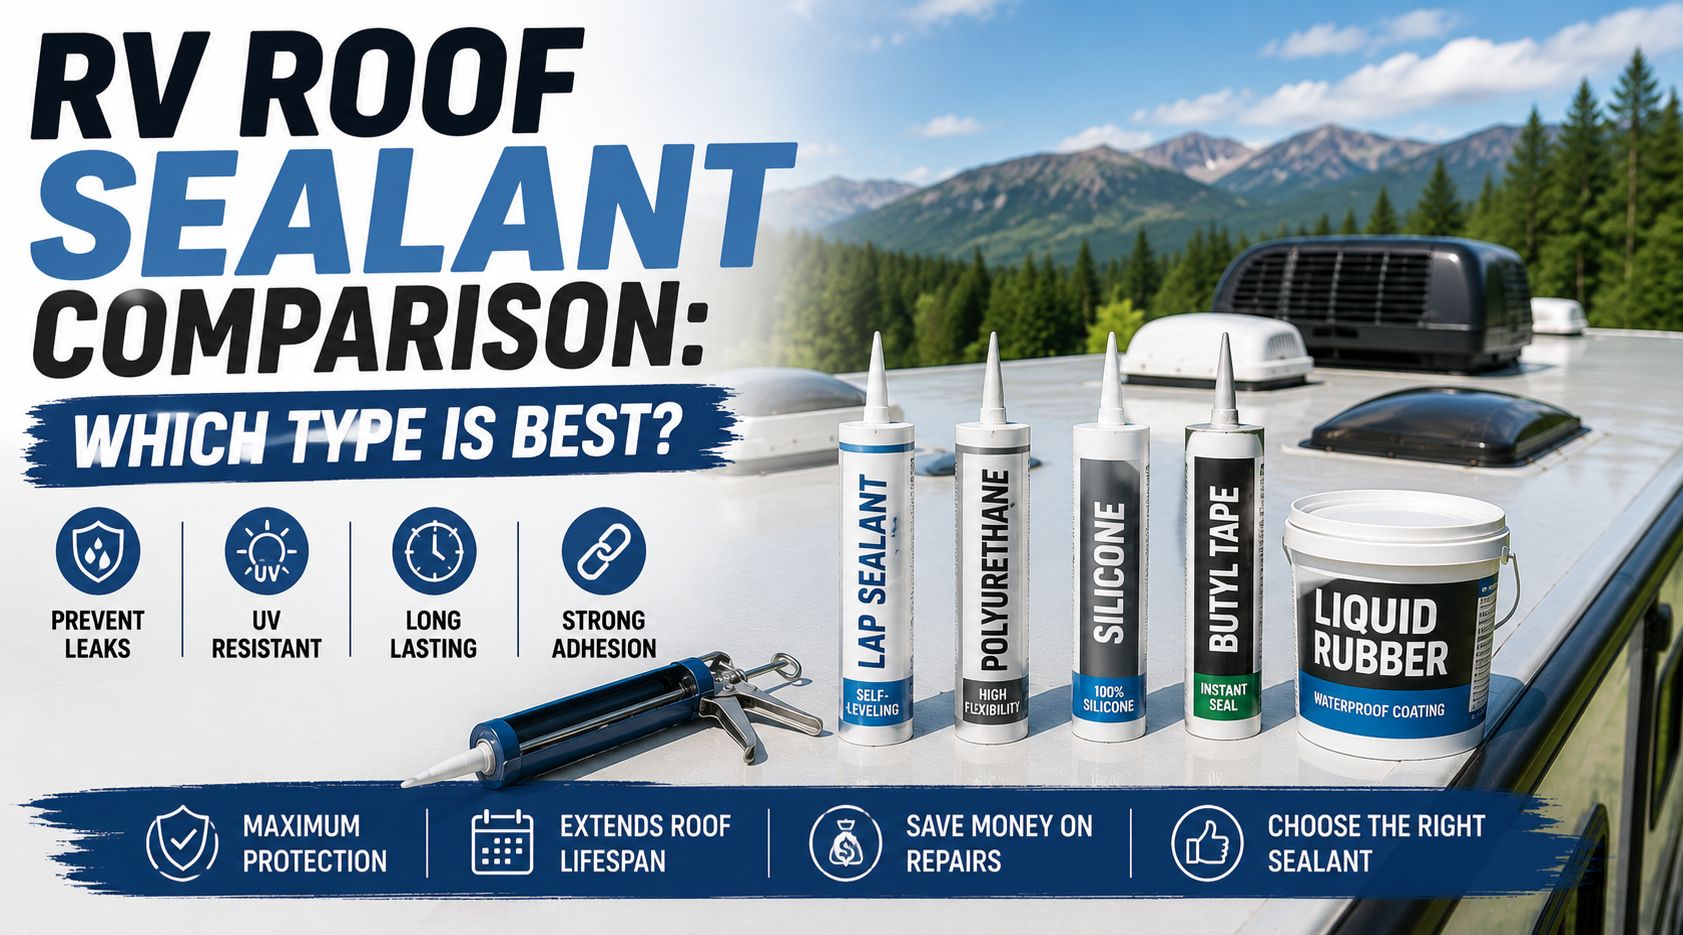
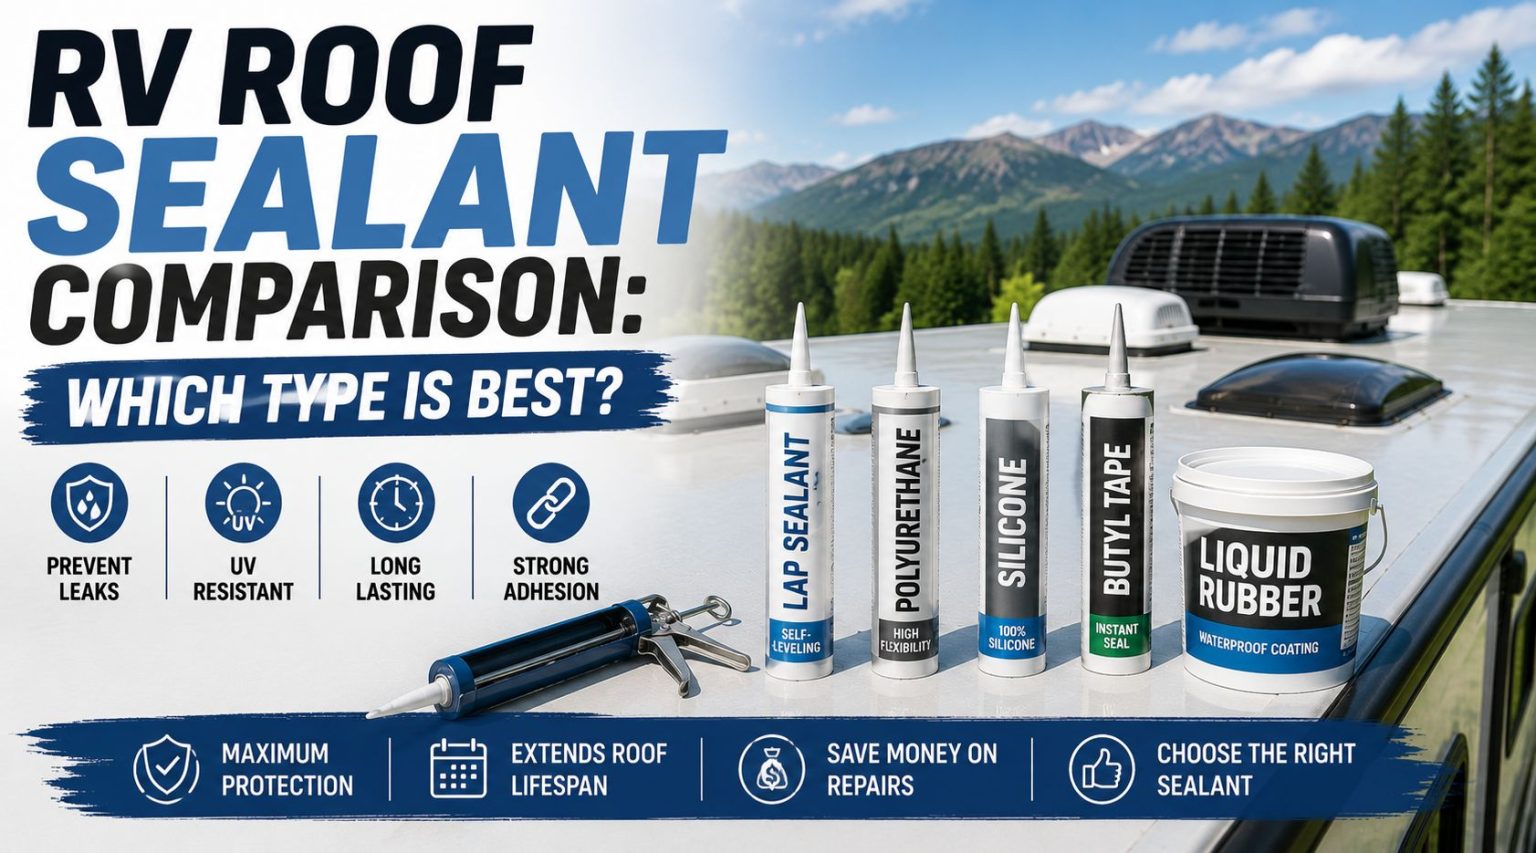
Quick Answer: There’s no single best RV roof sealant. Self-leveling lap sealant works best for horizontal seams, non-sag sealant is better for vertical surfaces and vent bases, butyl tape and Eternabond style products excel at seams and tears, and full roof coatings work best when you want to protect the entire surface at once. The right choice depends on the surface you’re sealing and your roof material.
Walk into any RV supply store and you’ll find a wall of sealant options, all claiming to be the one you need. Self-leveling, non-sag, silicone, polyurethane, butyl tape, roof coatings. It’s a lot, and picking the wrong one for the job is one of the most common reasons RV roof repairs fail early.
This RV roof sealant comparison breaks down every major type, what each one is actually built for, and how to match the right product to your specific roof and repair.
Why Sealant Choice Matters So Much
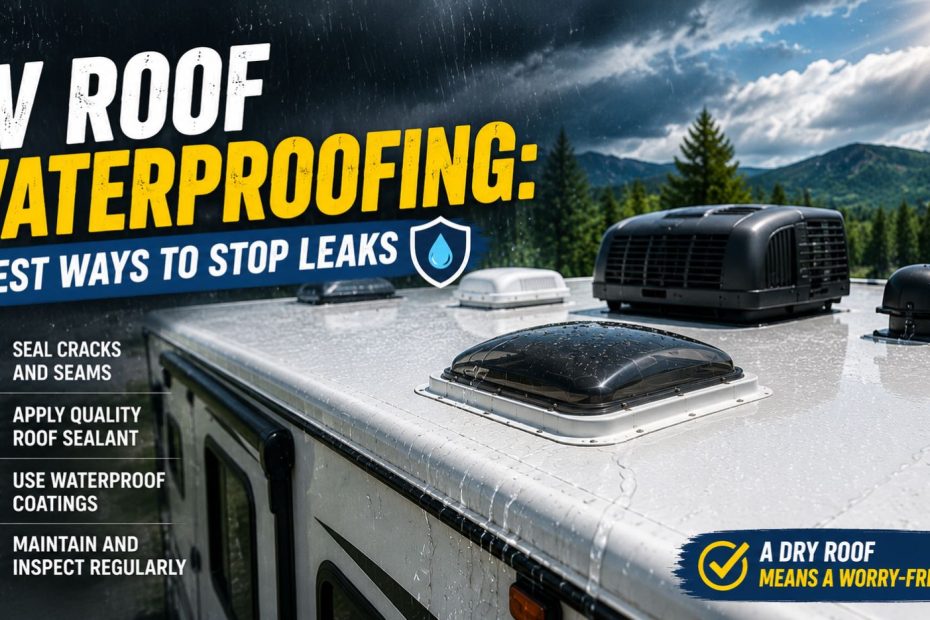
Most roof leaks don’t start from a sudden failure. They start slowly, around seams, vents, and other roof penetrations, as sealant gradually breaks down from sun exposure, temperature swings, and constant flexing on the road. The single most common failure point isn’t a bad product, it’s using a sealant that isn’t compatible with the roof surface it’s applied to, or using the wrong type for the shape of the area being sealed.
Getting this right the first time saves you from redoing the same repair a year later.
The Main Types of RV Roof Sealant
Self-Leveling Lap Sealant
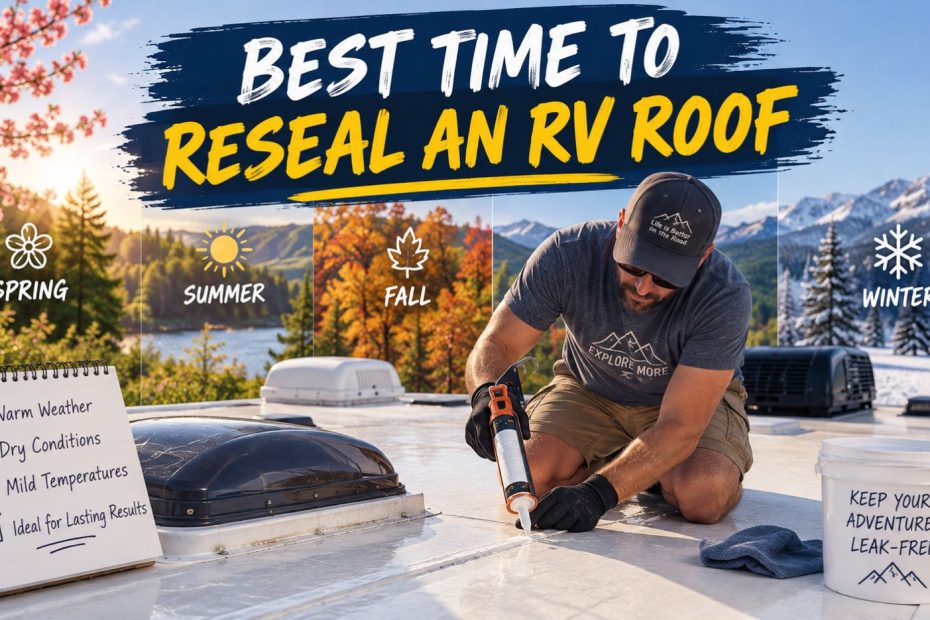
Self-leveling sealant is designed for flat, horizontal surfaces. Once applied with a caulk gun, it spreads and settles on its own, forming a smooth, even layer without much manual spreading. This makes it a natural fit for roof seams, vent flanges, and screw heads on a flat section of roof, where gravity helps it settle into a clean, watertight bond. It’s also the type most RV manufacturers use directly on the factory line, which is part of why it’s so widely available and easy to match to an existing repair.
Non-Sag (Non-Leveling) Lap Sealant
Non-sag sealant is the vertical counterpart to self-leveling sealant. It holds its shape and won’t run or drip down the surface, which makes it the right choice for vertical seams, vent housings, roof edges, and any spot where a flowing sealant would just slide off before it sets. Keeping both self-leveling and non-sag versions on hand covers the two most common seam orientations you’ll run into during a repair.
Silicone Sealant
Silicone based sealants are known for strong UV resistance and flexibility, and some silicone roof coatings are rated for a decade or more of service life without needing to be recoated. That said, silicone needs to be formulated specifically for RV roofing use. General purpose household silicone caulk isn’t a safe substitute, since it may not bond properly to rubber roofing membranes and can create adhesion problems for future repairs if you ever need to apply something else over it.
Butyl Tape
Butyl tape is a synthetic rubber adhesive tape, typically used underneath fixtures like vents and antennas before the visible lap sealant goes on top. It provides strong initial adhesion and is commonly paired with a lap sealant rather than used entirely on its own, giving you two layers of protection at the points most likely to leak.
Tape and Membrane Products (Eternabond and Similar)
Sealant tape systems, with Eternabond being the best known example, create a durable, waterproof barrier over roof seams by physically bridging the surface rather than filling it like a liquid sealant does. These products are especially useful for reinforcing aging sealant, sealing straight seams, or patching a small tear before it turns into an active leak. If you want a deeper look at how this compares specifically to Dicor sealant, our Dicor vs Eternabond guide covers that comparison in detail.
Full Roof Coatings
Rather than targeting individual seams, a full roof coating, usually acrylic or silicone based, is applied with a roller or brush across the entire roof surface to create one continuous waterproof layer. This approach protects the whole roof at once rather than relying on spot treatments at each seam, and it’s often the choice owners reach for when a roof has aged enough that spot repairs alone aren’t keeping up.
RV Roof Sealant Comparison Table
| Sealant Type | Best Surface | Application | Typical Longevity |
|---|---|---|---|
| Self-leveling lap sealant | Horizontal seams, vent flanges | Caulk gun, settles on its own | 1 to 3 years before touch-up |
| Non-sag lap sealant | Vertical seams, vent housings, edges | Caulk gun, holds shape | 1 to 3 years before touch-up |
| Silicone sealant | Seams and joints, RV-specific formulas | Caulk gun or brush | Several years, some rated 10+ |
| Butyl tape | Under fixtures, paired with lap sealant | Press into place | Long-lasting when paired with sealant |
| Tape/membrane (Eternabond, etc.) | Straight seams, tears, punctures | Peel and stick, roll firmly | Often a decade or more |
| Full roof coating | Entire roof surface | Roller or brush, full coverage | Multiple years, varies by product |
Which sealant fits this repair?
Have your roof material in mind (EPDM, TPO, fiberglass or aluminum), then answer four questions to match a sealant type to the job.
Our recommendation
Self-leveling lap sealant
Flat, horizontal seams, vent flanges and screw heads are what self-leveling sealant is built for: it spreads and settles into a smooth, watertight layer on its own. Remove old, failing sealant and clean the spot first, and confirm the label lists your roof material. If you're bedding a fixture, butyl tape goes underneath with lap sealant on top.
Our recommendation
Non-sag lap sealant
On vertical or angled spots like vent housings and roof edges, self-leveling sealant runs before it sets. Non-sag sealant holds its shape where you put it. Clean off old material first and confirm the label lists your roof material.
Our recommendation
Eternabond-style tape
Straight seams, tears and punctures call for a tape or membrane product that physically bridges the damage instead of filling it, and it's a good way to reinforce aging seam sealant. Peel, stick and roll it down firmly on a clean, prepared surface. Applied that way, it often lasts a decade or more.
Our recommendation
Full roof coating
When wear shows up in many places, spot repairs stop keeping up. An acrylic or silicone coating, rolled or brushed across the whole roof, forms one continuous waterproof layer. Pick one rated for your roof material; how long it lasts varies by product.
How your answers stacked up
- Self-leveling lap sealant
- Non-sag lap sealant
- Eternabond-style tape
- Full roof coating
Matching Sealant to Your Roof Material
Not every sealant is safe for every roof type, and this is where a lot of RV owners run into trouble.
EPDM (rubber) roofs need a sealant specifically formulated to stay flexible and bond well to rubber. Standard household caulk isn’t recommended here, since it may not adhere properly and can fail faster than a purpose-built product.
TPO roofs look similar to EPDM but require TPO-compatible sealants specifically. Using a product made for a different membrane type can lead to poor adhesion or premature failure.
Fiberglass roofs are generally more forgiving and compatible with a wider range of sealant types, though matching the product to the specific repair (seam, crack, or penetration) still matters.
Aluminum roofs hold up well against a broad range of sealants, but seams, screw points, and fixture bases still need a product designed to handle expansion and contraction as temperatures shift.
The safest approach with any product is to check the manufacturer’s label for your specific roof material before applying, rather than assuming compatibility.
How to Choose the Right Sealant for Your Repair
A simple way to narrow down the decision:
- Identify the surface. Flat and horizontal points toward self-leveling. Vertical or angled points toward non-sag.
- Identify the roof material. Confirm the product is rated for EPDM, TPO, fiberglass, or aluminum, whichever you have.
- Identify the type of damage. A crack or gap in existing sealant favors a liquid lap sealant. A straight seam, tear, or puncture favors tape or a membrane product.
- Decide on scope. A single problem area calls for spot treatment with lap sealant or tape. A roof that’s showing wear across multiple areas may be a better candidate for a full coating.
Common Mistakes When Choosing or Applying Sealant
- Applying new sealant over old, failing sealant. Fresh product often won’t bond properly to sealant that’s already oxidized or cracking, so old material should be removed first.
- Using the wrong product for the surface angle. Self-leveling sealant on a vertical surface will simply run before it sets.
- Skipping surface prep. Even the best sealant fails early if it’s applied over dirt, oils, or old residue.
- Assuming one product works on every roof type. Always confirm compatibility with your specific membrane material.
- Treating sealant as a one-time fix. Lap sealants typically need inspection and touch-ups every one to three years, not a single application for the life of the RV.
RV roof materials estimator
Enter your roof size and what is mounted on it for a rough shopping list of coating, sealant and tape.
A planning estimate, not a quote. Coverage varies widely by product, surface and application thickness, so check each label and buy a little extra.
How Often Should You Reapply
Lap sealants around vents, air conditioners, and seams should be inspected at least twice a year and touched up as needed, generally holding up for one to three years depending on climate, sun exposure, and roof material. Tape and membrane products tend to last considerably longer when applied correctly to a clean, properly prepared surface, with some owners reporting a decade or more of service. Full roof coatings vary by product, but they’re generally intended to extend the gap between major maintenance projects rather than needing yearly attention. For a full breakdown of a realistic inspection and resealing schedule, see our guide on how often you should reseal an RV roof.
Can You Combine Sealant Types?
Yes, and most experienced RV owners do exactly that rather than relying on a single product for the entire roof. A common approach uses self-leveling sealant for horizontal seams, non-sag sealant for vertical areas and vent bases, and a tape or membrane product for long, straight seams or as reinforcement over aging sealant. Butyl tape often works underneath fixtures as a first layer, with lap sealant applied on top for a finished, watertight seal. Thinking of these products as a toolkit rather than picking one favorite tends to produce the most reliable, long-lasting results.
Related guides
Frequently asked questions
What is the best RV roof sealant overall?
There isn’t a single best option. Self-leveling sealant suits horizontal seams, non-sag suits vertical surfaces, and tape or membrane products suit straight seams and tears. The right choice depends on the surface and repair.
Can I use regular silicone caulk on my RV roof?
It’s not recommended. General household silicone may not bond properly to rubber roofing membranes and can complicate future repairs if a different product needs to be applied later.
How long does RV roof sealant last?
Lap sealants typically need touch-ups every one to three years, while tape and membrane products often last significantly longer, sometimes a decade or more, when applied correctly.
Is butyl tape enough on its own, or do I need lap sealant too?
Butyl tape is usually paired with lap sealant rather than used alone. It provides strong initial adhesion under fixtures, with the visible sealant applied on top for a finished, watertight seal.
Do I need different sealant for EPDM versus TPO roofs?
Yes. Both are rubber membranes, but they require different sealant formulations. Always check the product label to confirm it’s rated for your specific roof material.
When should I use a full roof coating instead of spot sealing?
A full coating makes sense when wear is showing up across multiple areas of the roof rather than just one or two spots, or when you want to extend the time between major maintenance projects.
Final Thoughts
Before your next repair, match the sealant type to the surface first: horizontal versus vertical, and spot repair versus full coating. That one decision prevents most of the early failures RV owners run into.
There’s no universal winner in the RV roof sealant comparison, because each type solves a different problem. Self-leveling and non-sag lap sealants handle the everyday seams and vent bases, tape and membrane products handle straight runs and physical damage, and full roof coatings handle overall protection once a roof has aged. Match the product to the surface, the material, and the type of damage, and pair whatever you choose with regular inspections, and your roof sealant will do exactly what it’s supposed to for years at a time.
Did this guide help with your rig?

Written by