On this page7 sections
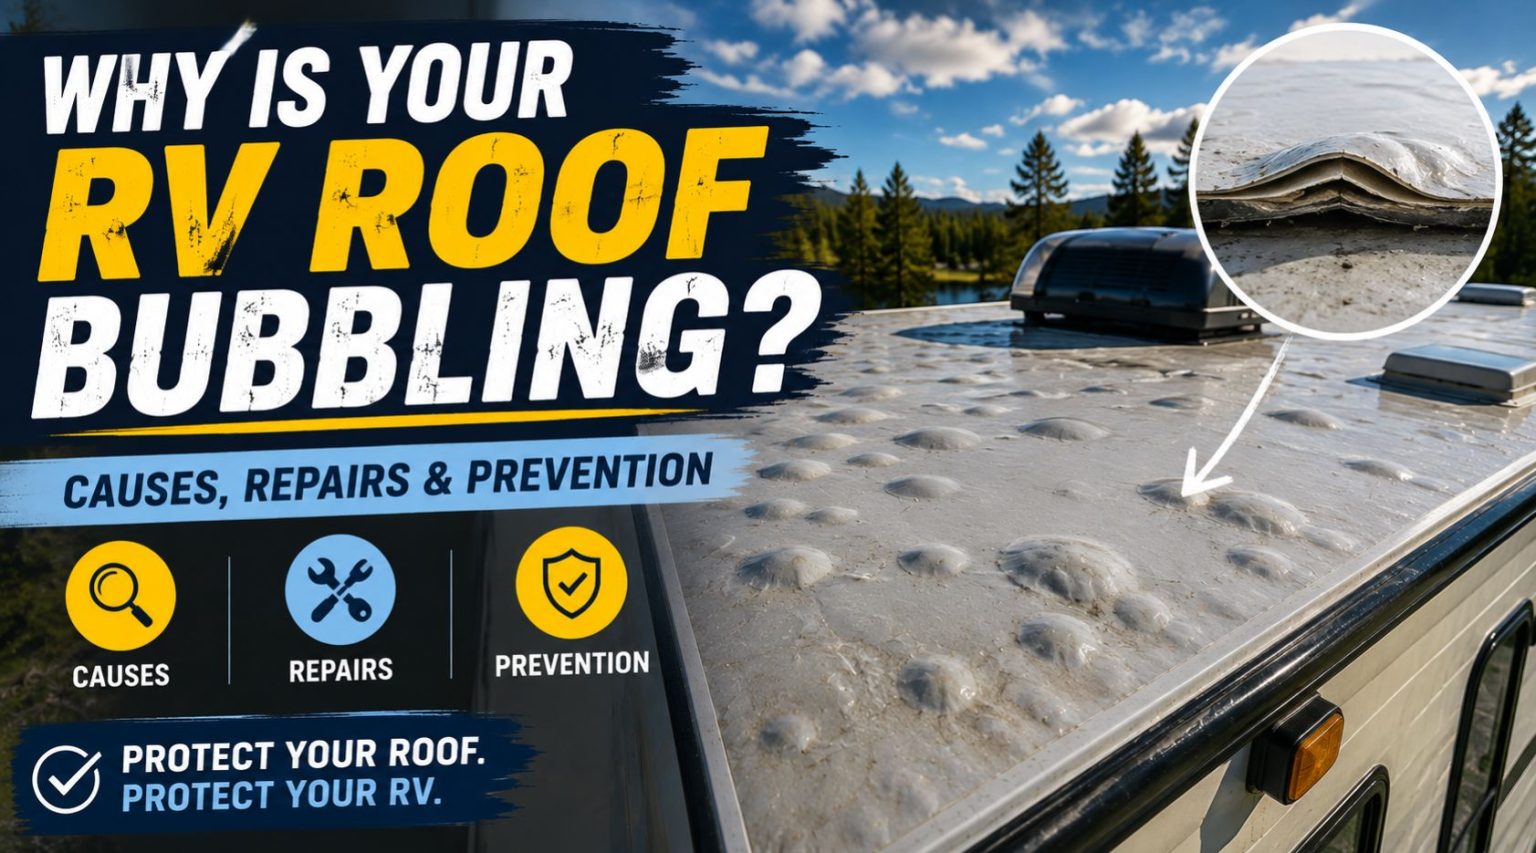
Spotting a bubble on your RV roof is unsettling, even if it doesn’t look like much at first. Some bubbles turn out to be harmless leftovers from manufacturing, while others are an early warning sign of water getting where it shouldn’t. The tricky part is telling the two apart, and knowing what to actually do once you have.
Here’s how we put this together: we looked at what RV repair technicians and roofing specialists identify as the common causes of bubbling, combined it with patterns from RV owner reports of dealing with this themselves, and laid it out as a clear process for figuring out what you’re dealing with and what to do next.
What Causes RV Roof Bubbling
Adhesive Failure
Most RV roofs are membrane material, EPDM, TPO, or similar, glued down to a layer of decking underneath. If that adhesive wasn’t applied evenly during manufacturing, or if dirt on the surface kept it from bonding fully in a small area, a pocket forms where the membrane simply isn’t attached. Over time, or with heat and movement, that weak spot can lift into a visible bubble.
Heat and UV Expansion
RV roofs absorb a lot of direct sun, and dark or heavily heated sections can expand more than the material underneath. This expansion can stress the bond between the membrane and the decking, and in hot climates especially, repeated heat cycles can gradually create or worsen bubbling even without any water involved.
Water Intrusion Under the Membrane
This is the cause worth taking most seriously. If water finds its way under the roof membrane through a failed seam, cracked sealant, or a small puncture, it can sit trapped beneath the surface. Water trapped this way can contribute to bubbling and may cause the affected area to grow or feel soft over time, which is why a bubble that’s changing shape or size deserves more attention than one that’s stayed the same for months.
Trapped Air From Installation
Sometimes a bubble isn’t about water at all. Air can get trapped under the membrane during the original installation or during a previous repair, and it may simply sit there as a small, stable pocket that never actually causes a leak. These are usually smaller and don’t change much in size over time.
A Previous Repair Gone Wrong
If the roof was patched before using the wrong material, a poor cleaning job beforehand, or a coating applied over moisture that hadn’t fully dried, that repair can bubble or lift later, sometimes months or years afterward.
Aging Roof Material
Rubber roofing doesn’t last forever. As it ages, it can dry out, shrink slightly, or lose flexibility, making it more prone to separating from the decking in weak spots and forming bubbles, especially in roofs that haven’t been resealed or maintained regularly.
Airflow While Driving
This one surprises a lot of owners: highway speed airflow passing over the roof can create pressure differences strong enough to lift a section of membrane that isn’t fully sealed at the edges, particularly near the front cap. In more extreme cases, RV owners have described large sections ballooning up while driving, which is a sign the membrane isn’t securely attached over a wider area, not just a small isolated spot.
Is RV Roof Bubbling Always a Problem?
Not necessarily, but it’s not something to fully ignore either. Small bubbles that stay the same size over time, especially on a newer RV, may simply be trapped air from manufacturing that never grows or causes issues. That said, dealerships will sometimes tell owners bubbling is normal, and while that can be true for small, stable spots, it’s still worth documenting and monitoring rather than dismissing entirely.
Quick reference: is it likely serious?
| Sign | Likely Meaning |
|---|---|
| Small bubble, same size for months | Often trapped air, low concern, monitor it |
| Bubble growing larger over time | Possible water intrusion, needs attention |
| Bubble feels soft or spongy | Water has likely reached the decking, address soon |
| Large area ballooning while driving | Wider membrane separation, needs prompt repair |
| Bubble appeared after a storm | Check for a related leak source nearby |
| Multiple bubbles across the roof | Roof may need a fuller assessment, not just spot repair |
A simple way to track a bubble over time is to trace its outline with a marker and note the date. If it hasn’t grown at your next inspection, it’s probably not an active problem. If it has, treat it as one.
Is this bubble a problem?
Find the description closest to what you're seeing and act on its urgency level.
Tick everything you are seeing. Your action plan sorts itself by urgency.
Usually trapped air. Trace its outline, note the date, and recheck it at your next inspection.
That can be true for small, stable spots. Document it with photos and dates, keep monitoring, and ask your dealer about warranty coverage.
Possible water intrusion. Identify your membrane type and follow its recommended repair, or use a repair kit matched to your roof material.
Look for a related leak source nearby, like cracked sealant or a failed seam, and check inside for water stains.
Water may be getting under the membrane there. Reseal the cracked area and keep a close eye on the bubble's size.
The roof likely needs a fuller assessment, not spot repairs. Have a professional take a look.
Another round of DIY patching won't solve it. Get a professional assessment of what's happening underneath.
The decking has likely absorbed water. Have a professional open and assess it rather than cutting into the membrane blind.
The membrane isn't attached over a wider area, often near the front cap. Get it repaired before a long trip, not during one.
Water is already getting inside. Call a professional before it compromises the roof structure.
Your action plan
Act now0
Fix soon0
Keep watching0
How to Repair a Bubbling RV Roof
For Small, Stable Bubbles
- Confirm the bubble hasn’t grown since you last checked it
- If it’s small, stable, and shows no signs of moisture, softness, or nearby cracked sealant, it’s usually fine to monitor it and recheck at your next scheduled inspection
- If you’d rather address it now, follow the repair method recommended for your specific roof membrane, or use a compatible RV roof repair kit designed for your roof material rather than improvising with general tools
For Larger or Growing Bubbles
- Start by identifying your roof membrane type and checking the manufacturer’s or a roofing specialist’s recommended repair method for it, since EPDM, TPO, and fiberglass don’t always call for the same approach
- If the recommended repair involves opening the membrane to check for trapped moisture, this is a step worth having a professional handle, or following a repair kit’s specific instructions closely, rather than cutting freehand, since going in blind can turn a small bubble into a larger water intrusion point
- If moisture is confirmed, the area needs to dry out completely before any adhesive or sealant is reapplied. Rushing this step is one of the most common reasons repairs fail again later
- Once dry, the surface is cleaned, new adhesive or primer suited to your roof material is applied, and the membrane is pressed back into place
- The repaired edge is then sealed with a lap sealant or a product like Eternabond to lock out future moisture
For a full breakdown of tools, sealant types, and technique for roof repairs generally, see our guide on RV roof repair. If you’re deciding between a tape and a caulk style sealant for the finishing seal, our comparison of Dicor vs Eternabond breaks down which works best for different repair shapes.
When to Use a Repair Kit Instead
For most owners, a dedicated RV roof bubble repair kit matched to your specific roof material is the safer, more predictable route compared to improvising with general tools. These kits typically include the patch material, adhesive, and step by step instructions designed for the job, and they’re a reasonable middle ground between calling a professional and attempting a fully DIY repair from scratch.
When to Call a Professional
Some situations are worth handing off rather than tackling yourself:
- Bubbles that keep coming back in the same spot after repair
- Large sections lifting or ballooning, especially near the front cap or hitch area
- Multiple bubbles appearing across different parts of the roof
- Any soft, spongy area under or near the bubble, which usually means the decking has already absorbed water
- Bubbling combined with visible interior water stains or a musty smell
Ignoring widespread bubbling can eventually compromise the roof’s structural integrity, so treat repeated or spreading bubbles as a signal to get a proper assessment rather than another round of DIY patching.
Is it a good day to reseal?
Check your conditions against the dry, 50 to 80°F application window, or pull the live forecast for where you are parked.
Use the live forecast
Forecast from Open-Meteo. Your location is only used for this lookup.
Guidance from our resealing guide: most sealants and coatings want 50 to 80°F, low humidity, no wind-blown debris and 24 to 48 dry hours to cure. Your product label always wins.
How to Prevent RV Roof Bubbling
- Inspect the roof every few months, and always after severe weather or a long trip, checking not just for bubbles but for cracked sealant nearby that could be letting water in
- Reseal seams, vents, and skylights when the existing sealant shows cracking, separation, or other signs of wear, following your sealant manufacturer’s guidance, rather than waiting for a fixed calendar date regardless of condition
- Use quality, roof appropriate sealant rather than general purpose products that may not bond or flex the way roofing materials need
- Park in shade or under a cover when possible, especially in hot climates, to reduce the heat cycling that stresses the adhesive bond
- Check the front cap and edges after highway driving, since airflow related lifting tends to start at the edges before it’s visible anywhere else
- Address small bubbles early rather than waiting, since a stable pocket of trapped air is a much easier fix than a bubble that’s had months to grow
Pairing these habits with a consistent seasonal routine makes the biggest difference. Our RV roof maintenance checklist covers exactly what to check throughout the year, and our guide on how often you should reseal an RV roof can help you build a realistic schedule based on your specific roof material and climate.
Frequently asked questions
Is a small bubble on my RV roof dangerous?
Not always. Small, stable bubbles that don’t grow over time are often just trapped air from manufacturing. Bubbles that grow, feel soft, or appear after a storm are more likely tied to water intrusion and worth addressing.
Can I drive my RV if the roof is bubbling?
You generally can, but a large or growing bubble, especially near the front cap, can worsen from highway airflow. If you notice significant lifting, it’s worth addressing before a long trip rather than during one.
How do I know if a roof bubble is from water or just trapped air?
Look for changes in size, softness, nearby cracked sealant, or interior water stains. A bubble that’s grown, feels soft or spongy, or appeared after heavy rain is more likely tied to moisture. If the cause isn’t clear, a professional inspection can confirm whether it’s trapped air or water related before you decide on a repair.
Will my RV warranty cover roof bubbling?
It depends on the manufacturer and how old the RV is. Many RVs carry a shorter general warranty alongside a longer structural or roof material warranty, so it’s worth documenting the bubble with photos and dates and contacting your dealer to check coverage.
Can I fix RV roof bubbling myself?
Yes, for small to moderate bubbles. A repair kit matched to your roof material, combined with proper drying and resealing, is manageable for most owners. Larger or repeated bubbling is often worth having a professional assess, since it can point to a wider issue.
Does RV roof bubbling always mean a leak?
No. Some bubbles are cosmetic trapped air with no connection to moisture. That said, it’s worth checking rather than assuming, since a growing bubble can be an early sign of a leak before any interior damage shows up.
Final Thoughts
Check any bubble on your roof today rather than waiting for it to grow. Trace its outline, note the date, and take a look again at your next inspection so you know whether it’s stable or getting worse.
RV roof bubbling isn’t always a crisis, but it’s also not something to wave off without a second look. Small, stable bubbles are usually fine to monitor, while anything growing, soft, or spreading deserves a proper repair before it turns into water damage you can’t see coming. A little attention now, paired with regular roof inspections, is what keeps a cosmetic bubble from becoming a much bigger problem later.
Did this guide help with your rig?

Written by