On this page11 sections
Cleaning your RV’s rubber roof sounds simple, until you realize the wrong cleaner or the wrong technique can do more harm than the dirt ever would. EPDM and TPO roofs are more sensitive than most people expect, and a lot of common cleaning habits, like using the wrong soap or breaking out a pressure washer, can quietly wear down the very material you’re trying to protect.
Here’s how we put this guide together: we cross-referenced manufacturer cleaning guidance, RV technician recommendations, and real cleaning routines shared by long-time RV owners, then combined it into one clear process that’s safe for both EPDM and TPO roofs.
Why Cleaning an RV Rubber Roof Needs Special Care
Most RV roofs are made of one of two rubber materials: EPDM (Ethylene Propylene Diene Monomer) or TPO (Thermoplastic Polyolefin). Both are durable and can last well over a decade with proper care, but they share a common weakness: sensitivity to harsh chemicals.
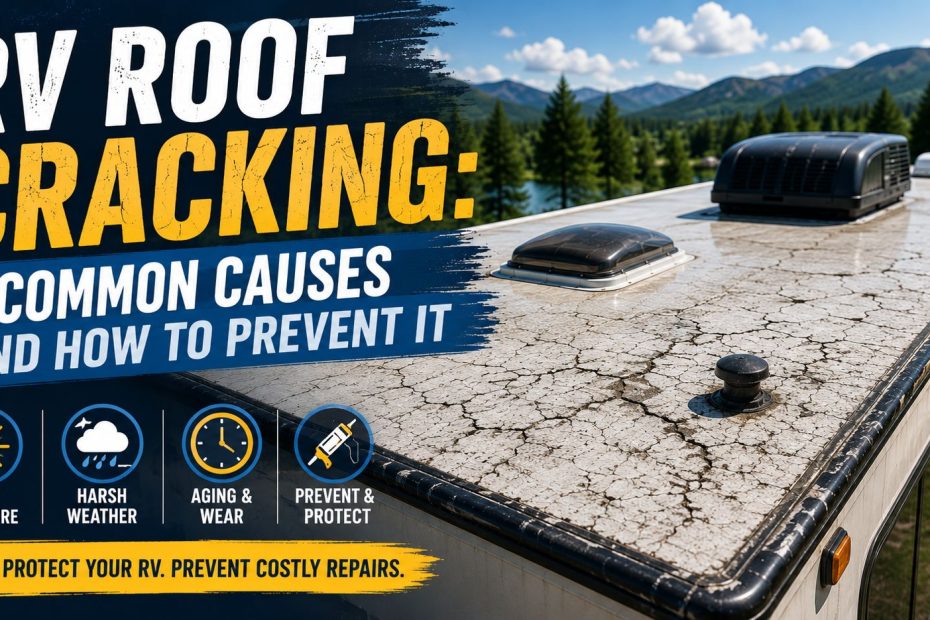
EPDM in particular has lower resistance to oils and solvents. Petroleum based cleaners, citrus solvents, and abrasive household cleaners can dry out the membrane, cause it to crack, or strip away the roof’s natural flexibility over time. TPO holds up slightly better, but it’s still not immune to damage from the wrong products.
EPDM vs. TPO at a glance
| Feature | EPDM | TPO |
|---|---|---|
| Chemical sensitivity | Higher | Lower, but still needs gentle products |
| Common issue with age | Drying and cracking | Surface wear and chalking |
| Cleaning care needed | Gentle, EPDM safe products only | Gentle products, slightly more forgiving |
| UV resistance | Lower | Generally better |
That’s the whole reason this guide exists: cleaning the roof regularly is good for it, but only if you’re doing it the right way.
Recommended RV Roof Cleaners
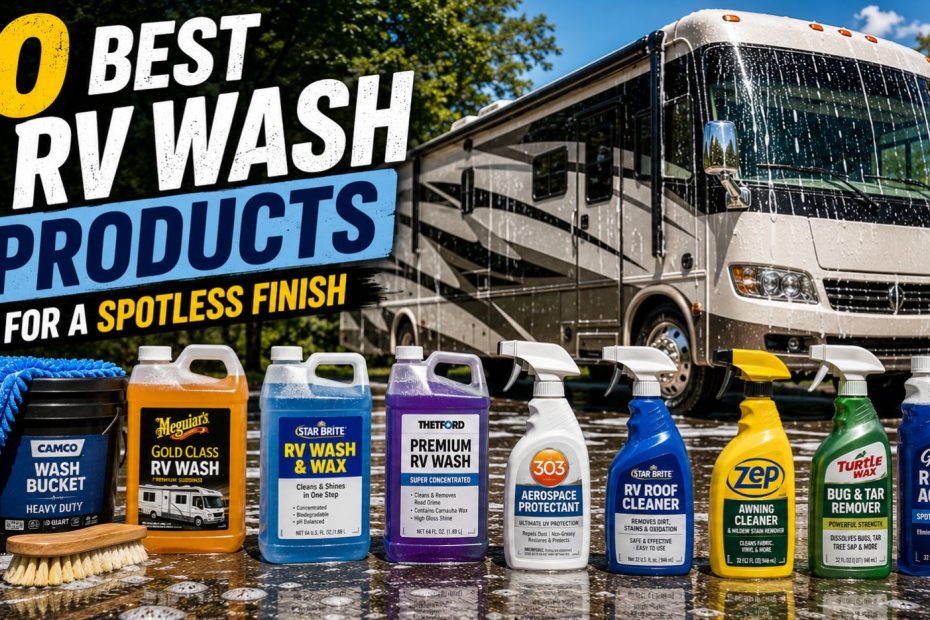
If you’d rather not guess which product to buy, here’s a quick starting point by category:
- Best overall: Camco Pro-Strength Rubber Roof Cleaner, a widely available option built specifically for rubber roofs
- Best budget option: A mild dish soap like Dawn, diluted in water, works well for routine cleaning without buying a dedicated product
- Best for EPDM: Dicor Rubber Roof Cleaner, formulated to be gentle on EPDM specifically
- Best for heavy stains or mildew: Wet & Forget Outdoor, which works gradually on mold, mildew, and algae buildup without heavy scrubbing
For a full breakdown of these and other options, including what makes each one worth considering, see our guide on the best RV roof cleaner picks.
What You’ll Need
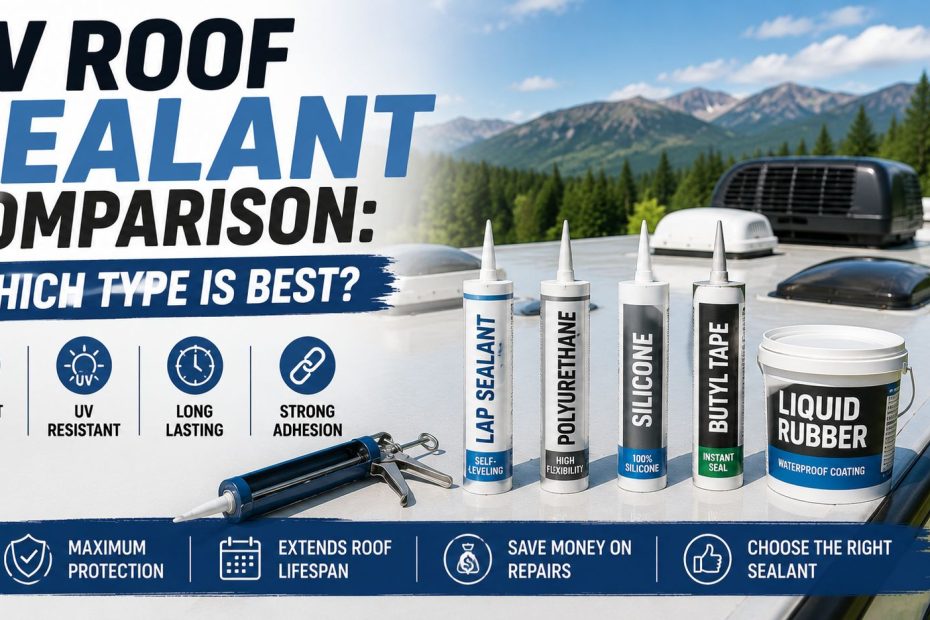
- A mild, non-abrasive cleaner made for RV rubber roofs, or a gentle option like diluted dish soap
- A soft-bristle brush or long-handle mop, never a stiff or wire brush
- A bucket for mixing cleaner and water
- A garden hose with low to moderate pressure, not a pressure washer
- A ladder rated for roof access, plus non-slip shoes
- Optional: a UV protectant or conditioner to apply once the roof is clean and dry
RV Rubber Roof Cleaning Checklist
Follow these steps in order for a safe clean on an EPDM or TPO roof.
0 of 11 done
Cleaners to Avoid
Before you start, it helps to know what not to reach for. These can damage rubber roofing, even if they seem like a reasonable choice:
- Petroleum based cleaners or solvents, which can break down the rubber membrane over time
- Citrus based cleaners, which are marketed as natural but can still be harsh on EPDM
- Abrasive or harsh household cleaners, including anything with strong degreasers not formulated for rubber roofing
- Bleach, which is overly caustic for regular roof cleaning and better reserved for sanitizing your water system, not your roof
- Mineral spirits poured directly on the roof, which should only ever be used sparingly on a rag for spot treating tree sap, never applied straight to the surface
If a product isn’t labeled safe for EPDM or TPO roofing, it’s worth checking the manufacturer’s guidance before using it, since a mistake here can shorten your roof’s lifespan rather than extend it.
Step by Step: How to Clean an RV Rubber Roof
1. Inspect before you clean
Before adding any water or cleaner, walk the roof and look for obvious problems: soft spots, cracked sealant, mold, mildew, or tree sap. This tells you if you need a stronger spot treatment for certain areas, and it’s easier to spot these issues on a dry roof than a wet, soapy one.
2. Sweep off loose debris
Clear away leaves, twigs, and dirt with a soft broom before you introduce any water. This step alone prevents a lot of scrubbing later.
3. Rinse the roof
Use a garden hose on low to moderate pressure to rinse the entire surface. Skip the pressure washer here: high pressure water can force its way under seams and sealant, which risks creating the exact leaks you’re trying to prevent.
4. Apply cleaner in small sections
Mix your cleaner according to the label, then apply it with a mop, sponge, or soft brush, working in small sections rather than the whole roof at once. This matters more than it sounds: cleaner that dries on the surface before you rinse it is much harder to remove and can leave streaks. Start at the front of the RV and work toward the back so you’re not walking through freshly cleaned sections.
5. Scrub gently where needed
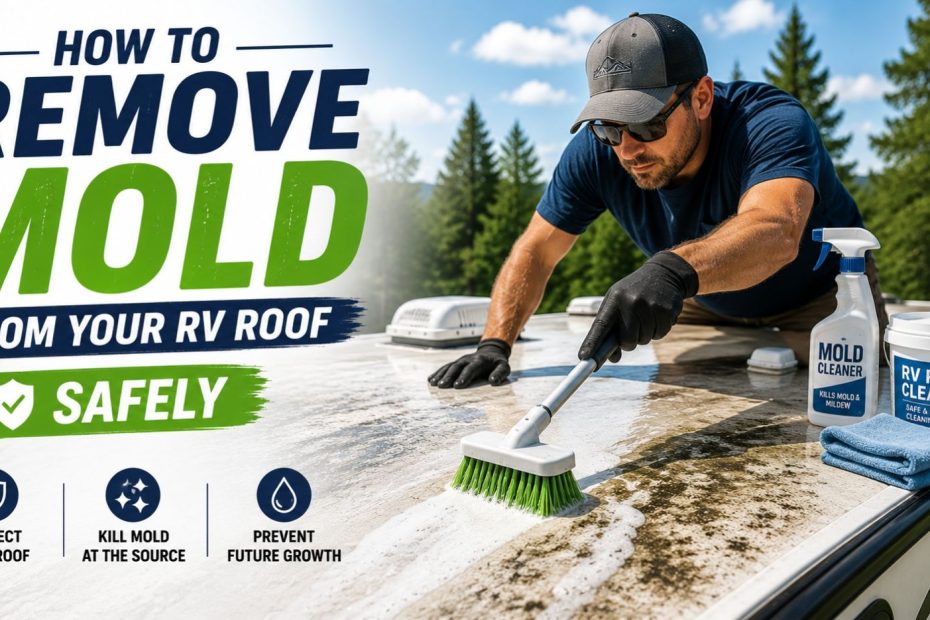
For stubborn dirt, black streaks, or grime, use a soft-bristle brush and a bit of extra elbow grease rather than a stronger chemical. If mold or mildew is present, a diluted, mild solution is usually enough. Avoid scrubbing hard enough to feel like you’re working against the surface rather than with it.
6. Handle tree sap carefully
If you’re dealing with tree sap, don’t reach for a strong solvent applied directly to the roof. Instead, apply a small amount of mineral spirits to a rag and gently rub the spot, working in a small, contained area. Some RV owners choose to leave minor sap spots alone entirely rather than risk roof damage trying to remove every trace.
7. Rinse thoroughly, including the sides
Rinse the roof completely, and don’t forget to rinse down the sides of the RV as well, since cleaner running off the roof can leave streaks on your paint or decals if it’s not washed away.
8. Let it dry, then inspect again
Once the roof is dry, take another look. This is a good time to check for any sealant that needs attention, since a clean surface makes small cracks much easier to spot than a dirty one.
9. Apply a protectant if you use one
If you’re using a UV protectant or conditioner, apply it once the roof is fully clean and dry, following the product’s specific instructions. This step isn’t required every cleaning, but it does help slow down sun damage between deeper cleans.
Mop and Bucket vs. Spray and Rinse
There are two common approaches to applying cleaner, and either one works as long as you follow the same basic rules.
Mop and bucket method: Mix your cleaner in a bucket, then apply it with a mop or sponge, working section by section. Some RV owners prefer this because it avoids runoff down the sides of the RV entirely, which means less risk of streaking your paint or decals and no need to rinse the sidewalls afterward.
Spray and rinse method: Apply cleaner with a pump sprayer or foam cannon, let it sit for a few minutes to loosen grime, then rinse with a hose. This tends to be faster for larger roofs, but it does mean rinsing the sides of the RV afterward to avoid streaks from runoff.
Neither method is objectively better. If you’re short on time or dealing with heavier grime, spray and rinse is usually quicker. If you’d rather avoid dealing with sidewall streaking, mop and bucket keeps things more contained.
How Often Should You Clean It
Recommendations vary a bit depending on the source, but a reasonable range most RV owners land on is cleaning the roof every three to four months, or more often if you travel frequently, park under trees, or notice buildup faster than that. RVs stored outdoors year round, especially in sunny or dusty regions, generally need more frequent attention than one kept under cover.
Regular cleaning isn’t just cosmetic. A clean roof makes it much easier to catch a hairline crack or early sign of trouble during a routine check, since problems don’t stay hidden under a layer of grime.
RV roof care planner
Answer five quick questions and get a 12-month maintenance schedule you can drop straight into your calendar.
Intervals follow the ranges in our guides: inspect every 3 to 6 months, clean 2 to 4 times a year, reseal trouble spots every 1 to 3 years. Add a check after any severe storm.
Common Mistakes to Avoid
- Using a pressure washer. It feels efficient, but the risk of forcing water under seams isn’t worth it.
- Letting cleaner dry on the surface. Working in sections keeps this from happening.
- Scrubbing with a stiff or wire brush. This can wear down the membrane faster than dirt ever would.
- Skipping the post-clean inspection. A clean roof is the easiest time to spot problems, so don’t skip this step.
- Assuming every cleaner is safe for rubber. Always check that a product is labeled safe for EPDM or TPO before using it.
What to Do If You Find a Problem While Cleaning
If cleaning reveals cracked sealant, a soft spot, or signs of a leak, don’t just clean around it and move on. Cracked sealant is worth addressing before it turns into water intrusion, and our RV roof maintenance checklist walks through exactly what to check and how often. If you’re dealing with an active leak already, our guide on what to do when your RV roof leaks after heavy rain covers how to find the source and stop it.
Frequently asked questions
Can I use Dawn dish soap to clean my RV rubber roof?
Yes, many RV owners and even some roofing manufacturers recommend a mild dish soap diluted in water as a safe, gentle option for regular cleaning.
Is it safe to pressure wash an RV rubber roof?
No. High pressure water can force its way under seams and sealant, which can cause leaks rather than prevent them. Stick to a garden hose on low to moderate pressure.
How often should I clean my RV rubber roof?
Every three to four months is a reasonable baseline, with more frequent cleaning if you travel often or park under trees.
What’s the difference between cleaning EPDM and TPO roofs?
Both need gentle, non-abrasive cleaners, but EPDM is more sensitive to oils and solvents specifically, so it’s worth being extra cautious with product choice on an EPDM roof.
Do I need to apply a protectant after every cleaning?
Not necessarily. A protectant or conditioner helps slow UV damage between cleanings, but it’s a separate, optional step rather than a required part of every wash.
Can I walk directly on my RV roof to clean it?
Some roofs support foot traffic and some don’t. Check your owner’s manual first, and if you’re unsure, use a ladder to reach different sections instead of walking across unsupported areas.
Final Thoughts
Need help finding roof damage while cleaning? Check our RV roof maintenance checklist before your next trip so you know exactly what to look for
A rubber roof rewards gentle, consistent care far more than it rewards a single aggressive cleaning session. Stick to mild cleaners, skip the pressure washer, work in manageable sections, and use each cleaning as a chance to inspect for early signs of wear. Done this way, cleaning becomes one of the easiest and cheapest things you can do to keep your RV roof lasting as long as it’s built to.
Did this guide help with your rig?

Written by